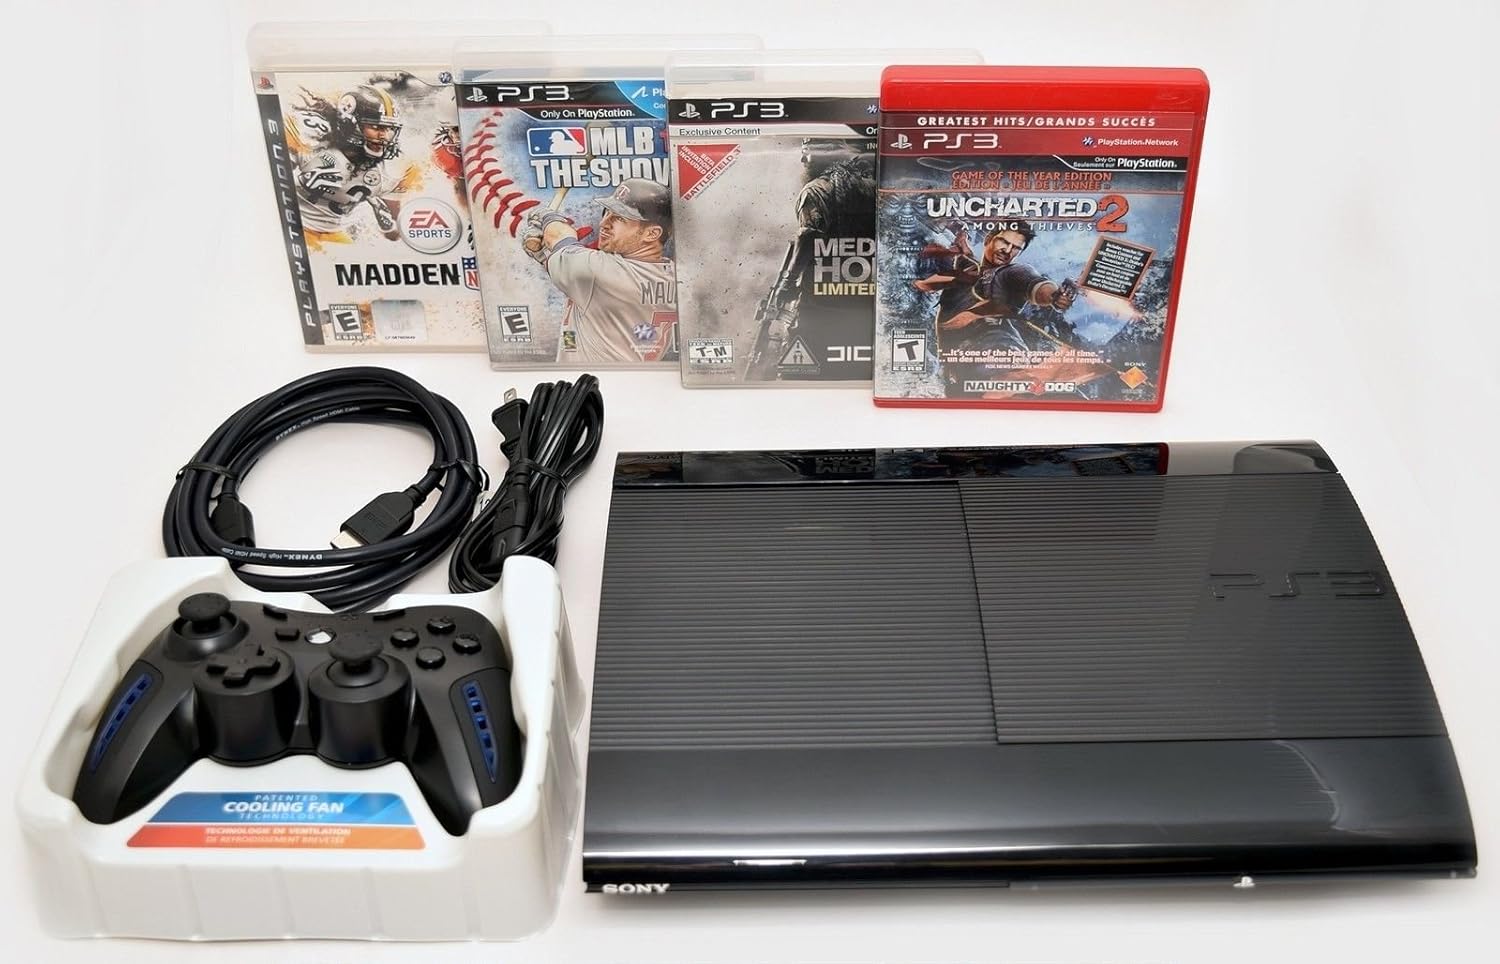
PlayStation 3 Super Slim Optical Drive Replacement
Duration: 45 minutes
Steps: 11 Steps
First up, we’ll get started by opening up the PlayStation 3 Super Slim and carefully removing the optical drive. If your PlayStation 3 Super Slim has been giving you the cold shoulder when it comes to reading disks, or you’re sure the optical drive is the troublemaker, this guide has your back. Before you dive in, make sure you’ve got all the right tools, plenty of time, and a tidy, clutter-free workspace to do the job properly. As you go through the steps, read each one carefully, and handle all parts gently—no one wants to accidentally snap something important! Take your time, stay cool, and best of luck replacing that optical drive!
Step 1


The bay cover hangs out on the right side of the device—just waiting for you to pop it open!
– Gently slide the side HDD bay cover towards the back of the device to remove it. It’s a smooth move, like opening a door to a world of repair possibilities!
Step 2


– Grab your T-8 security screwdriver and pop out those three black screws—each one is 9.8mm long. You got this!
– Switch it up to a Phillips #1 screwdriver and carefully remove that one blue screw—it’s a neat 7.9mm long.
Tools Used

Step 3


Gently remove the HDD and stash it somewhere safe to keep your data out of harm’s way.
– Give that tab a good tug to slide out the HDD.
Step 4


One sneaky screw is tucked away under the warranty sticker. You can either peel it off carefully or go full-on rebel and puncture it with a screwdriver.
– At the bottom of your device, gently use a metal spudger to lift out the three rubber foot covers. No need to rush—take your time!
– Now, grab your trusty Phillips #1 screwdriver and remove the four black 36.3mm screws hiding underneath. You’ve got this!
Tools Used
Step 5


This part can be a bit tricky. If you’re having trouble unhooking the front panel, you can try prying the hooks off, but be careful – they can snap pretty easily. Take your time, and if things get tough, remember you can always schedule a repair.
– First up, let’s tackle that top panel! Find the hook on the far right, give it a little unlatch, and gently lift the panel just a smidge while applying some pressure.
– Next, it’s time to unhook the second right-side buddy. Grab your trusty plastic opening tool and slide it into the marked area to release it.
– Now, slide that panel to the left to free the remaining hooks. You’re doing great!
Step 6

– Pop off the back panel by pressing down the tab on the right side of your device and sliding the panel to the left. Easy peasy!
Step 7


– Grab your Phillips #1 screwdriver and unscrew the five silver 20.8mm long screws. They should come out easily!
– Next, switch to your trusty T-8 security screwdriver and remove the two black 9.9mm long screws inside the disc reader. Careful not to lose them!
– Now, gently lift off the top black plastic shell. It might take a little nudge, but it should come right off!
Tools Used
Step 8


– Slide the optical drive to the side to uncover one of those shiny silver 8.8mm screws waiting to be unscrewed.
– Grab your trusty Phillips #1 screwdriver and unscrew the two silver 8.8mm screws, one on each side. Easy peasy!
Tools Used
Step 9


When unplugging, grab the sturdy plastic connector—not the delicate wires. Keep it chill and cable-friendly!
– Unplug the cable from the outlet and gently detach the wires from the two plastic hooks.
– Carefully take out the power supply unit.
Step 10


– Gently pull the front white flex-ribbon cable upward from its base to disconnect it.
– Next, grab the black tab behind the first cable and pull it upwards. Once that’s done, carefully remove the black and blue flex-ribbon cable by pulling it out.
Step 11


– Flip your device upside down like you’re giving it a little dance! Just a smooth 180-degree turn.
– Gently tug on that back white flex-ribbon cable, pulling it up from its base like you’re lifting a secret treasure.
– Time to say goodbye to the optical drive! Carefully remove it and let it go on its way.
Success!