PlayStation 3 Teardown
Duration: 45 minutes
Steps: 11 Steps
Step 1

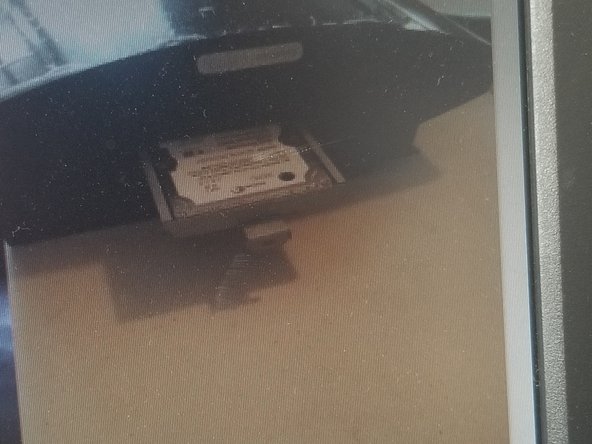
– Pop off the black cover with a little style
– Slide the hard drive out like you’re stealing the last slice of pizza
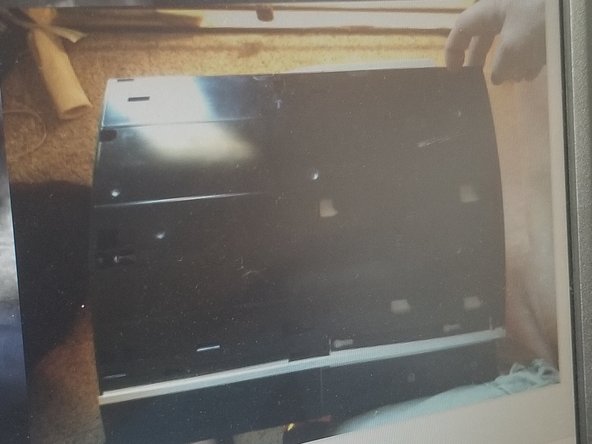
Step 2

– Peel off that sticker and pop out the rubber piece—easy does it!
– Unscrew the screw holding things together—keep it safe!
– Gently pull the cover towards you to lift it off—careful not to force it.
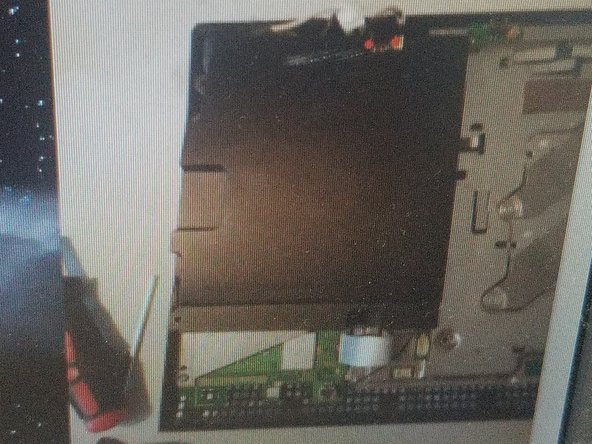
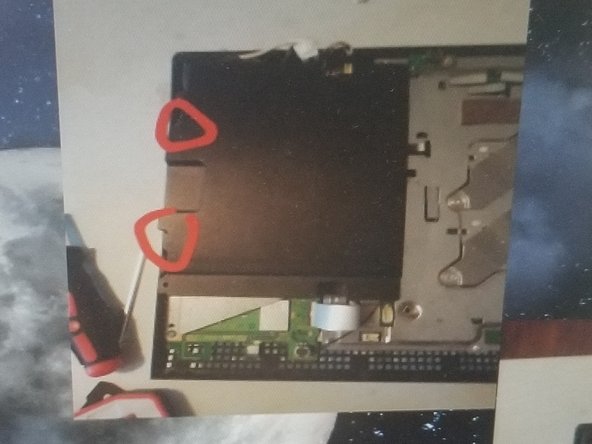
Step 3

– Take out the screws.
– Heads up: The Blu-ray drive isn’t screwed in, so don’t flip the console upside down.
– Use your finger to gently lift it up.
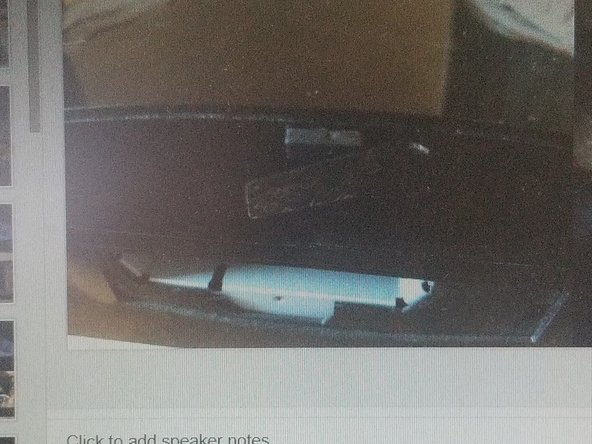
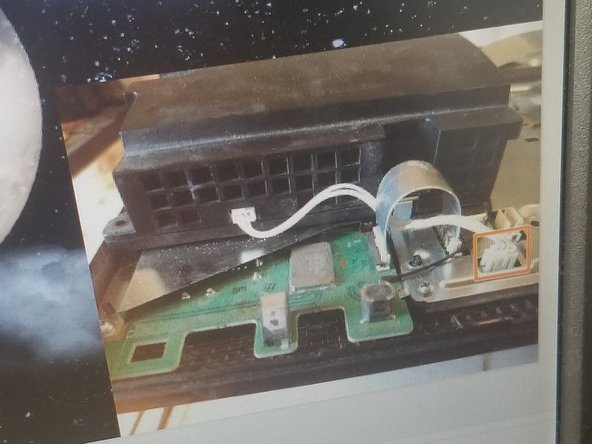
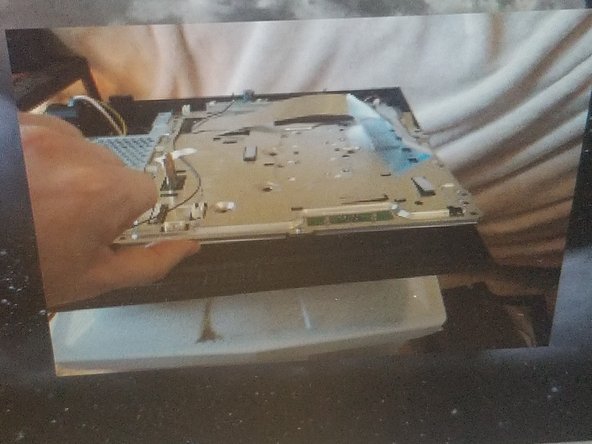
Step 4

– Carefully flip the Blu-ray drive over to access the cable connection. Gently disconnect the cable to free the drive for removal. If you need help, you can always schedule a repair.
Step 5

– Start by locating all the screws holding things together and gently unscrew them. Keep track of where each screw came from so you can put everything back just right. If you run into trouble or need a hand, remember you can always schedule a repair for expert assistance.
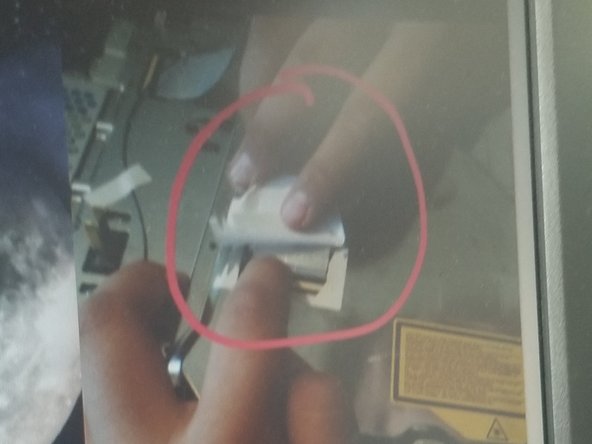
Step 6

– Gently pull down on the tab and slide it out carefully.
– Pull straight up on the tab to remove it smoothly.
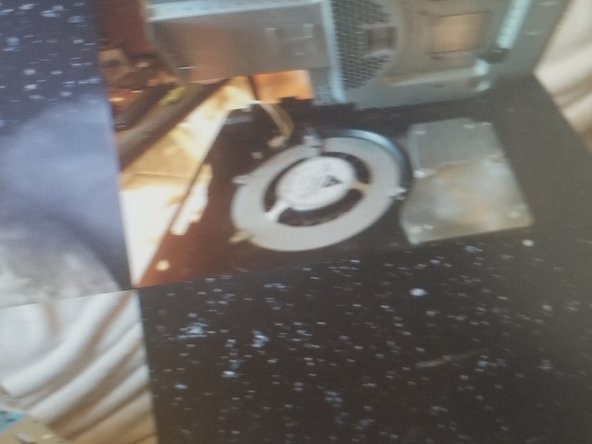
Step 7
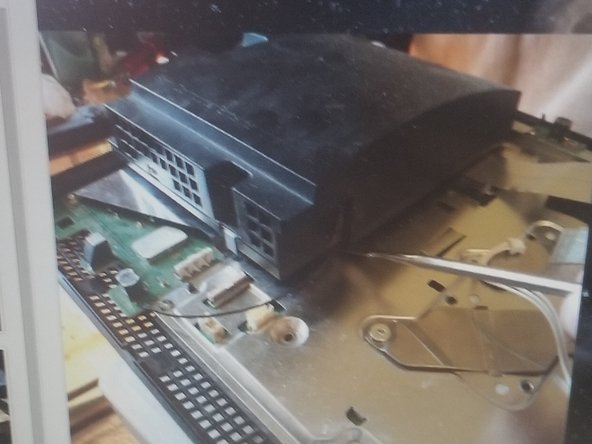
– Gently slide a non-metal tool under this corner to make lifting it a breeze
– Give the power supply a straight-up pull to free it from its spot
Step 8

– Unscrew all the screws holding things together.
– Gently lift the front piece to remove it.
Step 9

– Unscrew and disconnect the board’s battery. Now, take a look at that yellow thing—you’re going to want to remember it.
– Red – Gently lift this side and give it a little wiggle to get it loose.
– Orange – Time to remove the shield above the USB and WiFi controller. Just lift it straight up, then peel off that white tape.
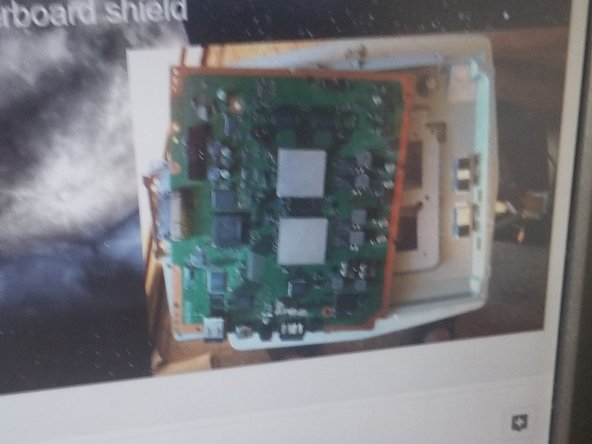
– Green – Lift this side to carefully remove the motherboard shield. You’re almost there!
Step 10
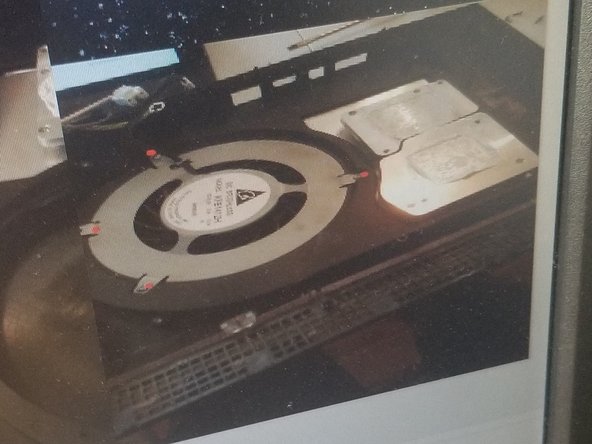
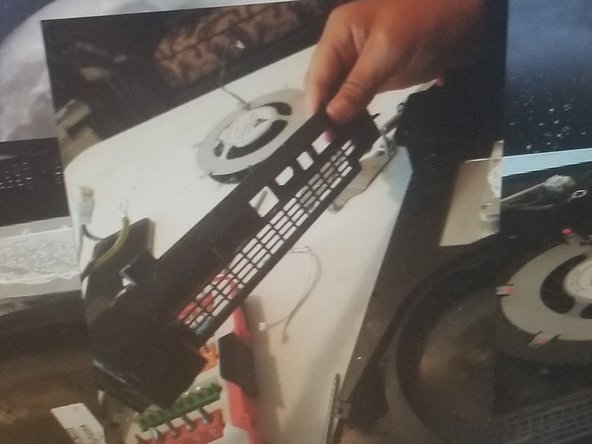

– Unscrew the back plate and gently lift the fan and cover straight up.
Step 11

– Sprinkle some wisdom on this step—smooth moves and sharp thinking will get you through!
Success!

