PlayStation 5 Pro Fan Replacement Guide: Step-by-Step Tutorial
Duration: 45 minutes
Steps: 7 Steps
Before buying a new fan, let’s get started on the right foot!
Alright, let’s get this fan spinning like a pro! This guide will show you how to replace a broken or busted fan in your PlayStation 5 Pro. Maybe your fan’s just feeling a little sluggish, or maybe it’s making a racket like a rock concert. Either way, this guide’s got you covered. And hey, while you’re at it, maybe give that fan a good cleaning—dust bunnies ain’t doing anyone any favors. If the fan’s still acting up after a good clean, then go ahead and grab a new one. No worries, we’ve got your back!
Step 1


Alright, champ! Before we dive into this fix, let’s make sure you’re ready to rock!
– Power down your PlayStation and disconnect all cords and gadgets.
– Take off any stands holding your console, then lay it on its side with the right side facing up.
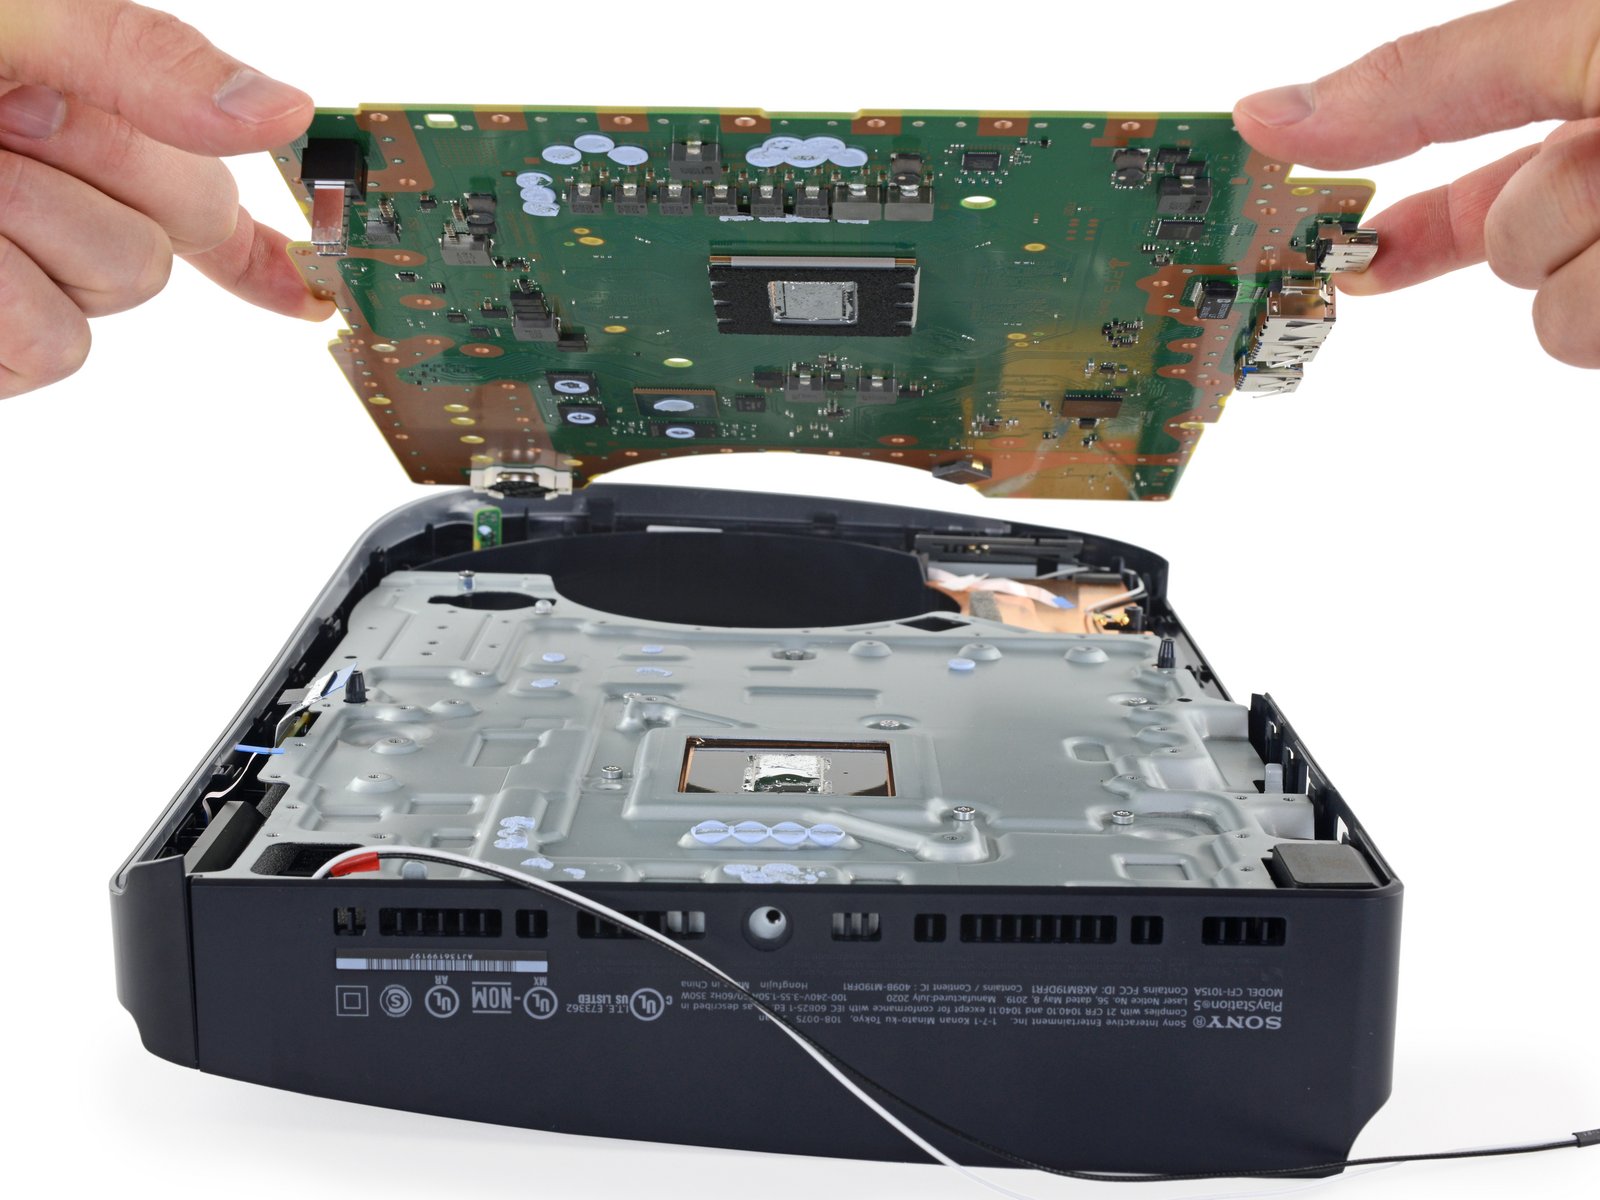
Step 2
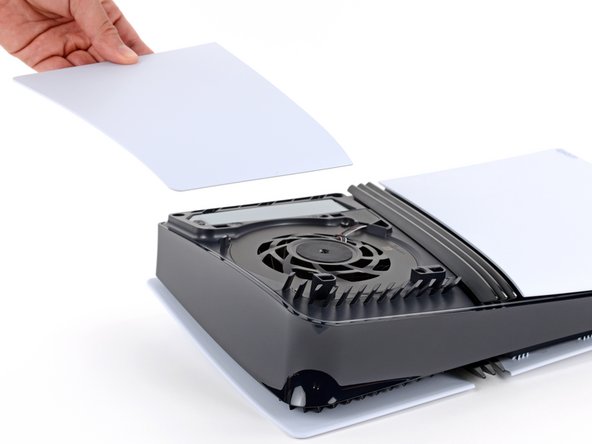
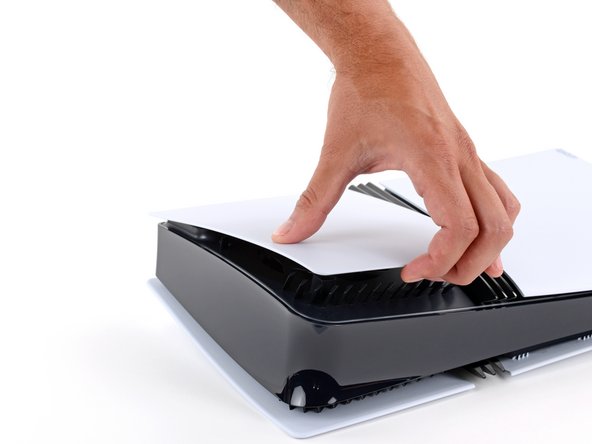

The cover is held in place by hooks along the back and clips along the front – pretty standard stuff. Just be prepared for those clips to snap back into place with a bit of force.
As you work your way around, you’ll start to hear the clips disengage – it’s a pretty satisfying ‘pop’ sound that lets you know you’re making progress.
– Let’s get started! Gently pry up the front edge of the smaller, upper cover to release the clips – it’s like opening a little door.
– Now, carefully remove the cover, taking your time to avoid any damage.
– To put everything back together, align the hooks with their cutouts along the rear edge, then firmly press the front edge of the cover into place until you hear the clips snap back in. You’re doing great!
Step 3


The cover is held in place with a gentle touch of adhesive.
– Let’s ditch that plastic cover over the fan cable connector! Just use your fingers to gently remove it.
– Time to put things back together! As you’re reassembling, gently press that plastic piece back into place to secure it with the leftover adhesive. If it’s feeling a little stubborn about sticking, grab some double-sided tape to give it a helping hand.


Step 5

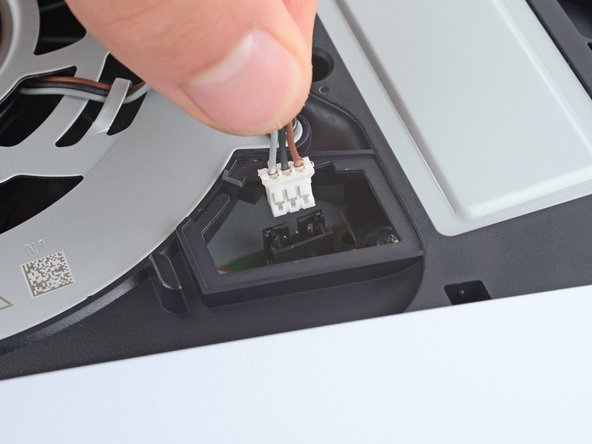
If you’re running into issues, try gripping the cables right above the connector head and giving them a gentle tug. This should help you get back on track.
– Grab the fan cables’ white connector head firmly and gently pull it straight up and out of its socket – easy does it!
– When putting everything back together, line up the connector with its socket and use your fingernail or the flat end of a spudger to nudge it into place until it clicks in securely.
Tools Used

Step 6
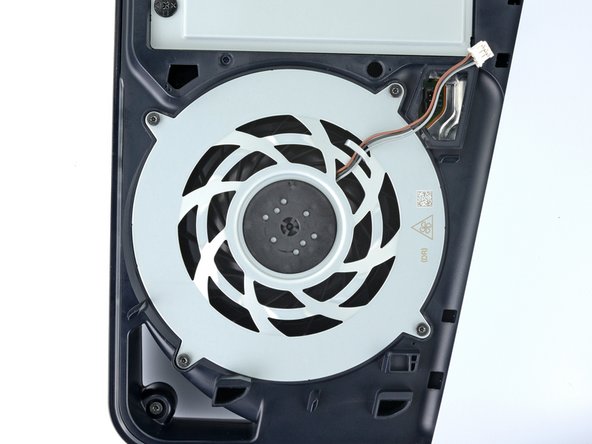

As you tackle this repair, keep an eye on each screw and ensure it finds its way back home just like it started. You got this!
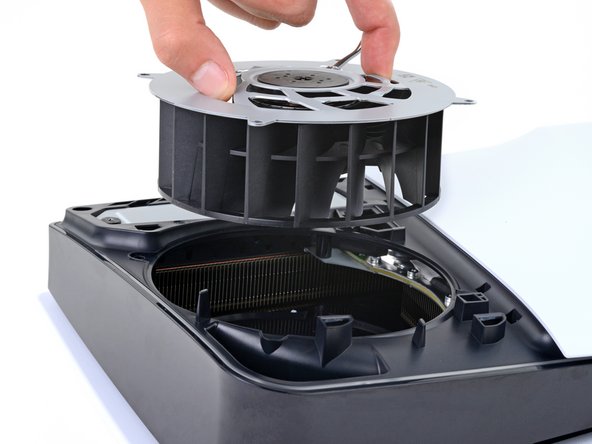
– Time to get started! Use a T8 Torx Security screwdriver to remove the four screws that hold the fan in place:
– First, you’ll find one 31.7 mm-long screw – carefully remove it
– Next up, remove two 21.5 mm-long screws – they’re holding things together
– Last but not least, remove one 11.5 mm-long screw to fully release the fan
Step 7

– Time to put everything back together! Just follow these steps in reverse order.
– Recycle your old parts in an environmentally friendly way. Find an R2 or e-Stewards certified recycler.
– Didn’t go as planned? Don’t worry, you can try some basic troubleshooting or ask our Answers community for help.
– If you’d rather not finish the repair, no worries, just cancel this guide.
–
Tools Used

Success!