Porter Cable C2002 Type 5 Manifold Replacement
Duration: 45 minutes
Steps: 8 Steps
Step 1


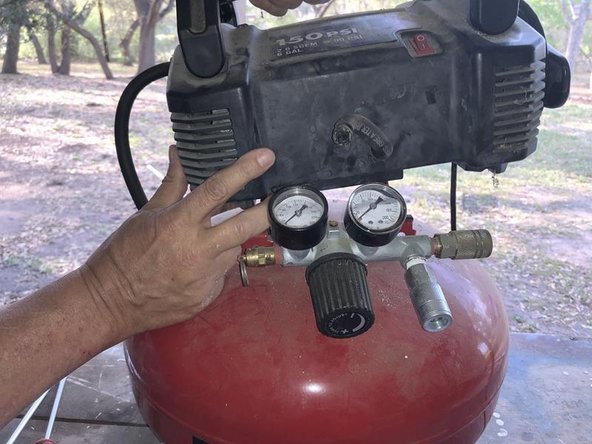
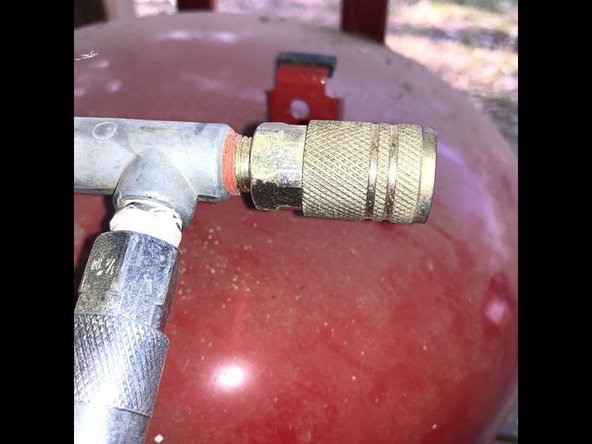
– The manifold assembly cracked, causing the compressor to struggle with building up pressure consistently. Both gauges stopped working a while ago. This manifold has two quick connects and one safety valve.
– The mounting bracket for the air pump on the left side could use some attention.
– The mounting bracket for the air pump on the right side is also in need of some work.
Step 2


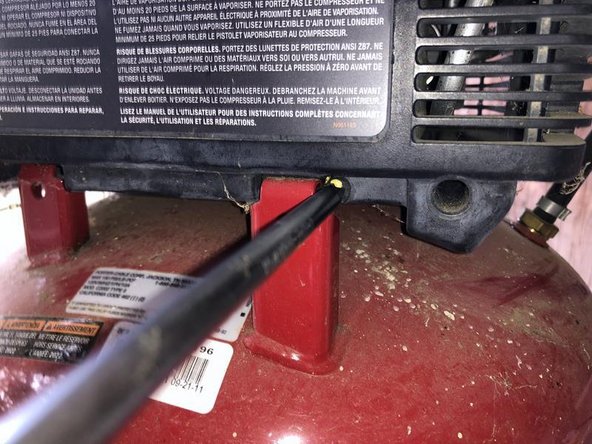
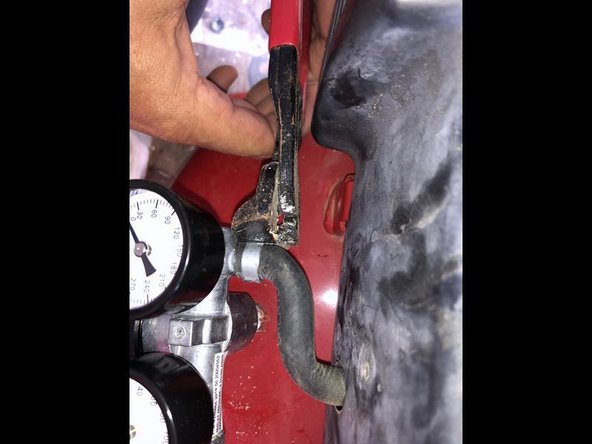
– Find the pressure hose that runs from the air pump to the manifold. It’s held tight with a single compression clamp right at the manifold.
– Grab a pair of End Cutting pliers and snip through the compression clamp. Take it slow—don’t nick or poke the hose itself.
– Slide the clamp off the hose and set it aside.
Step 3
– Let’s get started by unscrewing that Phillips head screw on the left mount. You’ve got this!
– Now, move on to the right mount and take out the Phillips head screw there too. Almost done with the screws!
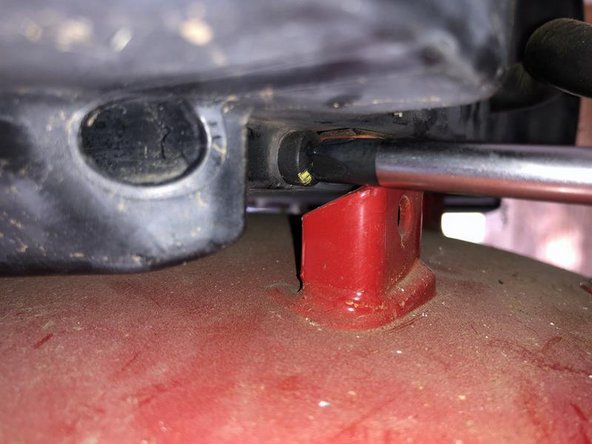
– Grab your trusty flathead screwdriver and gently nudge the pressure hose off the nipple on the manifold. A little finesse goes a long way!
Step 4


– Start by gently sliding the air pump of the compressor tank backward to lift it up.
– Make sure the air pump is positioned in a way that keeps the hose nice and straight—no kinks allowed!
– Now, let’s move on to the pressure relief safety valve. It’s ready for its moment!
Step 5


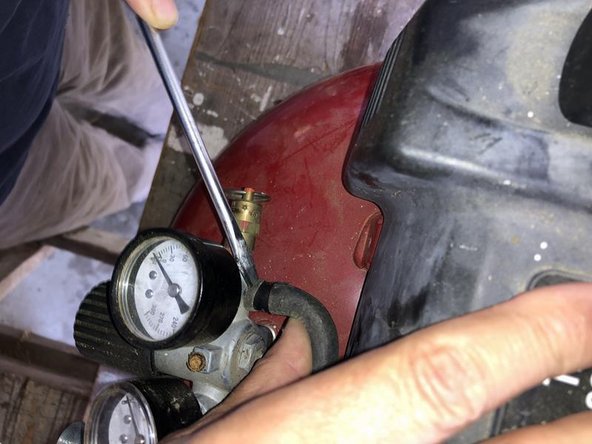
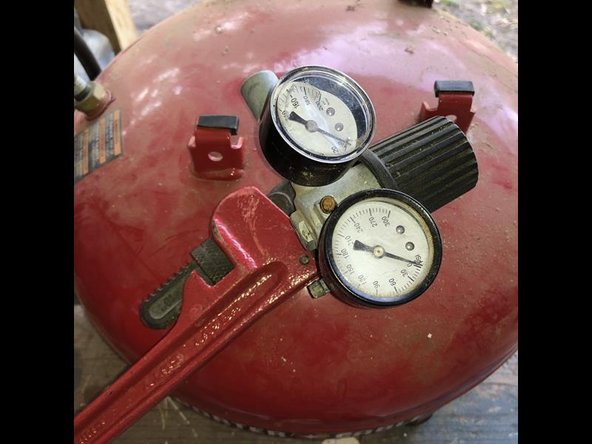
– Grab a pipe wrench or an adjustable wrench — whatever you’ve got lying around. To loosen the valve, turn the wrench clockwise until it gives way.
– Next up, remove the two Quick connects. Use any available wrench and turn counter-clockwise to disconnect them smoothly.
– Once the manifold with pressure relief valve and the Quick connects are out of the way, you’re all set for the next step.
Tools Used

Step 6
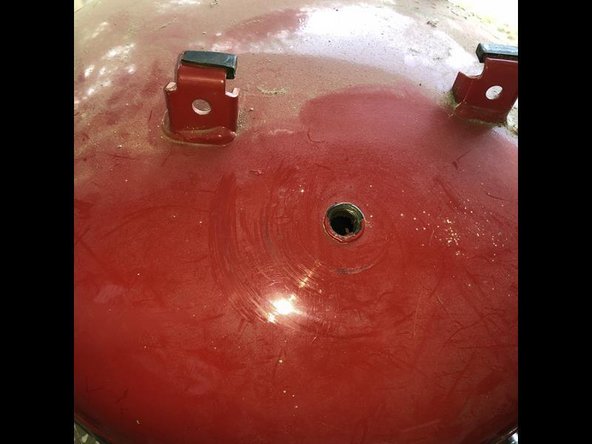
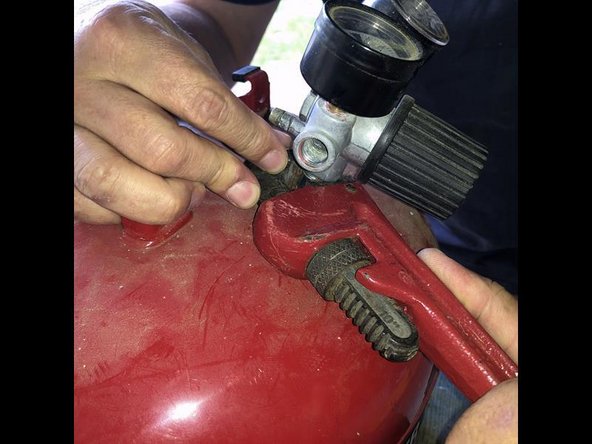
– Alright, let’s send that manifold packing! Grab a pipe wrench and pop it between the manifold and the tank.
– Now, give the whole manifold assembly a spin counterclockwise—think of it like unscrewing a stubborn jar lid.
– And there you go, the manifold assembly is off and ready for its next adventure.
Tools Used
Step 7
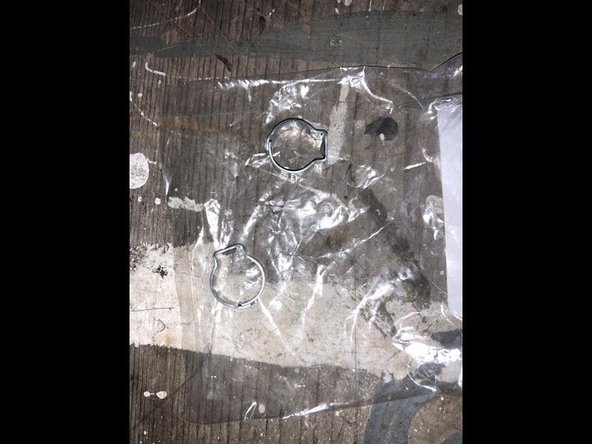
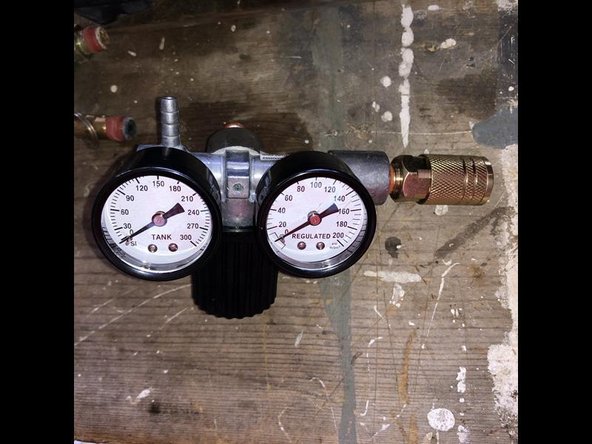
– Here’s the replacement manifold — the only one that was ready to go for this compressor. The main difference between the old part and the new one is that the replacement only has room for a single quick connect. When it comes to clamps, I grabbed the right one for the job since they were available. The old clamp can’t be reused, so it’s best to replace it. You might also find that a standard worm drive hose clamp will do the trick just as well. To secure the clamp, I used a pair of end-cutting pliers to squeeze it shut — but any combination pliers or similar tool should work fine.
Tools Used
Step 8

– To reassemble your device, follow these instructions in reverse order.
–
Success!