Puffco Peak Teardown
Duration: 45 minutes
Steps: 5 Steps
So, it looks like my Puffco Peak decided to play hardball with its micro USB port, which isn’t uncommon for devices that see a lot of action. After a friendly chat with Puffco, I found out my device just sneaked past the one-year warranty. When I asked about repair services or parts, they kindly let me know that since it’s out of warranty, they don’t offer repairs or sell parts. No worries, though! I took matters into my own hands and discovered that the micro USB port is soldered right onto the board. It could either be a case of a wobbly solder joint or a full-on replacement job needed. If you ever get stuck, remember, you can always schedule a repair!
Step 1


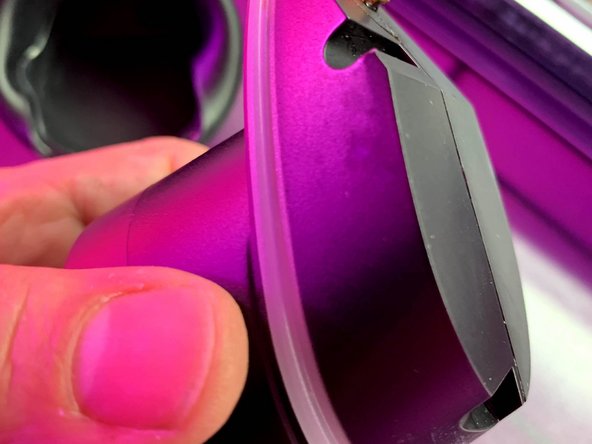
– This part is stuck down with some sticky tape. A little heat will help loosen things up and make it way easier to peel off.
Step 2

– Once the glass is off, gently peel the rubber boot from the bottom up, and slide it off in one smooth motion. Easy peasy!
Step 3
– Grab your T6 Torx driver—these tiny screws are the key to splitting the case in two. Take them out and you’ll be halfway there!
Step 4

– After taking out the screws, peel off the warranty tape (you’ll spot the void mark once it’s off). The two halves are glued together, so grab a heating mantle (or something similar) to warm things up and make separation easier.
Step 5
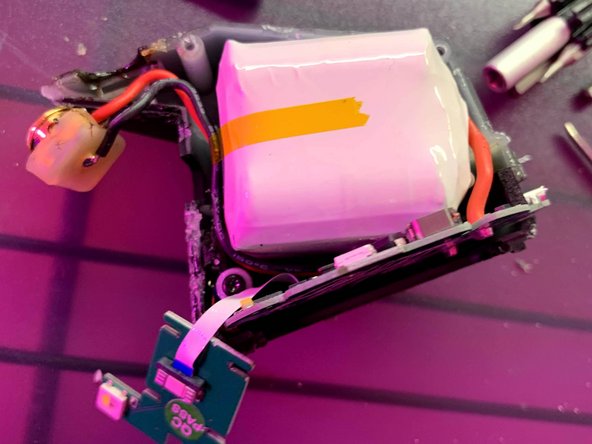
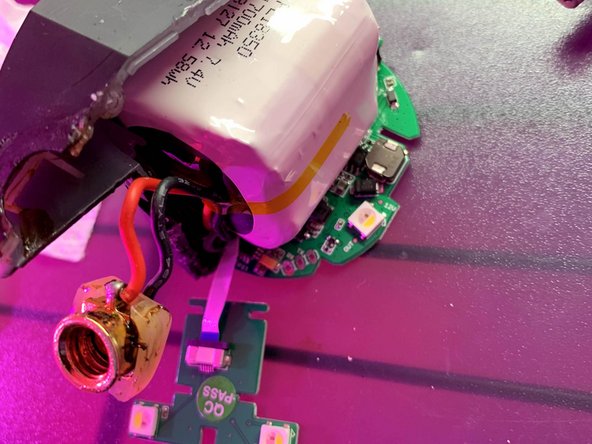
– After you’ve split the two halves apart, gently lift out the board. Be extra mindful of the two little wires that lead to the case LEDs—they’re easy to snag. Now you’ve got access to swap out switches, lights, or charge ports and give your $400 gadget a new lease on life!
Success!