
RadioShack Heat Gun 120V 60Hz 300W with reflector Teardown
Duration: 45 minutes
Steps: 6 Steps
This teardown is all about diving into a reverse engineering project for EE 460 at Cal Poly San Luis Obispo. We’re taking apart and examining a consumer product, specifically a 300 W heat gun that you might have seen at Radio Shack. Let’s see what makes this gadget tick!
Step 1
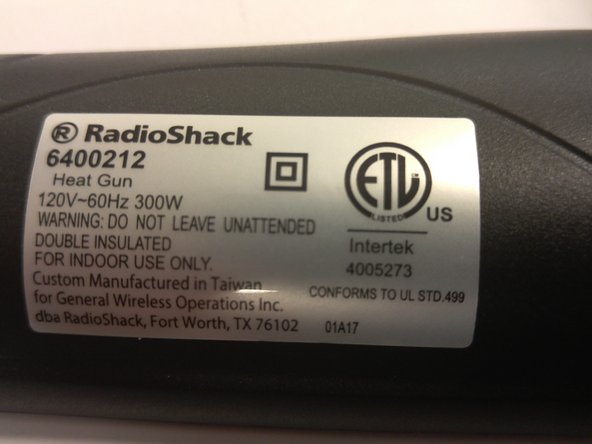

– This trusty heat gun, once a gem from the now-gone Radio Shack, is your double insulated buddy for all things hot air! It transforms 120V AC electricity into a warm breeze, perfect for those tricky repairs.
– With an ETL listing and a power punch of 300W, it draws about 2.5Arms to get the job done. Keep it handy for your next project!
Step 2

– Let’s kick things off by taking off that protective plastic nozzle cover along with the wire stand. You’re on your way to a smooth repair!
Step 3
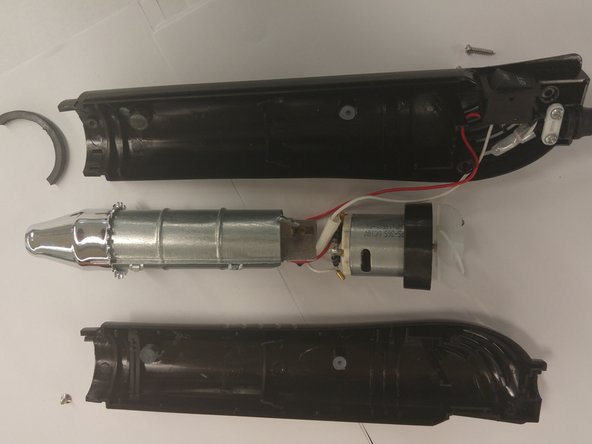

– To open the clam-shell, start by removing two Phillips-head screws. Simple, right? Now, to disconnect the power cable from the clam-shell, just take out two more screws.
– The clam-shell housing seems to be made of ABS plastic, though the injection molding didn’t leave any identifying marks.
Step 4

– The switch popped right out of the housing, nice and easy. It’s rated for 10 amps, which is way more than the 2.5 amps the heat gun actually uses, and good for 250 Vac. The soldering job looks hand-done, giving it that personal touch.
Step 5

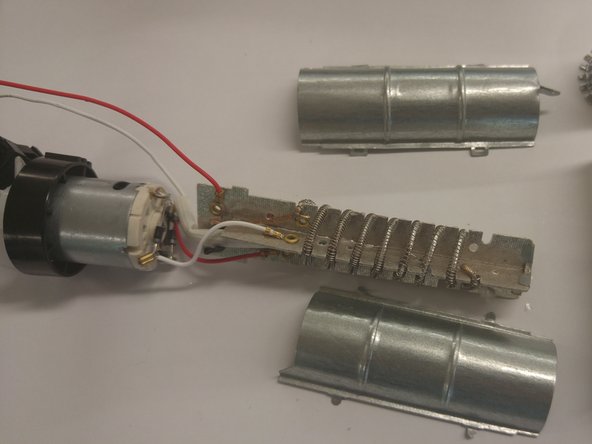
– The main assembly features a metal tube that helps direct hot air out of the nozzle. Inside the tube, you’ll find a heating element wrapped around a frame, all insulated by heat-resistant paper. The heating element is basically a resistor, coiled around a synthetic thread that can handle some heat without burning up.
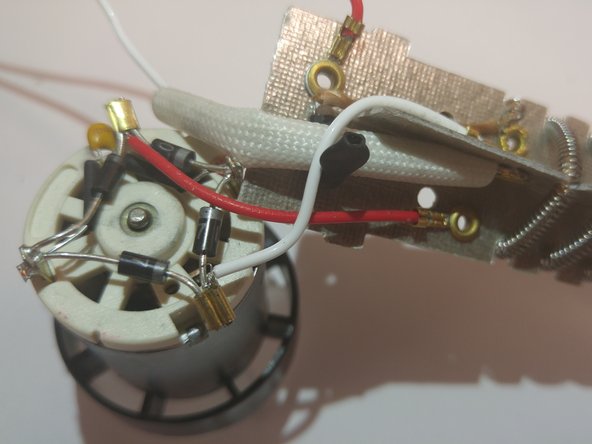
– Another key component of the assembly is a brushless DC motor. The AC voltage comes in, gets converted to DC with the help of a 4-diode full bridge rectifier and a smoothing capacitor, and then powers both the motor and the resistor. The DC motor is connected to a plastic fan, which pushes air through vent holes, down the metal tube, and over the heating elements.
Step 6

– Check out that shiny copper contact in the pic—it’s your device’s built-in heat shield.
– This contact is actually a normally closed switch, sitting on top of a different kind of metal. As things heat up during intense use, both metals warm up.
– The metal underneath expands quicker than the copper contact. If your heat gun gets too toasty, the expanding metal pops the switch open. That cuts power to the resistor but keeps the fan spinning, giving your device a chance to chill out.
Success!