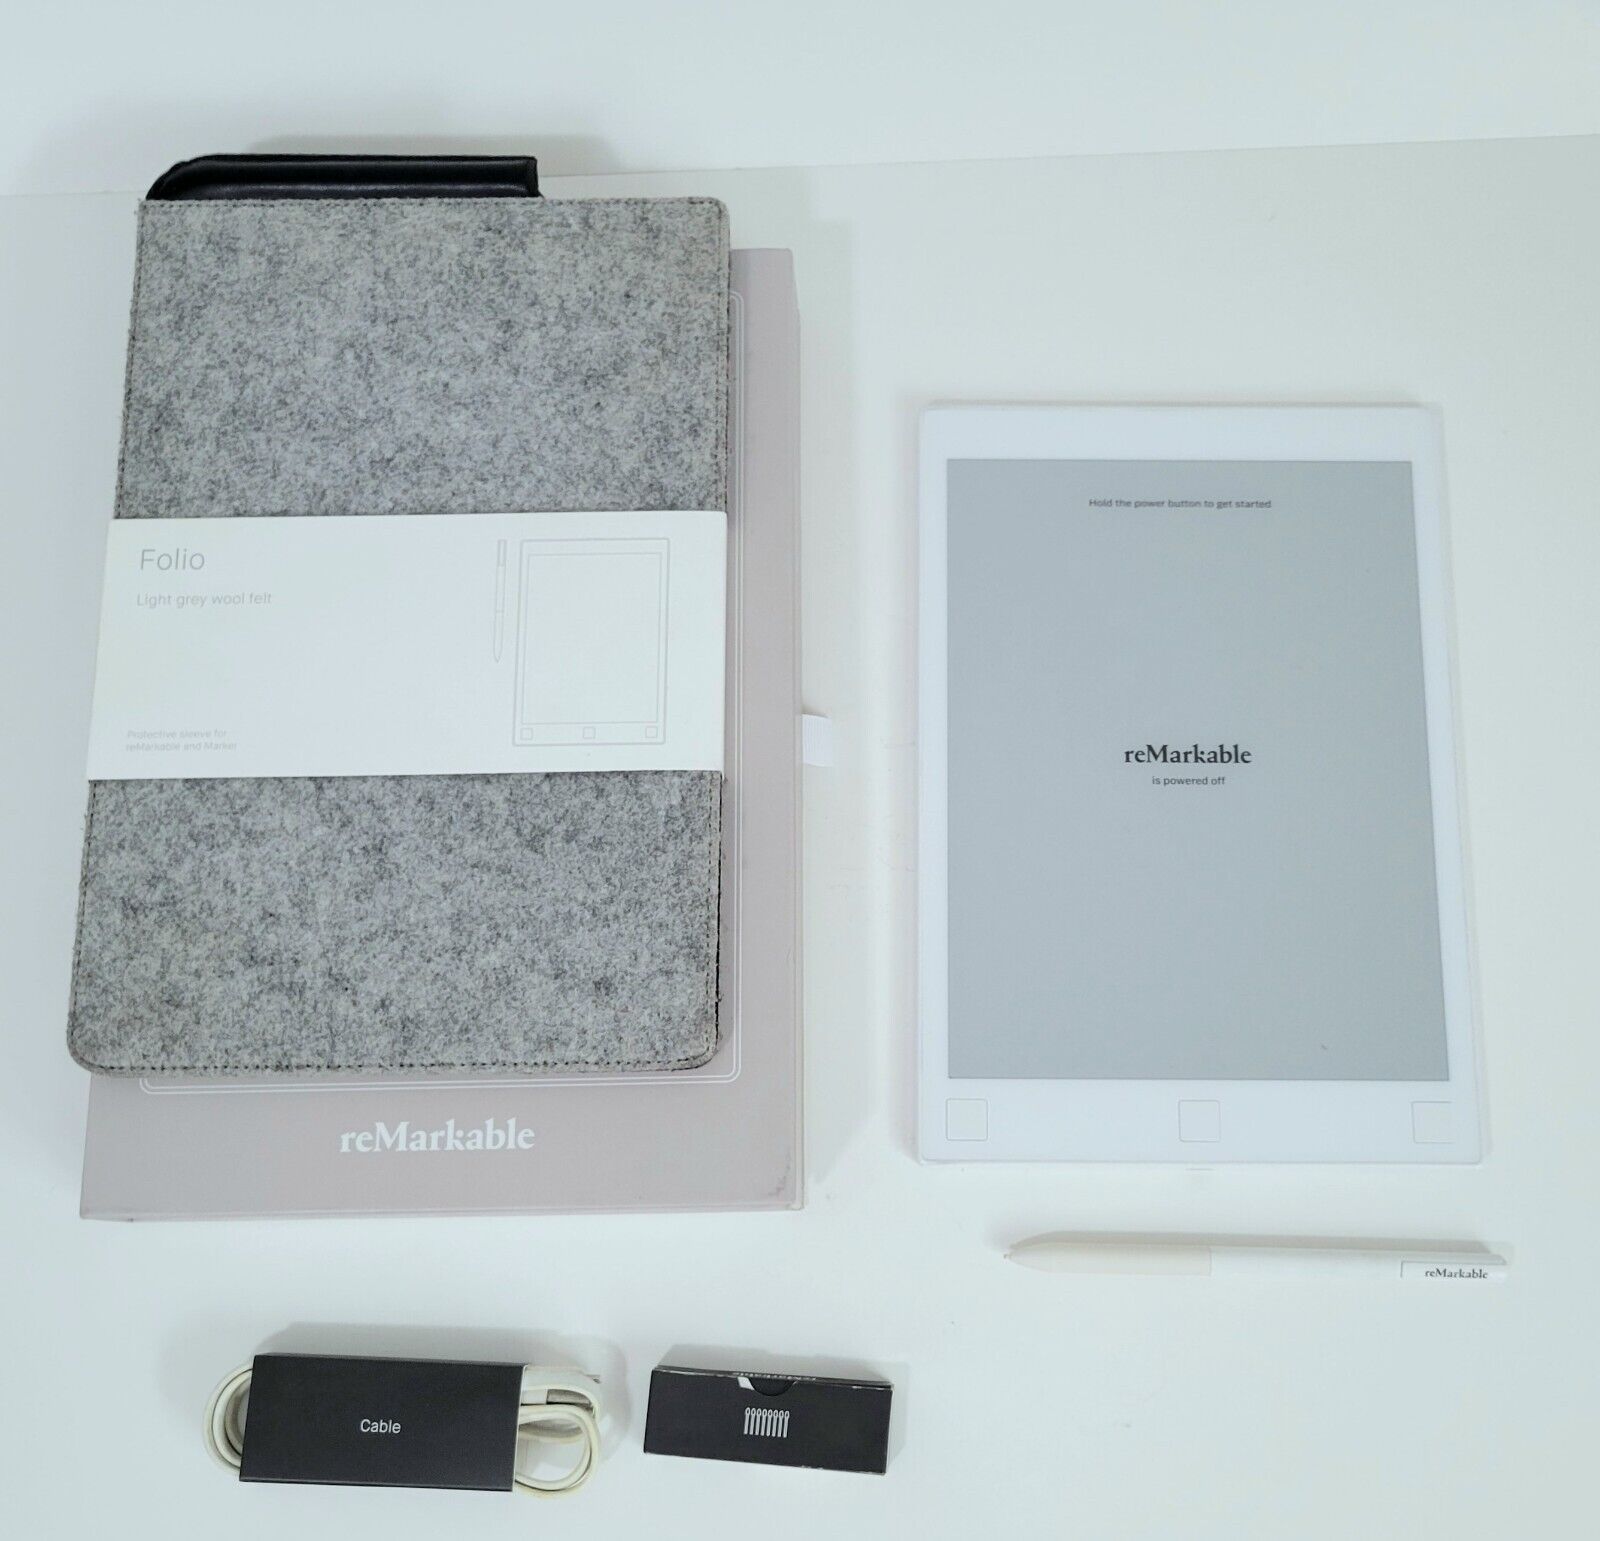
reMarkable Paper Tablet 1 – RM100 Battery Replacement
Duration: 45 minutes
Steps: 9 Steps
Heads up! This guide is for reMarkable devices that are no longer supported by the manufacturer. Make sure you’ve tried all other options to get it fixed by them before diving in here!
We can’t take responsibility for any oopsies or mishaps that might happen while following this guide—but don’t worry, you’ve got this!
Hey there! If your reMarkable has decided to take a permanent vacation from support, you’re in the right place. But hold your horses! Make sure you’ve tried every avenue with the original manufacturer before diving into this repair adventure. The aluminum backplate is glued to the plastic frame, making it a bit of a challenge to remove and reattach. So, it’s best to have the right tools and some prior repair experience under your belt. Remember, I can’t take responsibility for any mishaps along the way, so be sure to reach out to official reMarkable support first! And if you find yourself in a pickle, you can always schedule a repair.
Step 1
– Step one: Power down your reMarkable completely before diving into the repair—it’s not as cool as turning it on, but it’s gotta be done.
– Heads up: Keep the display far, far away from alcohol or anything with alcohol in it—those solvents are not its friends and could wreck the device.
– Carefully remove both the top and bottom rubber strips. Underneath, you’ll uncover a treasure of 6 small Philips head screws.
– Unscrew all 6 screws—you’re practically a tech archaeologist now!
Step 2
– The aluminum backplate is snugly glued onto the device, so grab a trusty prying tool to help you separate it from the plastic holder.
– The adhesive keeps all four sides tightly together, and it also runs vertically down the center.
– The trickiest part is finding a starting point on the backplate where there’s a sufficient gap (between the backplate and the device) to slide in your prying tool without bending that aluminum.
– Begin at one of the upper corners. Gently and patiently work your way around, using a sturdy prying tool that fits snugly between the backplate and the device.
Step 3
– Alright, team! You’ve got a total of 15 screws staring back at you—6 on each side and 3 up top in the middle. Time to grab your screwdriver and get those bad boys out! But heads up: the 2 screws at the bottom? They’re staying put, so leave them be.
– Once the screws are out, it’s time to separate the plastic frame from the main logic board holding frame. Here’s the twist—there’s some glue or filler hanging out between the two parts! So take it slow and steady when pulling them apart. You got this!
Step 4
– Gently lift or pry up the battery connector to release it from the mainboard.
Step 5
– Grab a battery that’s just like the original to swap it out.
– The battery is stuck in there with some glue. Use a sturdy tool to gently pry it loose.
Step 6
– Start by disconnecting all the cables if you’re swapping out the mainboard. Most connectors work the same – just lift the black or back part of the connector and gently pull out the cables. The only two connectors with a bit of a twist are the battery and the WiFi coax – those just need to be pulled or pried upwards.
– You’ll find 6 screws with special washers holding the mainboard to the frame. Get those out and you’re one step closer!
Step 7
– On the flip side of the mainboard, you’ll find some components nestled near the CPU that call for a semicircle hole to be carved into the frame. Quite the quirky design choice, isn’t it?
Step 8
– Let’s kick things off by unscrewing those 2 screws that are keeping the button/USB panel snug as a bug.
– Next up, gently disconnect the ribbon cable from the panel by lifting the black part of the connector. A little twist or pull should do the trick (check out the picture for a visual guide)!
Step 9
– Here’s a cool visual showing how the power button and WiFi cable connect to the top part of the mainboard. Take a moment to check it out—it’s all about making those connections crystal clear!
Success!


