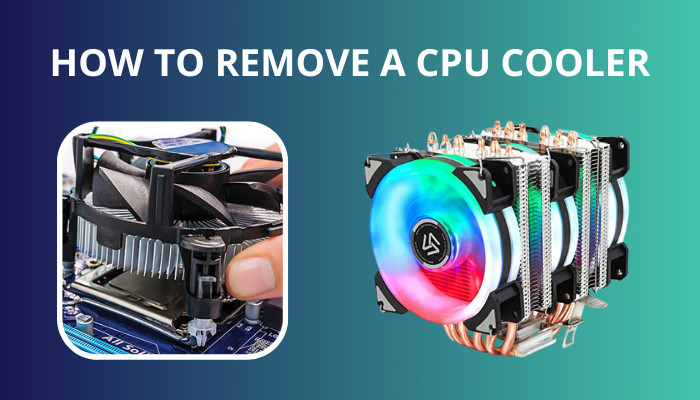
Removing HP Compaq dx2000MT CPU Cooler
Duration: 45 minutes
Steps: 7 Steps
Ready to tackle that CPU Cooler on your HP Compaq dx2000MT? This guide is here to help you safely remove it! If your CPU Cooler is feeling under the weather or has decided to take a permanent vacation, it’s time for a replacement. Plus, you might need to get in there to access other parts of your computer. Let’s get started!
Step 1

– Power down your computer, take a deep breath, and safely unplug the power cable by pulling it straight out of its socket. Easy does it!
Step 2


– Unscrew the two Phillips #2 screws holding the case door in place. You’ve got this!
Step 3


Don’t be afraid to apply some elbow grease – it’s gonna take a bit of oomph to get this done, so keep at it!
– First, let’s get started by removing the side case door. Simply push it towards the rear of the device with your hand – it’s like sliding open a little secret door!
– Once you’ve slid the door back, just pull it outwards from the device to remove it. Easy peasy!
Step 4


This might require a bit of muscle, so don’t be afraid to put some effort into it!
– Slide off that side case door by giving it a nudge towards the back of the device—your hand is all you need here.
– Once it’s slid back, go ahead and pull the door outward from the device to set it free.
Step 5


– Gently unplug the 3-pin power connector by sliding it toward the side of the device. You got this!
Step 6


Keep a firm grip on your CPU cooler while unscrewing—let’s not have it taking a dive!
– Grab your Torx T15 screwdriver and unscrew the 4 screws keeping the CPU Cooler locked down. You’re doing great, keep it up!
Step 7


Be careful not to touch the area where the CPU cooler meets the processor! You don’t want to mess with that thermal paste layer – it’s there for a reason. Keep things clean and cool!
While swapping out your CPU cooler, don’t forget to give the processor and cooler’s contact area a good clean with some isopropyl rubbing alcohol. It’s like giving them a refreshing spa day before they get back to work!
– Give the CPU cooler a gentle tug sideways, sliding it off the device.
Success!