Repair Samsung Galaxy Grand Prime: Step-by-Step Water Damage Guide
Duration: 45 minutes
Steps: 11 Steps
Hey there! Here are some crucial tips and reminders:
First things first, power down your device:
Let’s keep it dry: remove any moisture:
Need more info? Check out these external resources:
Welcome to our super chill guide on saving your Samsung Galaxy Grand Prime from water damage! If your Galaxy Grand Prime has taken an accidental plunge and is now feeling the effects of a water encounter, don’t sweat it. This step-by-step guide is here to help you revive your device and prevent long-term damage. Important Tips and Warnings: Before diving into the recovery process, check out these crucial tips and warnings to ensure a safe and successful revival: Turn off your device: Make sure your device is powered down to avoid any electrical mishaps. Remove moisture: Wiping away any moisture on the outside is key to preventing damage and increasing the chances of a successful recovery. External Resources: For extra insights and reference materials, check out these resources: How to disassemble 📱 Samsung Galaxy Grand Prime SM-G530, Take Apart, Tutorial What to do when Samsung smartphone dropped in the water? Let’s jump into fixing your wet Samsung Galaxy Grand Prime. Follow each step closely for the best shot at bringing it back to life. Good luck! If you need help, you can always schedule a repair
Step 1


Switch off your waterlogged Samsung Galaxy Grand Prime ASAP to save the internal circuitry from further damage. If you need help, you can always schedule a repair
– Alright, let’s get this party started! Flip that phone over so the screen is facing down. You’re in control, rockstar!
Step 2


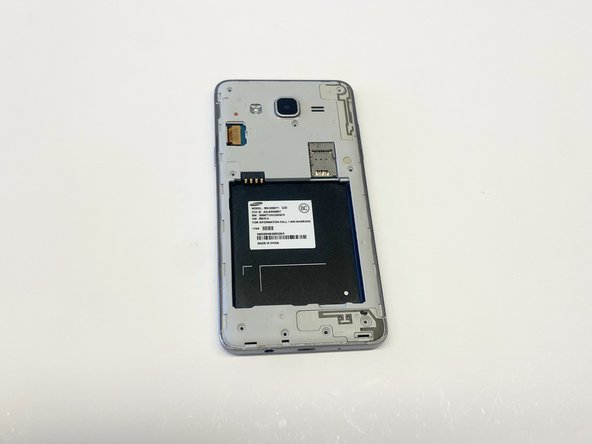
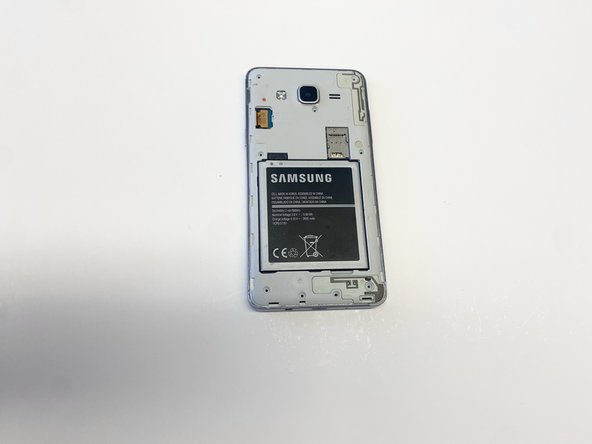
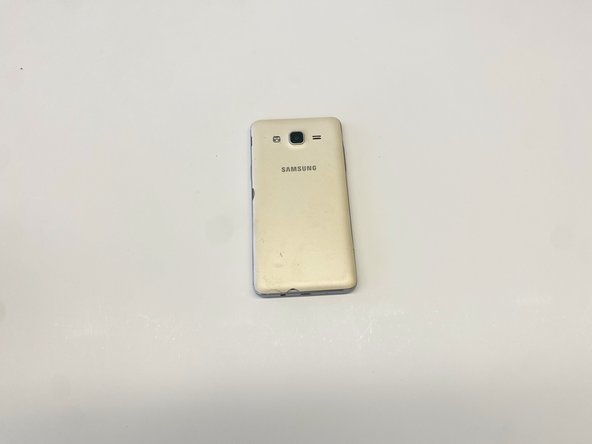
– Flip that primary back panel around so it’s facing you like a friendly wave!
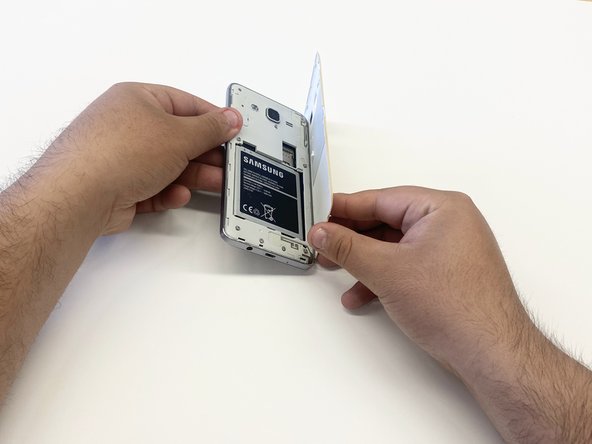
– Gently unfasten the primary back panel to reveal the hidden treasure: the battery tucked away in the secondary back panel.
Step 3


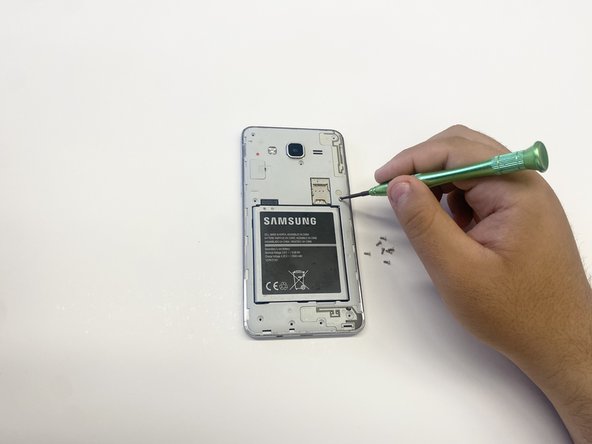
Set those screws aside so they don’t go on an adventure and get lost!
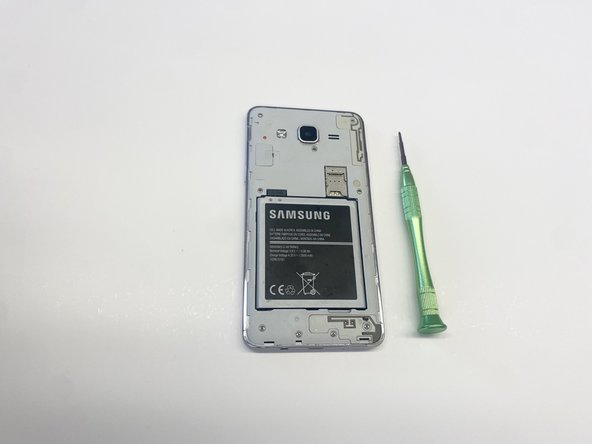
– Let’s get started! Use a 1.5×25 millimeter Phillips head screwdriver to remove the nine 4mm screws. This will give you access to the inner circuitry. If you need help, you can always schedule a repair
Step 4


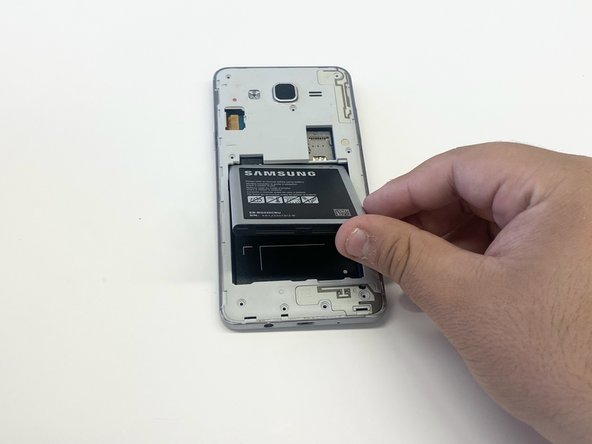
Take out the battery to avoid any mishaps along the way.
– Carefully lift the battery out of its spot and set it aside for now. If you need help, you can always schedule a repair
Step 5


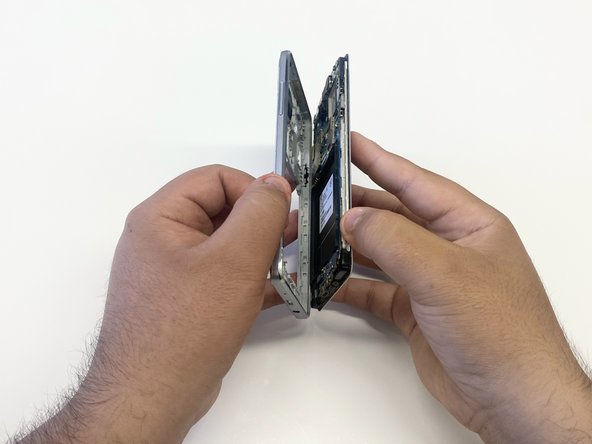
– Gently lift off the screen display from the back panel. If it’s stuck, grab a hair dryer to melt the adhesive.
Tools Used

Step 6
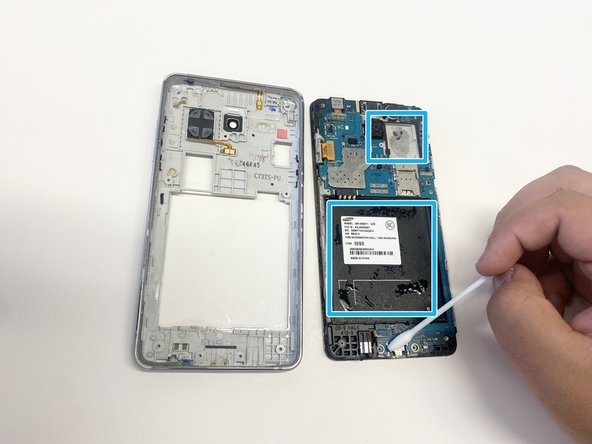

– Tackle those pesky spots on the main frame using a small towel or cotton swab – it’s like giving your device a little spa treatment!
– Another fun option is to let both parts take a relaxing dip in a container filled with desiccants like silica gel for a while. It’s a great way to dry out any moisture!
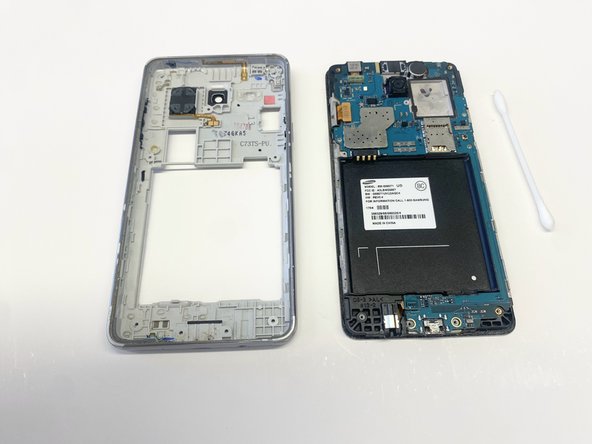
Step 7


Ensure that there’s no leftover liquid hanging around
Now, it’s time to put everything back together! Start with the screen and the back panel, then work your way down. You got this!
– Give it a good press all around until you hear that satisfying click! You got this!
Step 8

Make sure your phone is facing the right way so it can boot up properly after you’re done fixing it. You got this! If you need help, you can always schedule a repair
Step 9

Make sure those screws are tight like a hungry tick on a hiker’s neck! No wobble room allowed!
– Grab hold of those 4mm screws you set aside back in Step 3 — they’re ready to get back to work!
– With your trusty 1.5×25 millimeter Phillips head screwdriver in hand, let’s snug up all 9 of those 4mm screws.
Step 10

– Now, let’s bring back that primary back panel from step 2. Remember that one?
– Time to get those panels aligned! Make sure the primary and secondary back panels are snug, and that the Samsung logo is proudly facing outward.
– Click those panels together! Work your way around, making sure each side is securely attached. You got this!
Step 11


Give your phone a little juice with a USB Micro-B cable before you start tinkering. It’s always good to have a little power behind you when you’re getting your hands dirty!
– And that’s it, you’ve done it! Your phone should be back in action and ready to rock. If you get stuck or need a little help, you can always schedule a repair.

