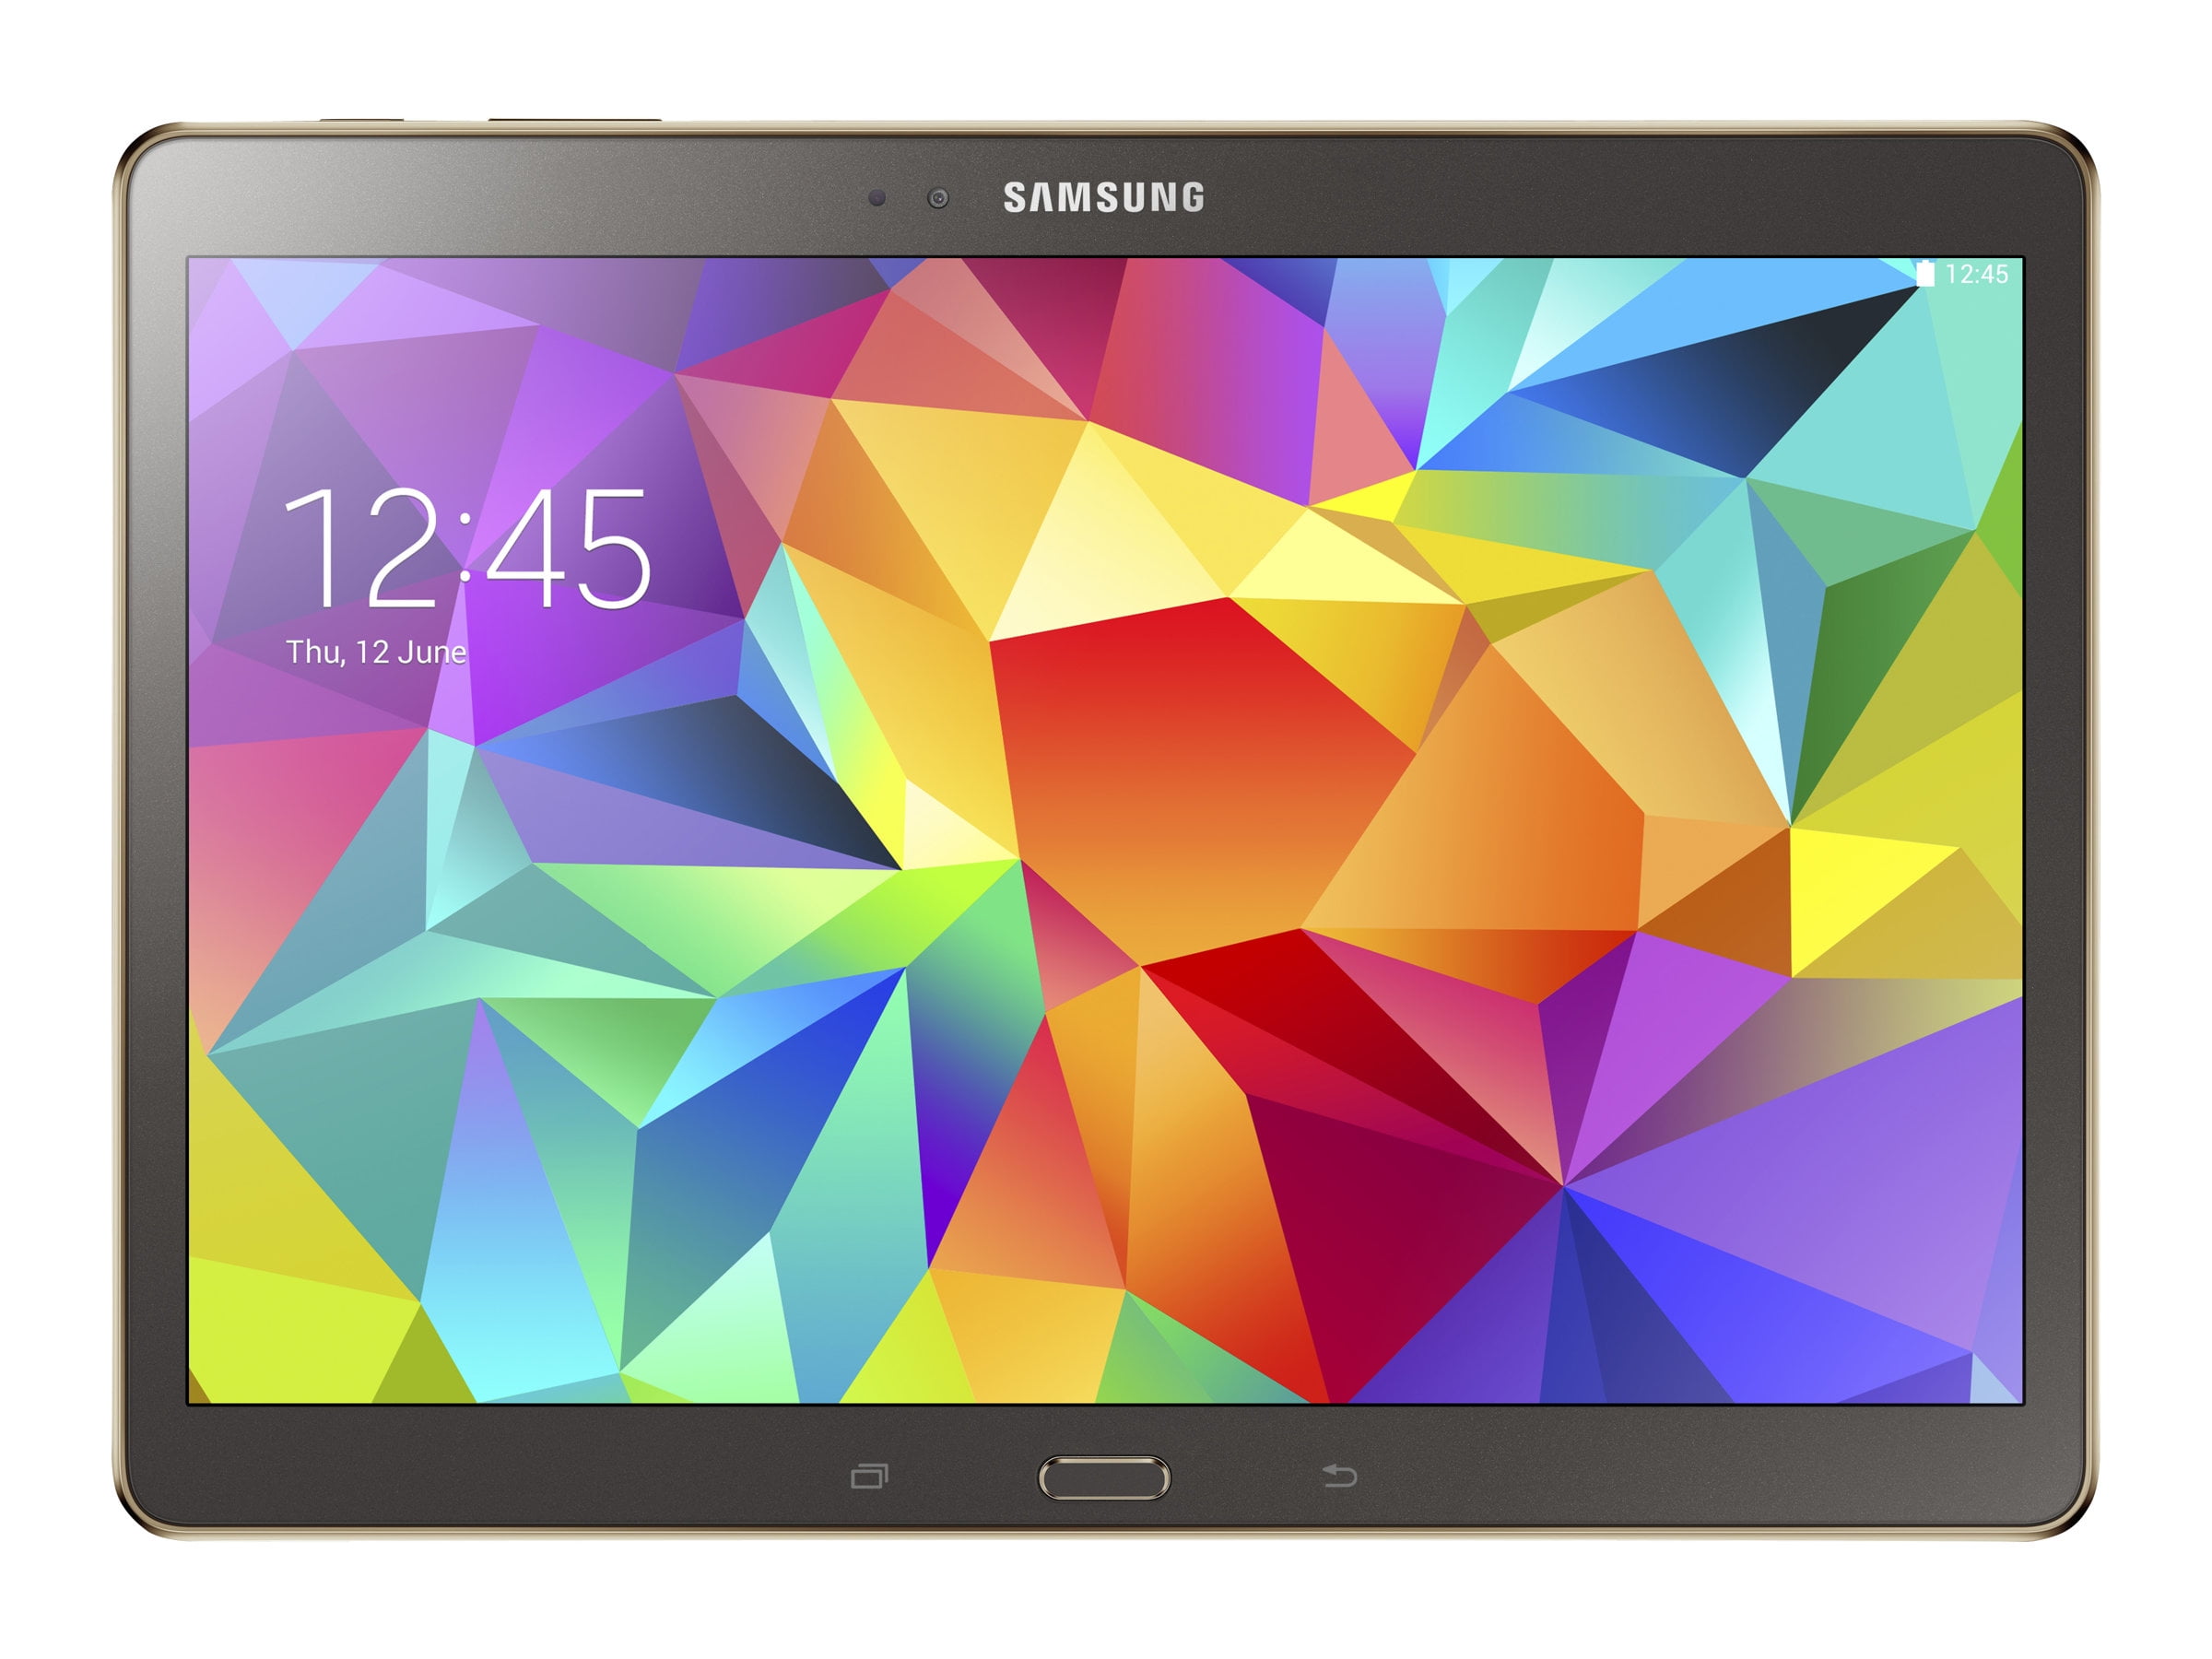
Repairing Samsung Galaxy Tab 2 7.0 3G SIM Socket
Duration: 45 minutes
Steps: 8 Steps
Hey there! Ready to tackle that SIM card slot on your Galaxy Tab 2 7.0 from Samsung? We’ve got you covered! This guide will show you how to swap it out like a pro. Just a heads up, a bit of soldering skill will come in handy, so it might be a tad trickier than your usual fix. But don’t worry, you’ve got this!
Step 1
Take your time and be gentle, so you don’t leave any marks on the back case or body. You’ve got this!
– Let’s get started by opening up your device with a trusty metal or plastic spudger around the edges – it’s like a little wake-up call for your device!
– Keep in mind that the top and bottom of the device have those sneaky noses protruding from the display side into the back cover. Don’t worry, we’ve got this!
– Now, on the sides, it’s the opposite: the noses stick out from the back cover into the display side. Easy peasy, just remember: top and bottom are one way, sides are another!
– To remove the case, you’ll need to gently push the back cover inwards on the top and bottom, and pull it out on the sides. Think of it like a little dance: push, pull, and voilà!
– If you accidentally scratch the plastic, don’t sweat it! You can partially remove those marks by pressing the material back into place. Like magic, right?
Tools Used
Step 2
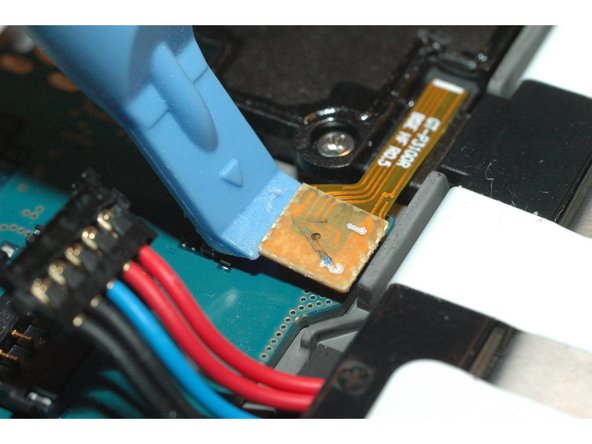
– Using a non-metallic tool or your hand, gently lift the black connector and detach the battery. Easy does it!
Step 3
Be careful not to damage the 8 cables when removing the flex connectors, we want to keep everything intact and make this repair a success!
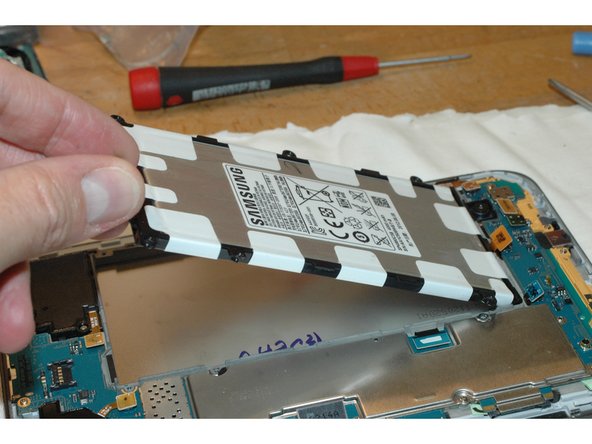
– Grab your trusty screwdriver and carefully take out those 11 screws holding the main PCB board and battery in place.
– Gently lift and remove the battery, just like it shows in the second image.
– With your opening tool in hand, detach all of the flex connectors as demonstrated in the third image.
Step 4
Be careful not to tear those flex cables that are folding back!
– To pop out the main PCB board, carefully lift it from the side opposite the connector.
Step 5
– Flip over the main PCB board and you’ll find the micro-SD and 3G SIM sockets hanging out. Grab your trusty soldering iron and gently remove that damaged socket. If you’re using lead-free solder, be prepared to crank up the heat a bit. No worries if you’re not feeling the heat—using traditional solder can help cool things down. Just remember to add some solder first, and then use a solder wick to remove it.
– Check out the first image where the SIM Socket is marked with a green circle, so you won’t miss it!
– The Micro-SD Socket? It’s hanging out in the first image too, highlighted by a cute blue circle.
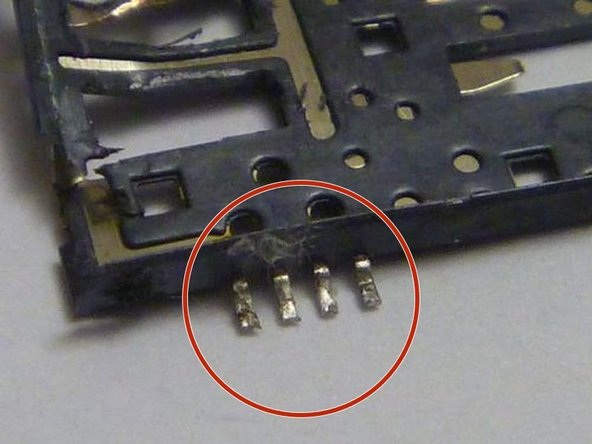
– Since that old socket is already on its last legs, there’s no need to be precious about it! Desolder each pad and gently bend the holder upwards. Just be careful—don’t go all Hulk on it, or you might damage one of the 8 pads on the PCB edge.
– Time to tidy up! Make sure to clean off any solder residue from those 8 pads on the main PCB board.
Tools Used
Step 6
Before you start soldering those shield pads, do a quick system check to make sure everything is working as it should. If it’s not, you might end up having to re-solder the socket, and trust us, you don’t want that hassle!
Grab a magnifying glass or microscope to check out the solder joints if you need to. Those tiny signal pads might look like they’re in contact with the PCB board, but sometimes they’re just teasing us!
Feel free to test the device while it’s open, but make sure the PCB board and the battery are in place. You can see if 3G works, but WiFi might be a bit shy since the antenna’s chilling on the back cover you removed.
– Get ready to add solder to the pins before popping in the new SIM socket.
– The socket’s got 8 signal pins where the card slides in, some pads for shielding, and two pads at the back to check if the SIM’s in.
– For stability, place the new socket on the board and start by soldering one shield edge first.
– Solder those eight signal pins at the PCB board edge. If you happen to bridge some pins, don’t freak out! Just grab a solder wick to remove the extra solder.
Step 7
Hold up, don’t close that cover yet!
– Alright, if everything’s running smoothly, gently slide that PCB board back in, starting with the dock-connector side first.
– Next up, connect all 8 of those flex connectors like a pro.
– Time to secure things! Screw all 11 screws back into their cozy spots.
– While you’ve got the cover open, give that 3G function a few test runs to ensure it’s working like a charm. Don’t forget to test it again after tightening those screws.
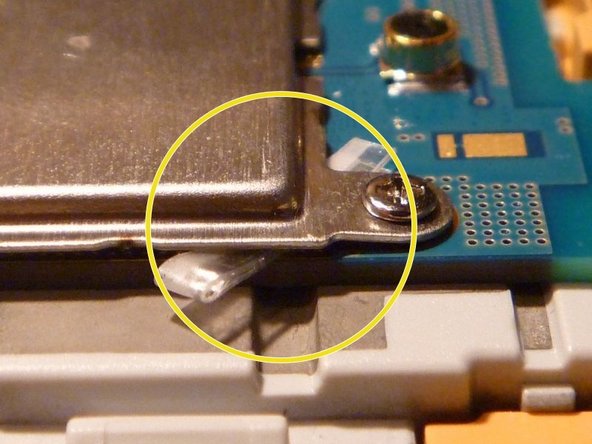
– If the 3G SIM is acting a bit wonky, try loosening some screws. That might just be the trick! If needed, pop in some spacers between the PCB board and the case around the SIM slot.
– By doing this, you should see a little extra wiggle in the spring contact between the PCB board and the 3G antenna.
Step 8
Make sure to remove your SIM and MicroSD cards before diving into this. Trust us, your device will thank you!
– Hopefully, everything went smoothly and you’re now the proud owner of a revived Tab!
– Cancel: I did not complete this guide.
– If you need help, you can always schedule a repair.
Success!


