Replace Apple Repair guides Mac Feet Guide: Step-by-Step Tutorial
Duration: 45 minutes
Steps: 4 Steps
This guide replaces the old foot replacement guide: gone – How to cool down your Mac Laptop**Guide now private**
These steps don’t work for the rMBP (PCIe, T1, and T2) series.
Once the foot is broken, there’s no turning back. Make sure you want to do this before taking off the remaining feet!
While bottom panel damage is rare if you’re careful, it can still happen if you work over an edge.
Most of the time, the original feet are fragile enough that a light cut will do the trick.
Once you remove the foot, it needs to be replaced and cannot be reused.
This guide takes over from the previous foot replacement guide: DEAD – How to lower Mac Laptop temperatures **Guide now private**. While you don’t need to replace all feet at once, many of the modern 3rd party replacements are rubberized and often come in sets. Over time, the original feet can give out as your device ages. If you’re ready to swap them out for good or want to prevent slipping, this guide will walk you through the process of breaking the feet for replacement. Just a heads up, these steps don’t apply to the rMBP (PCIe, T1, and T2) series. Remember, once you break a foot, there’s no turning back! Make sure you’re committed to this before you start removing any surviving feet! Although it’s rare to damage the bottom panel with care, it can happen if you’re working near an edge. To keep your cover safe, lay the bottom on a flat surface while you work. Most original feet are delicate enough that a gentle cut will do the trick. Once you’ve removed a foot, it’s gone for good and can’t be reused. So, have a set of four new feet ready for this process since you’ll be replacing those feet you’re intentionally damaging. Don’t forget to put the old feet in a designated container so you don’t mix them up! If you need help, you can always schedule a repair.
Step 1


Working on a 2011 13″ MacBook Pro here! Other machines are mostly similar, but you might find some differences. If you need help, you can always schedule a repair
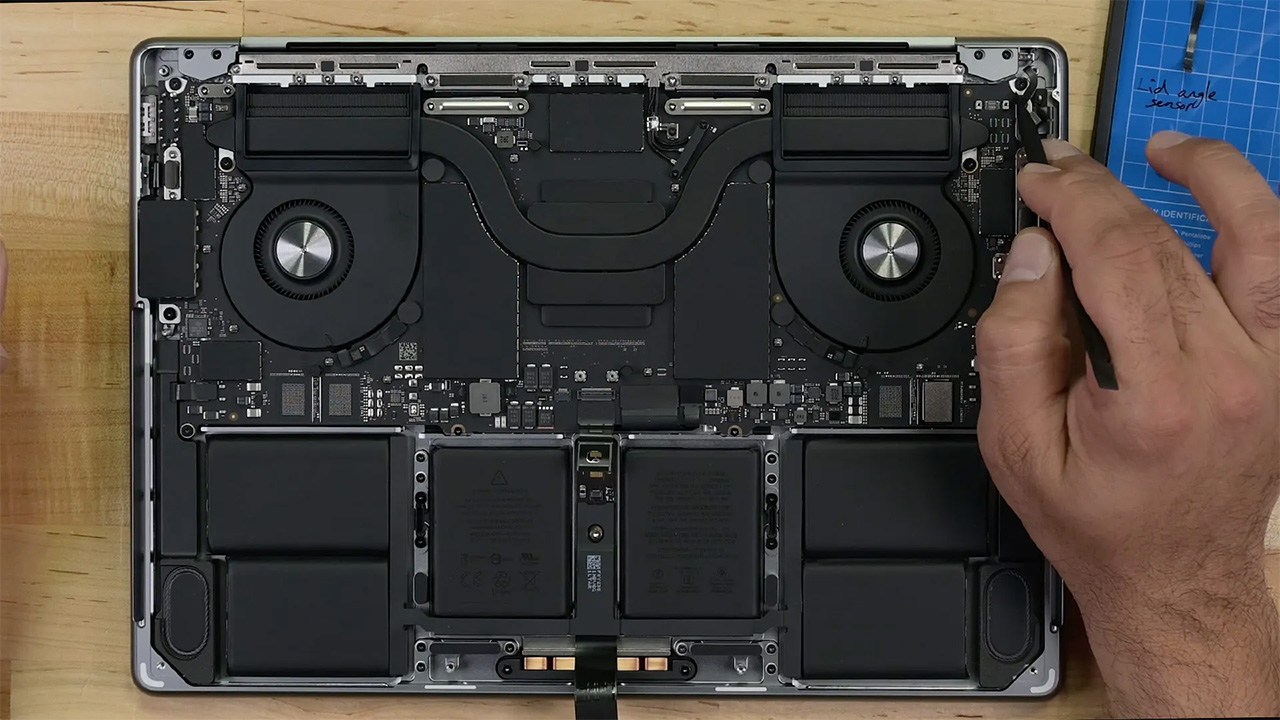
When you’ve got the bottom off, it’s a smart move to disconnect the battery. It helps keep your components safe and sound!
– Pop off the bottom cover of your MacBook using the guide tailored for your system. If you need help, you can always schedule a repair
Step 2


– Let’s kick things off! Start by taking off those pesky failed feet. If they’ve completely given up, they might just pop off without any disassembly. Nice and easy!
– Once you’ve dealt with the damaged feet, it’s time to tackle the good ones. Be sure to check out the disassembly guide specific to your Mac for smooth sailing!
Step 3
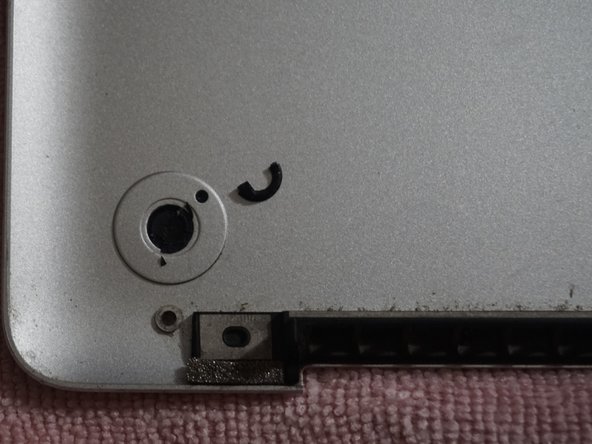

– First, let’s take off those sturdy feet! Gently score the internal plug to get things rolling. Once you’ve made the score, use a guitar pick to pop that plug out.
– Once the inner plug is free, give that foot a little push with a spudger or screwdriver to send it on its way.
Tools Used

Step 4

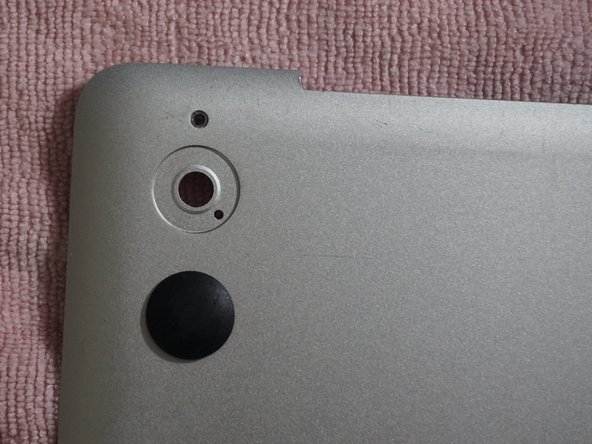
– Got an adhesive ring hanging around? Let’s kick it to the curb first! Then, give that chassis a good scrub with some denatured alcohol or adhesive cleaner.
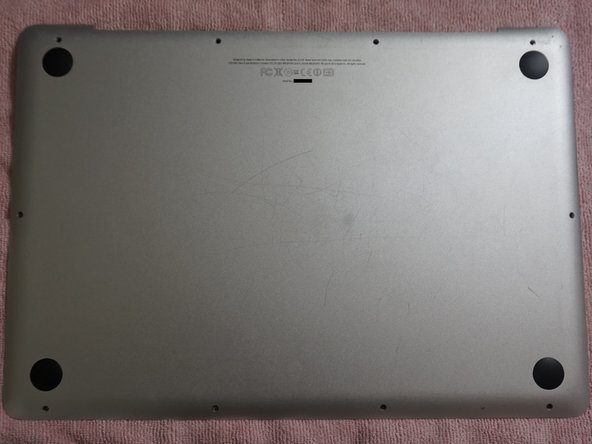
– Once you’ve said goodbye to the old feet, it’s time to welcome the new ones! Pop them onto the bottom cover with care.
– Time to bring it all back together! Re-install that cover on your computer and give yourself a pat on the back.