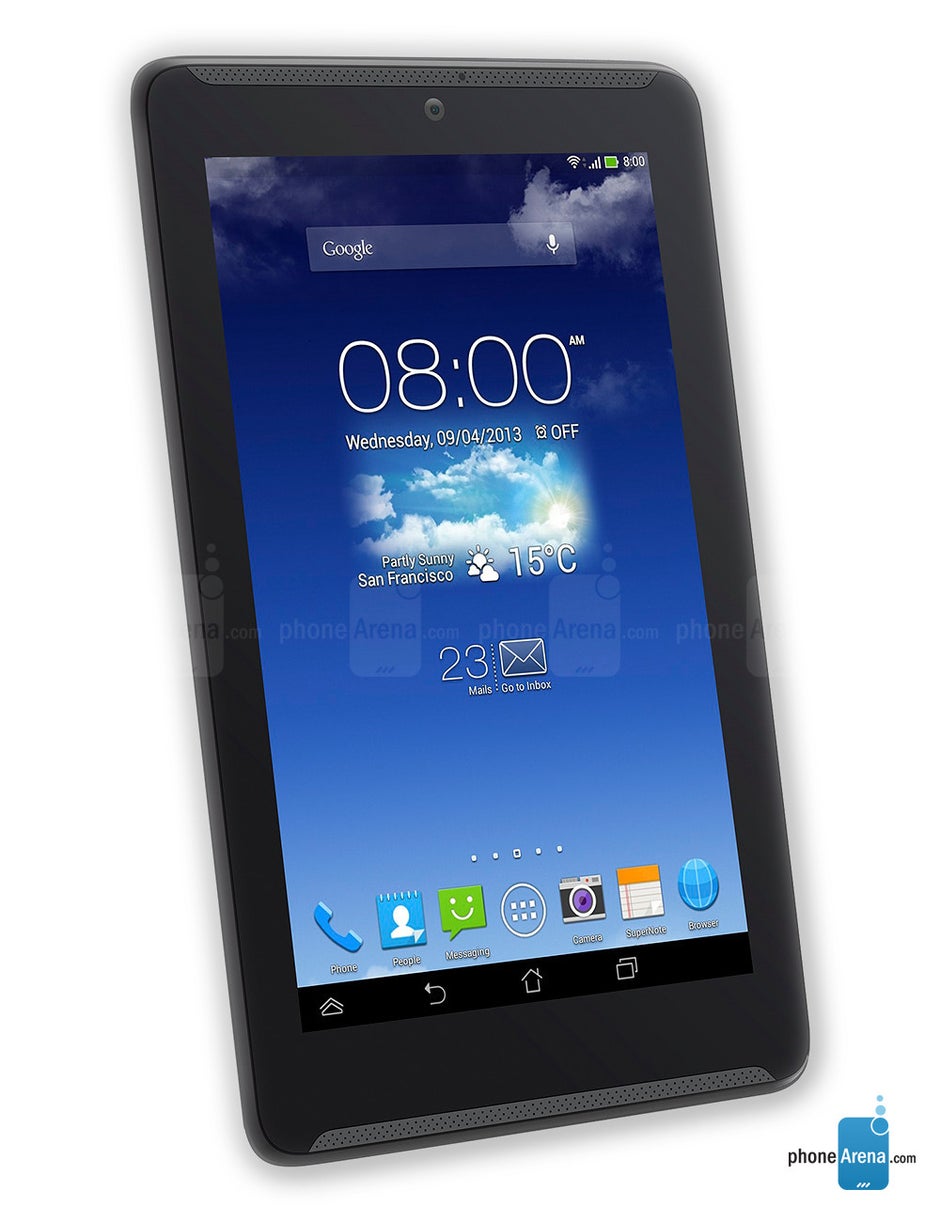
Replace ASUS FonePad 7 Glass: DIY Step-by-Step Guide
Duration: 45 minutes
Steps: 13 Steps
Step 1


– First things first, let’s power down your device! Once it’s off, grab a plastic opening tool and gently work your way around the edges to pop off the back panel. Take your time and be careful – you’ve got this!
Step 2


– Peel off those pesky adhesive strips with confidence!
– Gently disconnect the battery connectors by pulling them down using a spudger or a trusty plastic opening tool. You’ve got this!
Tools Used

Step 3


Handle those ZIF connectors with care, they’re a bit on the fragile side! Take your time when removing them, and you’ll do great!
Don’t worry, you can also use your hand to gently wiggle those ZIF connectors free. It’s like giving them a little high five!
– Time to get those touch connectors unhooked! Use a spudger or plastic opener tool to gently disconnect them.
– Now, let’s disconnect the ZIF connectors holding the battery. It’s like giving the battery a little break!
Tools Used
Step 4

– Grab a plastic opening tool and gently pry the battery loose. It’s glued on pretty tight, so you’ll need to use a bit of pressure to pop it out.
Step 5


– Let’s kick things off by unplugging that cable!
– Grab your trusty Philips #0 screwdriver and get ready to loosen up those two screws holding the power management board in place.
– Now, finish it up by removing that last Philips #0 screw!


Step 7
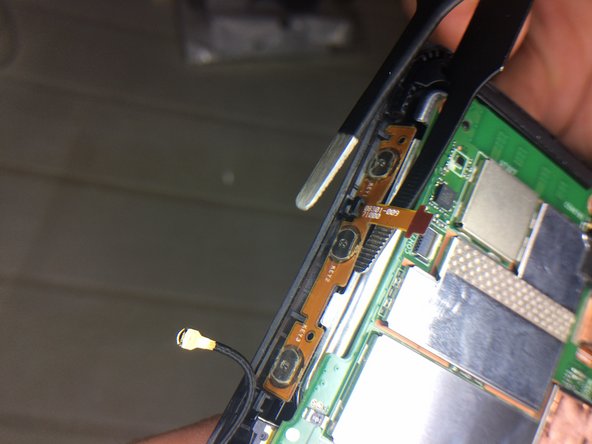
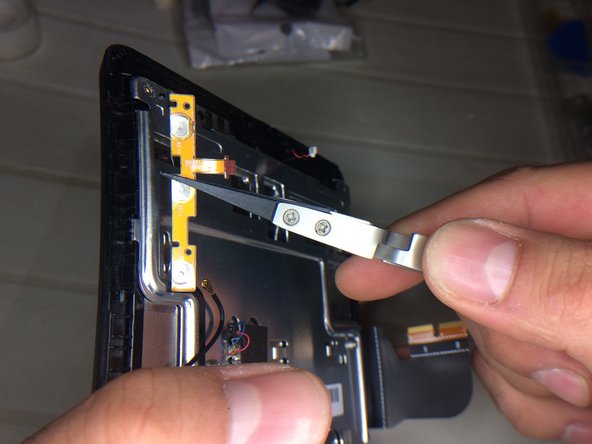

– Alright, time to disconnect those power and volume buttons! Just give them a gentle tug and they’ll pop right out.
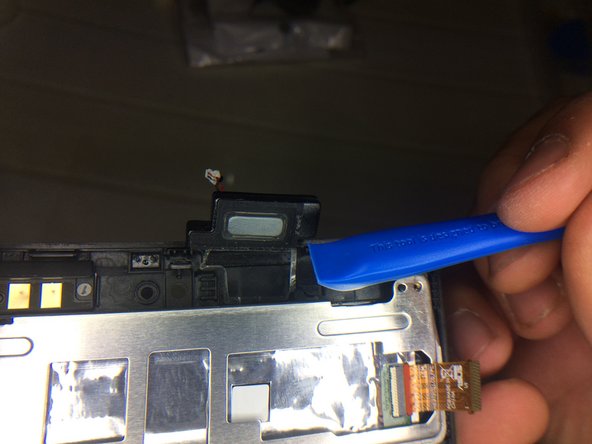
Step 8


– Alright, let’s give that earpiece connector the boot! Gently disconnect it from the device.
Step 9


– Alright, let’s disconnect that display connector from the motherboard. It’s like giving your device a little break!

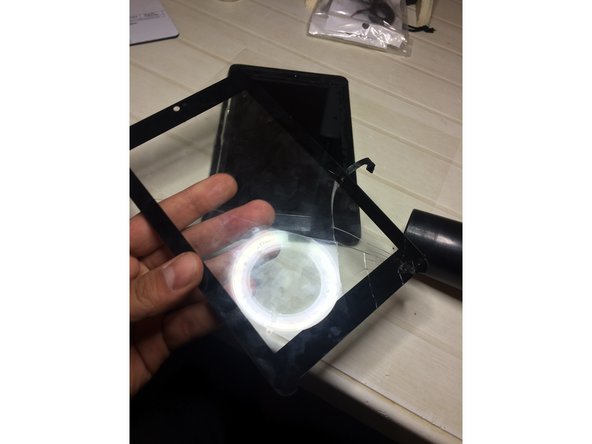
Step 11


– Time to take things apart! Start by carefully removing the components. Remember, patience is key here—let’s keep everything organized so we can put it all back together like a pro!
Step 12

– Bring your skills to the table!
Step 13

– To put your device back together, just follow these steps in reverse order.
– Cancel: I didn’t finish this guide.
– If you’re stuck, no worries! You can always schedule a repair.
Success!