Replace Back Glass Adhesive Google Pixel 9: DIY Guide
Duration: 45 minutes
Steps: 12 Steps
Get ready to tackle the task of swapping out that back glass adhesive on your Pixel 9! Just a heads up: be sure to follow this guide during the reassembly phase, right after you’ve wrapped up your repair and are gearing up to reattach that sleek back glass. You’ve got this!
Step 1


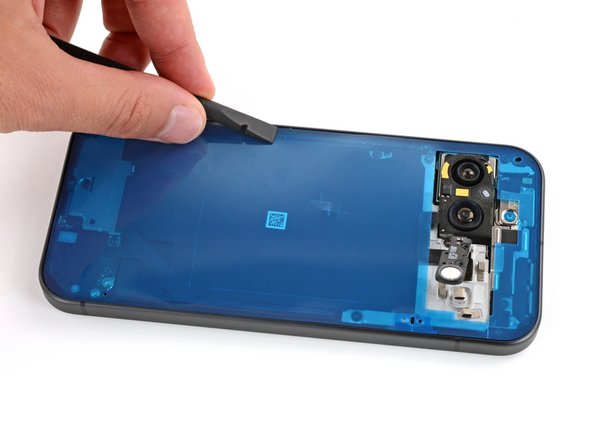
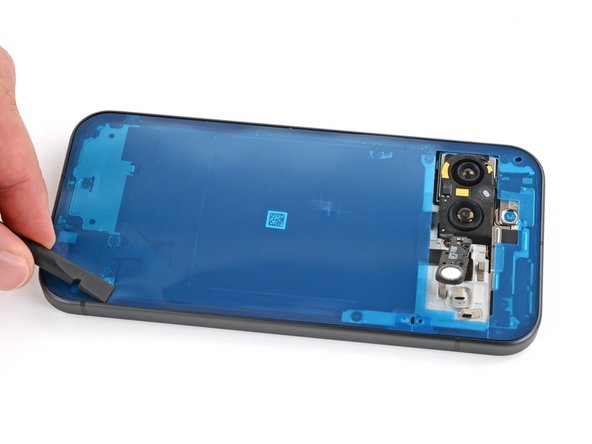
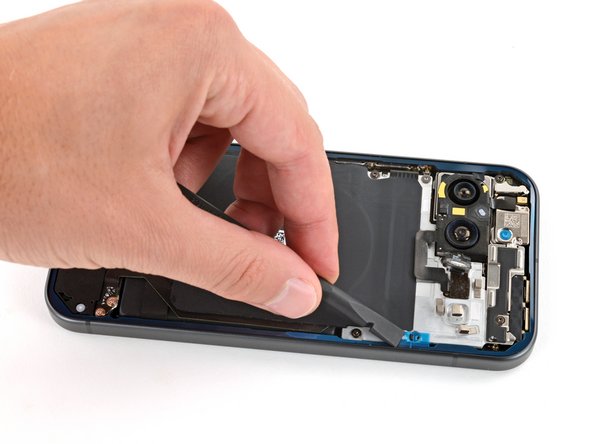
When you’re peeling off that back glass adhesive, be super careful not to mess up any of the delicate parts hanging out near the frame. Those little guys are pretty fragile.
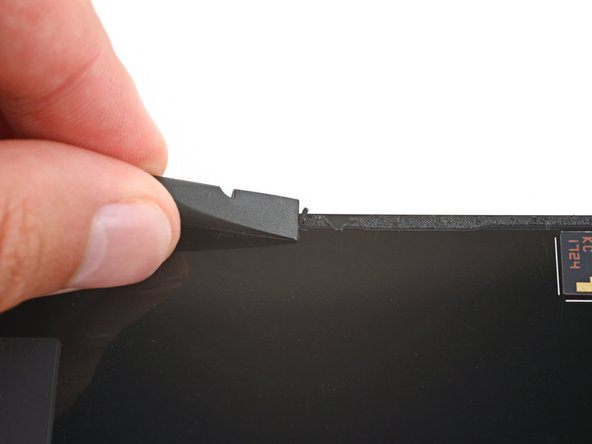
Patience is key here! The adhesive can be a bit stubborn, so take your time and gently roll it up onto itself.
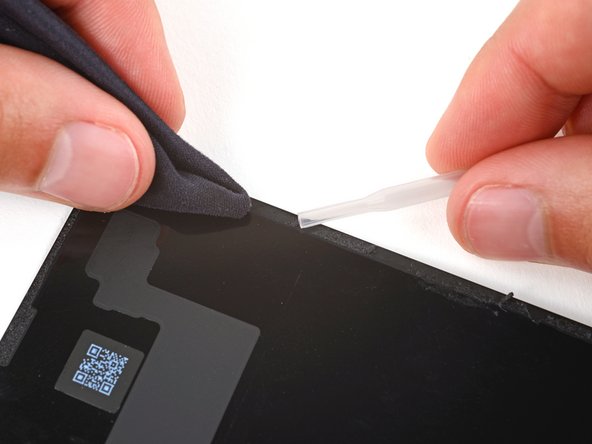
– Grab your trusty spudger and gently scrape away all that pesky old back glass adhesive hugging the edges of the frame. It’s time to say goodbye to that sticky situation!
– Now that you’ve banished the old adhesive, take some isopropyl alcohol and a microfiber cloth to wipe away any remaining residue from the frame’s perimeter. A clean slate is just what you need!
Tools Used


Step 2

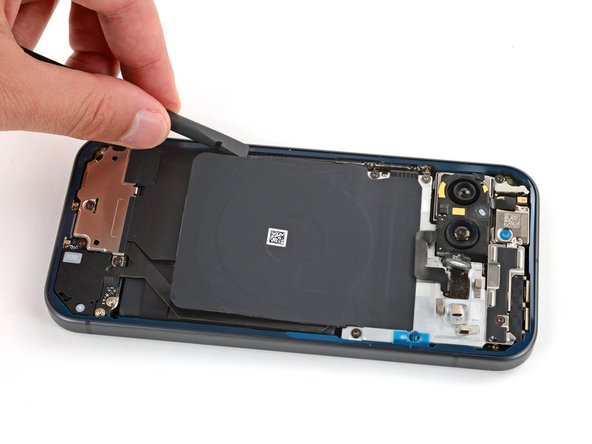
If you’re putting on a brand new back glass cover, just breeze past this step.
– Just like before, let’s tackle that back glass adhesive and any sneaky residue hiding on the underside. Give it another go and make sure everything is nice and clean!

Step 4


Step 6
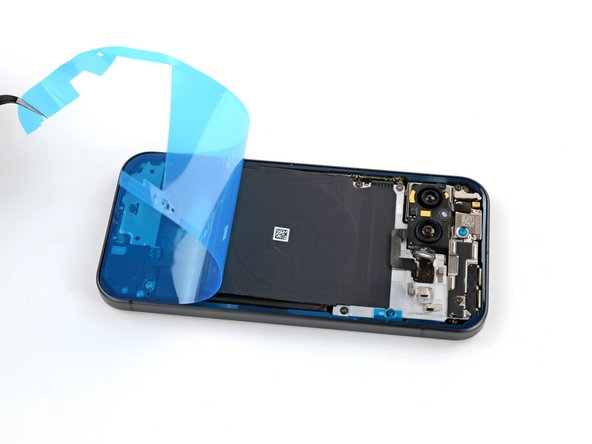

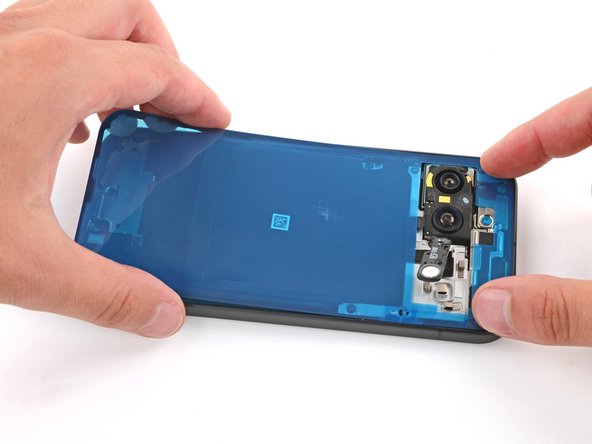
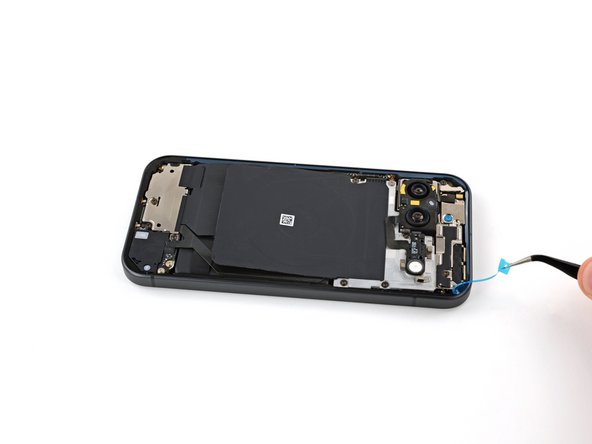
– Alrighty, tech enthusiasts! Let’s have some fun and remove that pesky blue liner. Carefully hold the top right corner with your trusty tweezers or fingers, and give it a gentle tug to say bye-bye. And if you need a hand, remember you can always schedule a repair!
Tools Used

Step 8


If the adhesive doesn’t stick, don’t worry! Just use a few strips of thin double-sided tape to give that flash unit some extra grip. You’ve got this!
Step 9

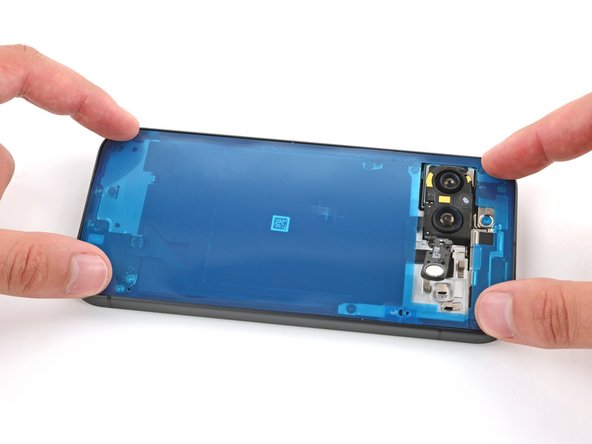
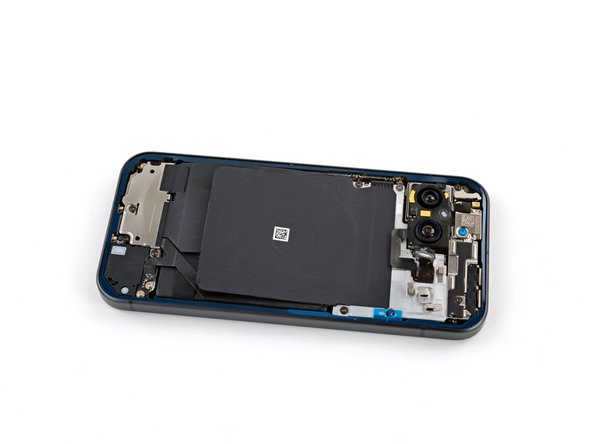
– Grab those tweezers or just your fingers and gently peel away the remaining blue liners. Don’t forget to use those handy pull tabs on the right edge for a smoother removal!
Step 10

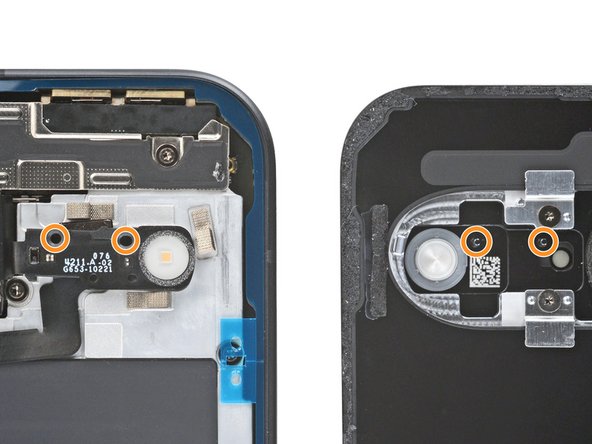
– Peel off any liners from under the back glass near the camera cutout.
– The flash unit has two circular cutouts that match the metal posts on the back glass. When placing the back glass onto the frame, make sure the posts align with their cutouts.
Step 11
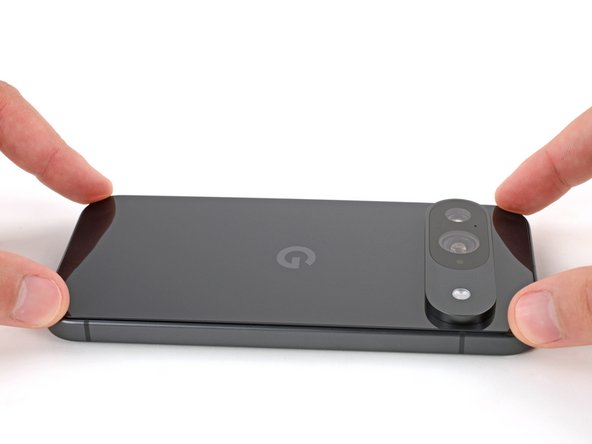


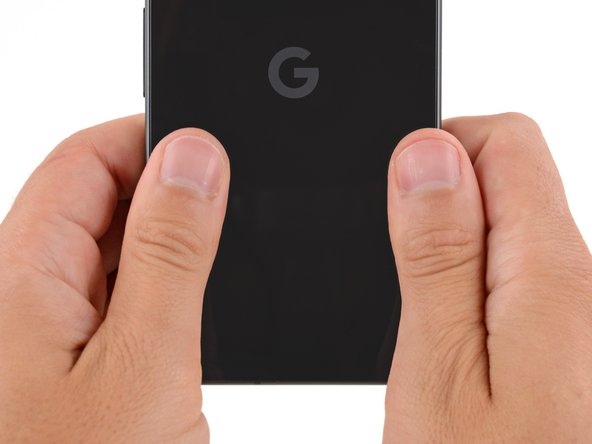
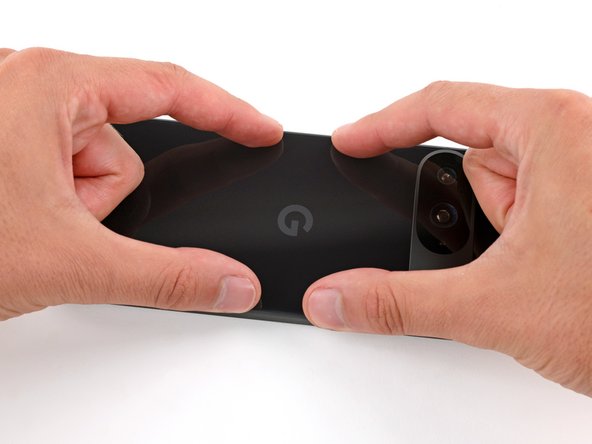
– Gently set the back glass onto the frame and give it a nice firm press to lock it in place.
Step 12

– Well done on wrapping up your repair adventure!
– Don’t forget to drop off your e-waste at an R2 or e-Stewards certified recycler.
– If things didn’t quite go as you hoped, no worries! Give some basic troubleshooting a shot, or feel free to reach out to our Answers community for support.
– Oops: I decided not to finish this guide.
–
Success!

