Replace CPU Mac Pro 2009-2012 Guide: Step-by-Step Tutorial
Duration: 45 minutes
Steps: 3 Steps
Step 1
Grab your trusty hex wrench and unscrew that spring-loaded screw using the star pattern on the CPU Heatsink. This little dance ensures even pressure on the CPU die. It’s especially important when you’re putting the Heatsink back in place. You’ve got this!
For 2009 (4,1) Mac Pros, the CPU comes attached with the heatsink—no socket in sight. Just like the 2010-2012 (5,1) Mac Pros.
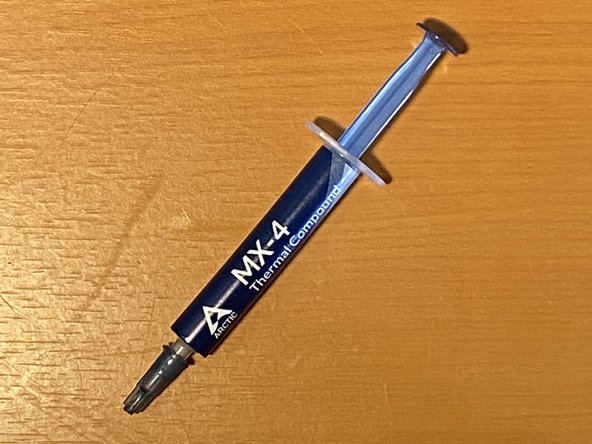
Isopropyl alcohol is your go-to for cleaning the copper heatsink and CPU before applying new thermal paste. If you need help, you can always schedule a repair.
– Locate the two pull tabs and give them a gentle tug to pop out the CPU tray. Once it’s free, set it down on the table like a pro.
– Grab your hex wrench and turn it once at a time until it feels loose, following the star pattern shown in the diagram. You’ve got this!
– Now, pull straight up with confidence—there’s an important connection nestled in the heatsink that needs your careful touch.
– On the underside of the heatsink, you’ll find a copper pad that makes contact with the CPU. Use a paper towel to wipe away any leftover thermal paste. A little isopropyl alcohol can be your best friend here!
Step 2
Stay clear of those exposed connectors on the CPU and CPU tray!
– Wipe away all that old thermal paste from the CPU, then give that metal bar a little lift and slide the bracket back like a pro.
– Carefully grab the old CPU with your thumb and pointer finger, give it a gentle pull, and set it aside like it’s taking a well-deserved break.
Step 3
– Check out the CPU socket and other connectors for dust and debris, and give them a good blow if needed.
– Pop in the new CPU with a dab of thermal paste on top.


