Replace Galaxy Note II Speaker: Step-by-Step Guide
Duration: 45 minutes
Steps: 16 Steps
Ready to bring the sound back to your Samsung Galaxy Note II? This guide will walk you through the process of swapping out that broken speaker. Let’s dive in and make some noise!
Step 1


– Grab that stylus by the end and give it a gentle tug to pop it out of its home in the midframe. No need to be rough, just a little encouragement!
Step 2


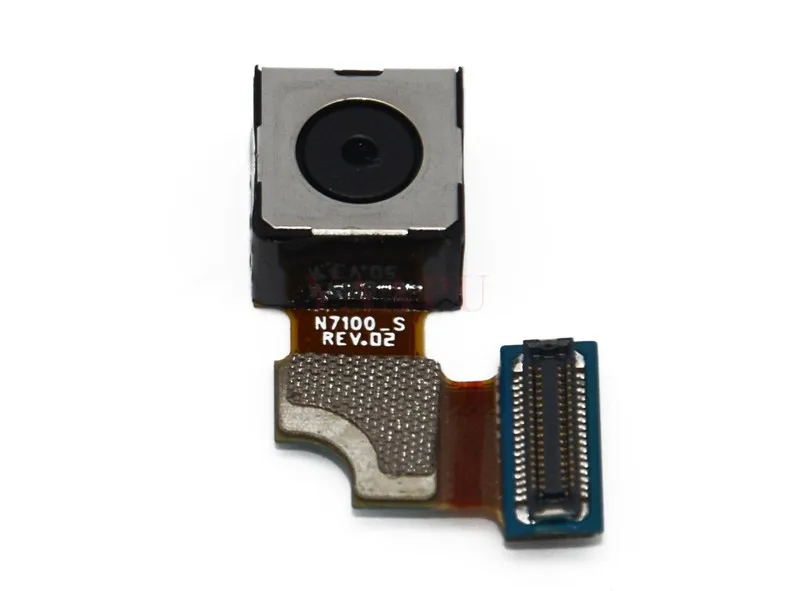
– Use a plastic opening tool (or your trusty fingernail!) to gently pry at the little divot to the left of the rear-facing camera, near the power button. Don’t be afraid to give it a little nudge!
Step 3


– Give that rear case a little lift by the corner closest to the divot and gently pop it off the phone. Easy peasy!
Step 4


– First, let’s get that microSD card out. If it’s inserted, use a spudger or your fingernail to gently push it into its slot until you hear a satisfying click.
– Once you’ve heard the click, release the card and it should pop out of its slot. Easy peasy!
– Now, carefully remove the microSD card from its slot.
– When you’re ready to put everything back together, simply push the microSD card into its slot until it clicks into place. If you need help, you can always schedule a repair
Step 5


– Gently slide a plastic opening tool, or your trusty finger, into the notch of the battery compartment and give the battery a little lift upwards! You’re doing great!
Step 6

– Alright, let’s get this party started! First things first, we need to give that battery a little break. Gently remove it from the midframe. Don’t worry, it’s easier than it sounds! If you’re feeling a bit lost, you can always schedule a repair.
Step 7

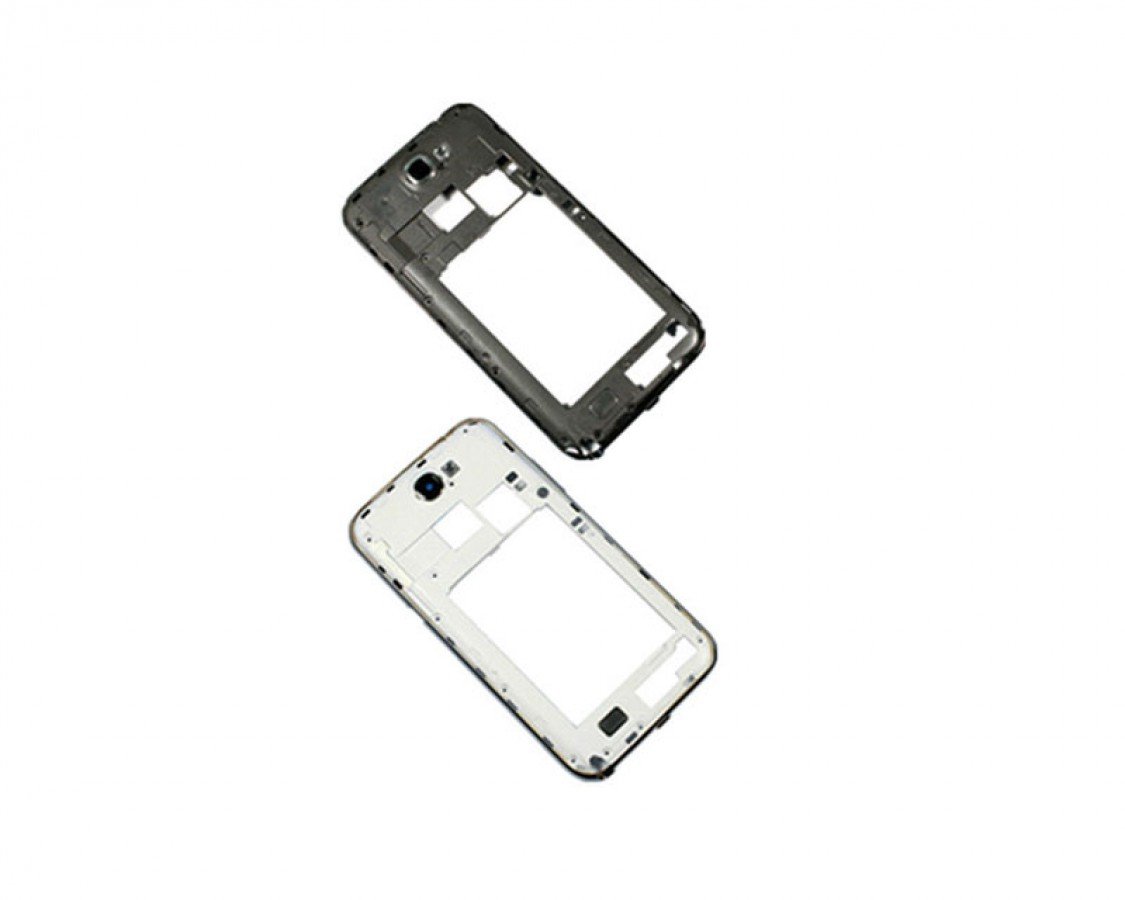
– Let’s get started by removing the eleven 4.0 mm Phillips #00 screws that hold the midframe in place on the display assembly. If you need help, you can always schedule a repair
Step 8


– Grab your trusty plastic opening tool and gently slide it between the midframe and the front panel assembly on the side of your phone.
– Now, just glide that plastic tool down the seam like you’re on a mission to free your device!
Step 9


– Keep on keepin’ on with that plastic opening tool! Slide it along the seam like you’re a pro. You got this!
Step 10


– Let’s get this party started! Gently pry around the corner with a plastic opening tool. If you need a hand with this, you can always schedule a repair.
Step 11

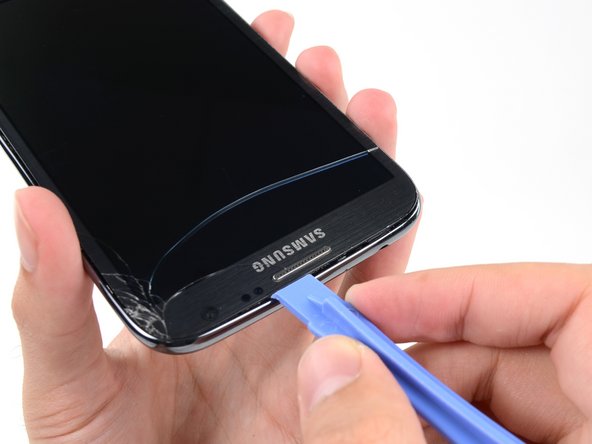
– Slide a plastic opening tool along the top edge of your phone. It’s like giving your phone a little nudge to get things moving. Just be gentle, we don’t want to scratch anything!
Step 12


– Gently nudge the plastic opening tool downwards to coax the corner of the midframe away from the display assembly. Remember, you’re doing great!
Step 13


– Gently release the clips on the side of the phone where the power button is located.
– Finally, unclip those two pesky clips at the top and bottom edges of the battery compartment.


Step 15

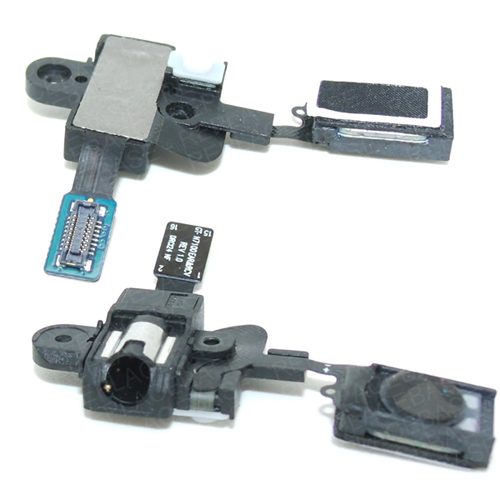
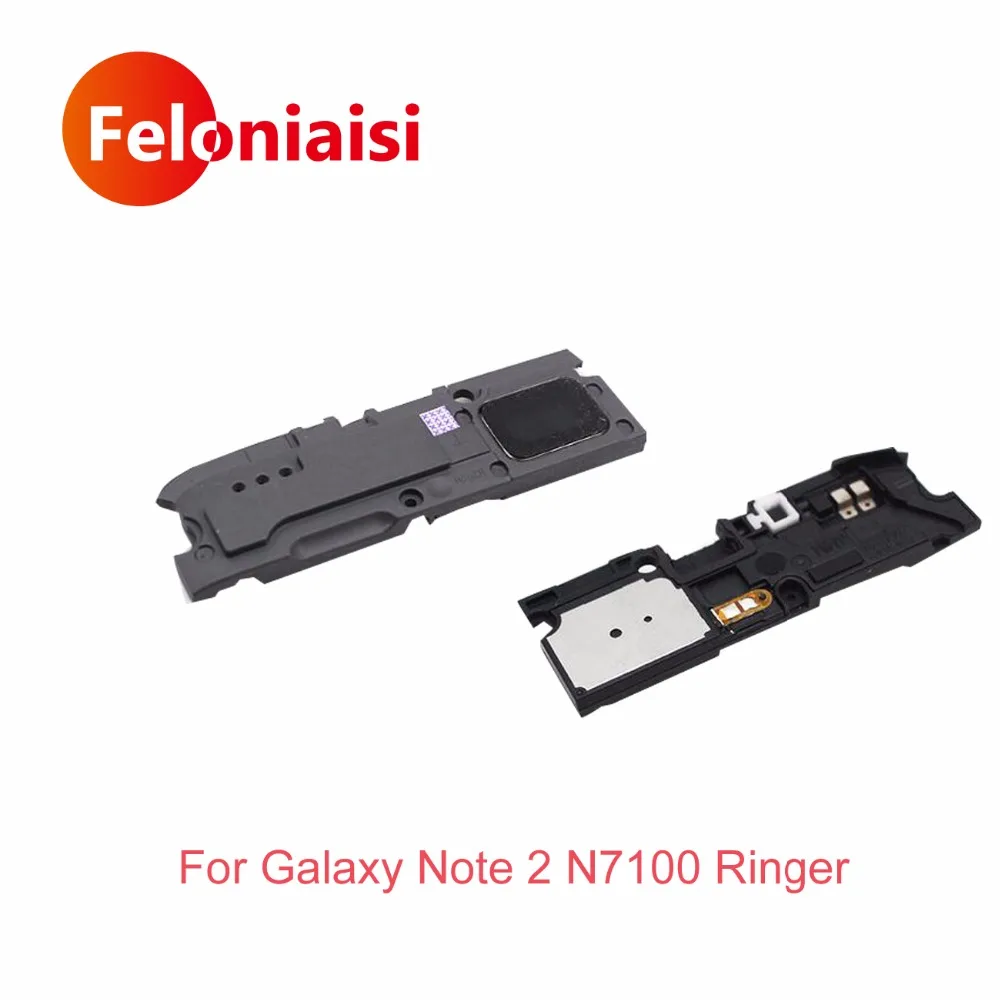
– Unscrew the 3 mm Phillips #00 screw holding the speaker enclosure in place. You’re almost there!
Step 16

– Let’s get started by removing the speaker enclosure. This is the first step in giving your device a brand new sound system. If you need help, you can always schedule a repair