Replace Galaxy S22 Battery: Step-by-Step Guide
Duration: 45 minutes
Steps: 6 Steps
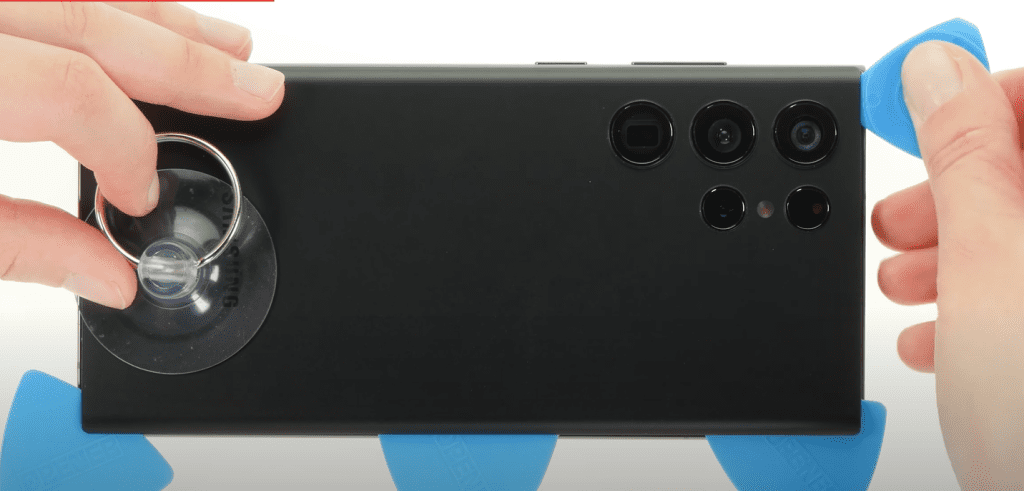
Alright, battery champ! This guide’s gonna help you drop in a new battery in your Samsung Galaxy S22 or S22+. We’re assuming you’ve already taken out the old one, but if not, just check out these guides for some tips: S22 battery replacement or S22+ battery replacement. Let’s get this done! And if you ever feel like you need an extra hand, you can always schedule a repair.
Step 1


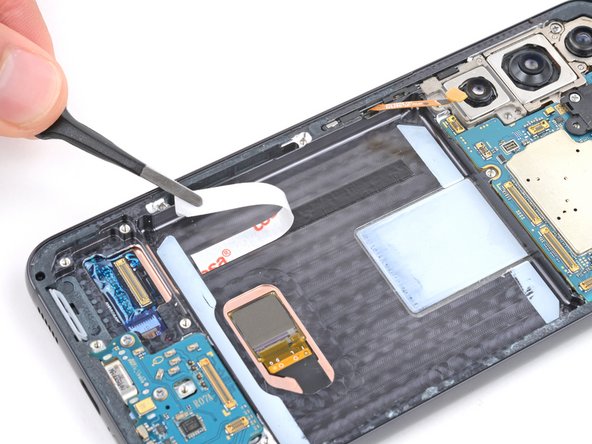
– Time to get those sticky bits off! Use your fingers or some handy tweezers to peel away any big chunks of adhesive clinging to the frame.
– Next up, let’s tackle the stubborn stuff! Drop a few drops of high-octane isopropyl alcohol (make sure it’s over 90%) onto the leftover adhesive.
– Now grab your trusty spudger and use the flat end to scrape away all that remaining adhesive until your frame is nice and clean.
Tools Used

Step 2

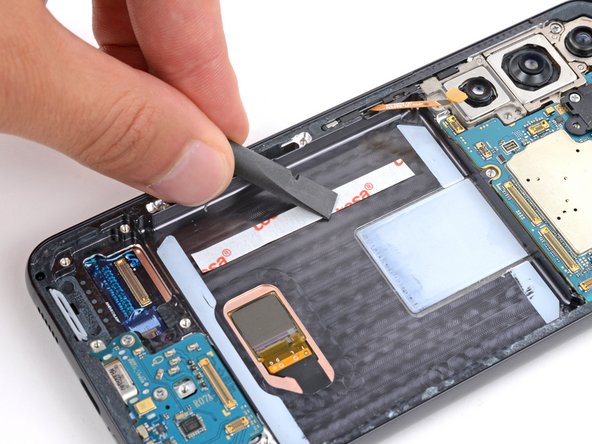
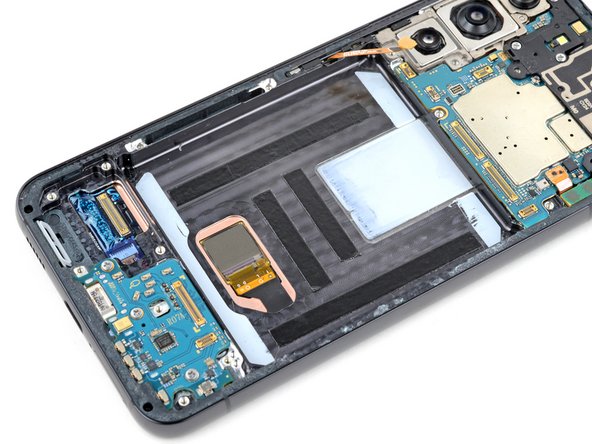
– Add a few more drops of 90%+ isopropyl alcohol to any leftover adhesive on the frame and wipe it off with a microfiber or lint-free cloth. If you need help, you can always schedule a repair


Step 5


– Now, keep the good vibes flowing and repeat the previous step. Go ahead and apply the rest of the tape strips! You’re rocking it!
Step 6

This makes sure the battery is snug as a bug in a rug!
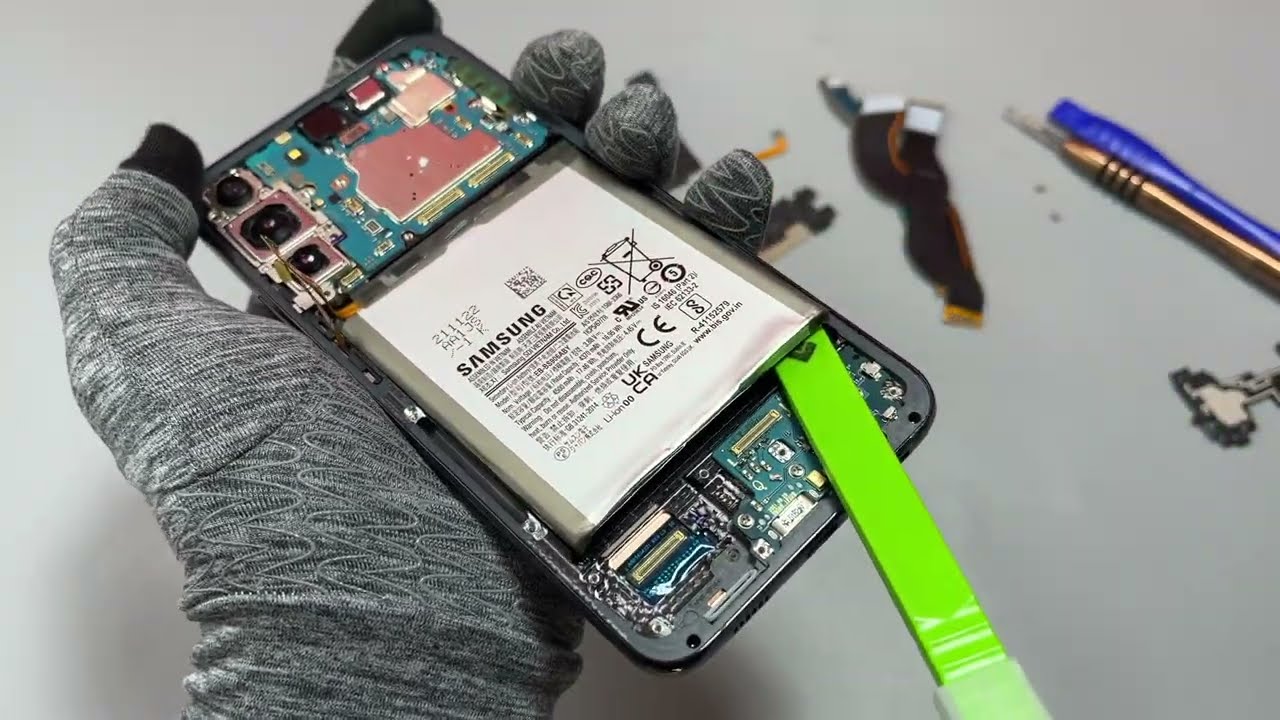
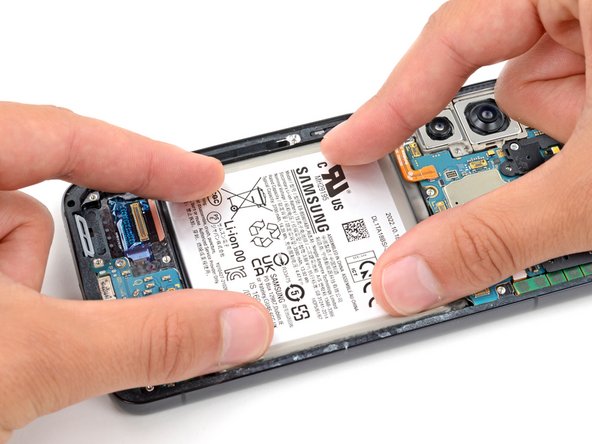
– Hold the battery above its recess and plug the battery cable back in – you’re making great progress!
– Gently place the battery into its spot in the frame, making sure it’s aligned just right.
– Press down firmly on the entire battery surface to secure it with the tape – it’s like giving your device a big hug!
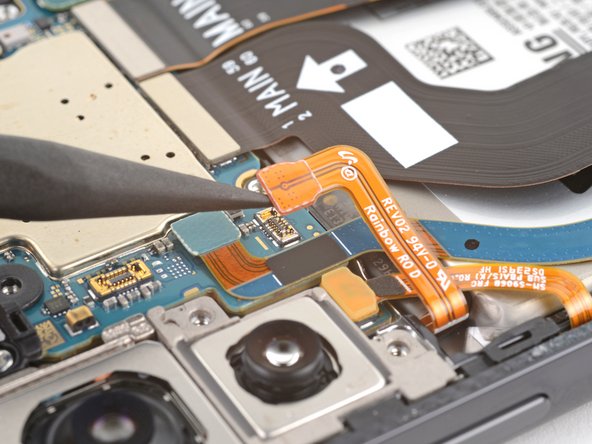
– Time to disconnect the battery – don’t worry, you’re doing fantastic!
– You’re almost done! Head back to your repair guide and keep going with the reassembly.
– S22
– S22+