Replace Galaxy Screen: DIY Guide
Duration: 45 minutes
Steps: 8 Steps
Let’s get that Samsung Galaxy Mega 6.3 screen looking brand new! This guide will walk you through replacing the LCD and digitizer, so you can say goodbye to cracks and hello to a crystal-clear display. If you need help along the way, you can always schedule a repair.
Step 1


Once the rear cover’s off, you’ll see the SIM card, the SD card, and some screws – you’re getting closer to fixing your device! If you need help, you can always schedule a repair.
– Grab your trusty opening tool or your fingernail and gently nudge the rear cover open at the top left corner. You’ve got this!
Step 2


Before you start, make sure to power down your phone using the operating system, if possible, to avoid any unexpected surprises when removing the battery. If you need help, you can always schedule a repair
– First things first! Let’s pop off that back cover. Once that’s done, take out the battery, the SIM card, and if you’ve got one, the SD card too. Easy peasy!
– Now, grab your trusty PH000 screwdriver and get ready to unscrew those highlighted screws from the back of the phone. You got this!
Step 3

Hey there, the speaker is a bit delicate, so be careful when you take it out. No need to panic, just be gentle! If you need a hand, you can always schedule a repair.
– Time to get that speaker out. Use your trusty opening tool to carefully pry it upwards, and then you can remove it. If you need help, you can always schedule a repair
Step 4


– Slide the pry tool along the edge of your device. Gently nudge it until you hear those satisfying clicks.
– Keep going around all sides of the phone. Those clicks mean the frame is starting to let loose!
– Carefully lift the battery clip up (check out photo 2 for a visual). Then, give the frame a slight clockwise twist to free that little clip around the camera.
Step 5
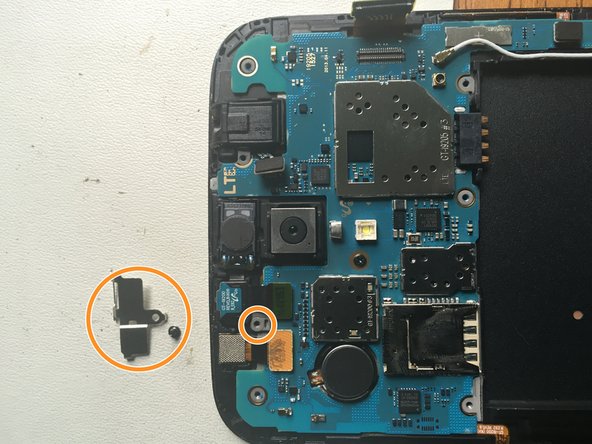

Now that you’ve successfully popped off the back frame, get ready to see the motherboard and connectors all laid out for you!
– Alrighty folks! Next, prepare for some fun as you remove the LCD cable with the trusty opening tool. Time to unhook the front camera too! Unscrew the panel and loosen that front camera cable. If you need help, you can always schedule a repair!
Step 6


Alright, cool cat, don’t go poking around the bottom of the screen with that pick. Those back and menu buttons are pretty sensitive. You wouldn’t want to accidentally turn them into a broken mess, would you? If you need help, you can always schedule a repair.
– Get ready to unlock your phone’s screen by using a heat gun to loosen the adhesive around the edges – it’s like warming up for a big job!
– Now it’s time to get a little aggressive – insert three opening picks between the glass and the silver frame to carefully pry it open. If you need help, you can always schedule a repair
Tools Used

Step 7


Hey there, champ! Just a friendly heads-up – those button flex cables are delicate. If they get a little too excited and break, you might need to swap out the charging port assembly. No sweat though, we got your back. If you need a hand, you can always schedule a repair.
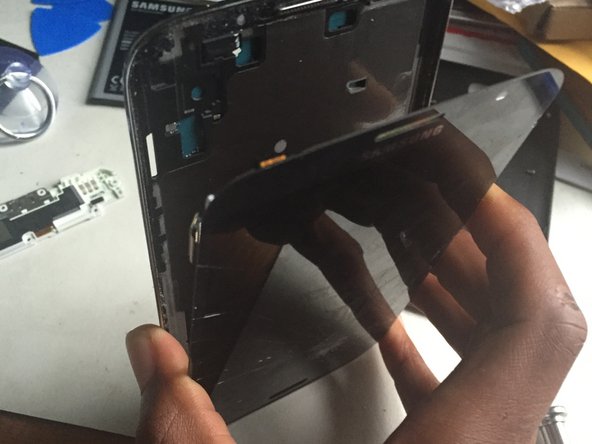
– With the opening picks still snug inside your gadget, gently lift the screen toward you. Hold on, don’t yank it off just yet—keep it at a nice angle for now.
– Set the screen down along with the opening picks to keep things nice and loose. Time to warm things up! Heat the bottom area to help loosen that sticky adhesive lurking behind the scenes, especially around the menu button.
– Carefully pull the screen toward you. Keep an eye on the bottom section to make sure those buttons are peeling away from the adhesive smoothly.