Replace Galaxy Tab S 10.5 Charge Port
Duration: 45 minutes
Steps: 10 Steps
Get ready to dive into this guide, where we’ll walk you through the process of swapping out the charge port on your device. It’s easier than you think, and with a little patience, you’ll have your gadget charging like new in no time!
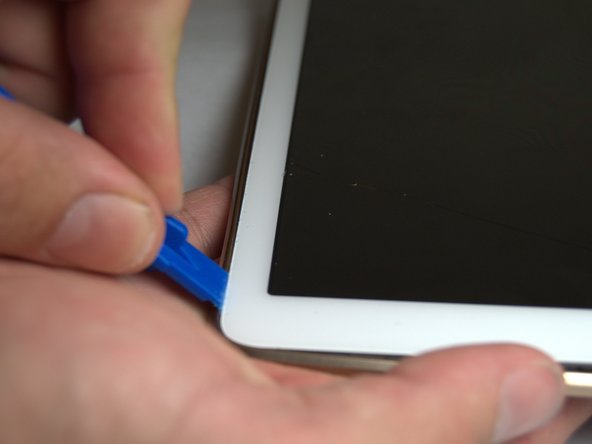
Step 1


– Let’s get started by inserting the plastic opening tool into the SD card slot or charge port – it’s time to get this repair underway!
– Gently pry the tool in an upward motion until you see a separation between the tablet and back cover – you’re making great progress!
Step 2

Popping off the back cover for the first time? Brace yourself—it’s a bit of a challenge! Those clips are holding on tight, spaced about 5 cm apart.
As you work your way around the device, you’ll hear some satisfying clicks when the clips let go. Keep at it—you’re doing great!
– Get ready to get hands-on and work your way around the entire device! Carefully slide the plastic opening tool around the rim to get started.
Step 3

Handle the internal components of the tablet with care, buddy!
– Pop off the back cover after you’ve unhitched all the connections. Easy peasy, right?
Step 4


– Stick the plastic opening tool between the outer rim.
– Slide the tool downward to pop those pieces apart.
– Glide the tool along the rim to unhook all the connectors holding the outer rim to the back of your device.
Step 5

– Go ahead and repeat this for all four sides, and then carefully remove the rim.
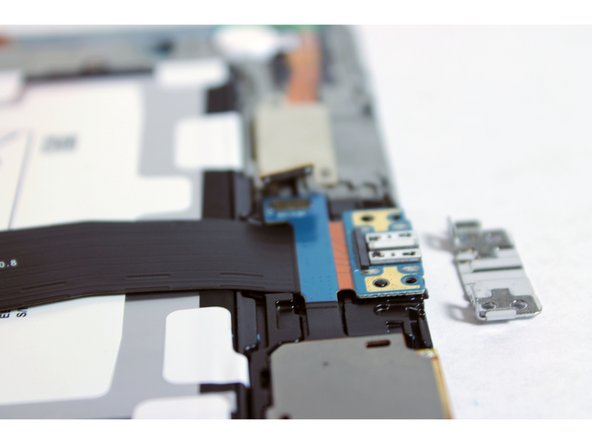
Step 6


– Unscrew those two tiny 2 mm Phillips #000 screws holding the charge port bracket in place. You’ve got this!
Step 7


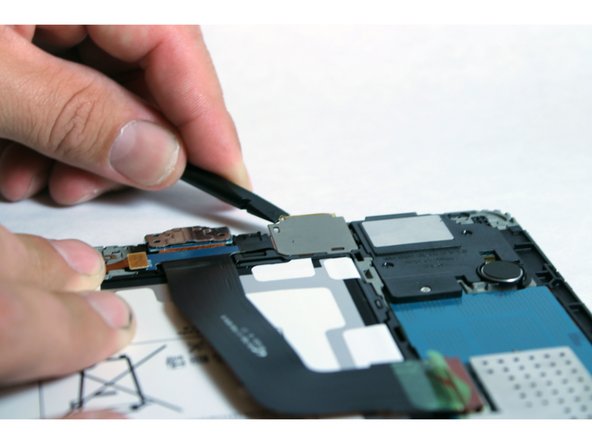
– Grab your trusty spudger and give the SD card slot a little nudge to pop it out. You’re doing great!
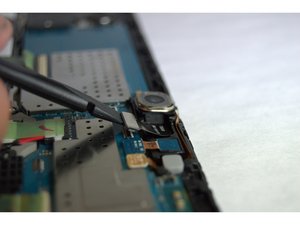
Step 8

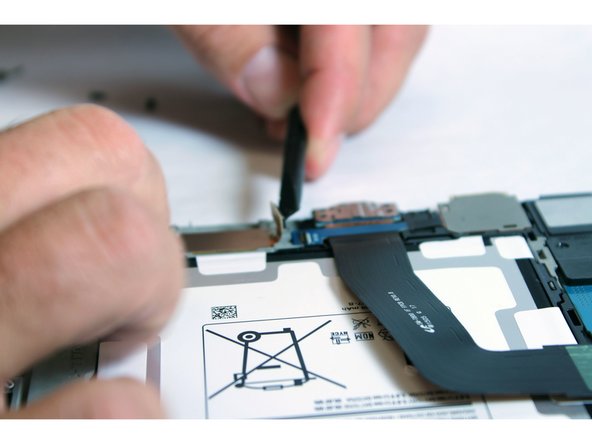

– Grab your trusty spudger and gently pop the charge port loose from the motherboard—it’s like breaking up with a bad connection!
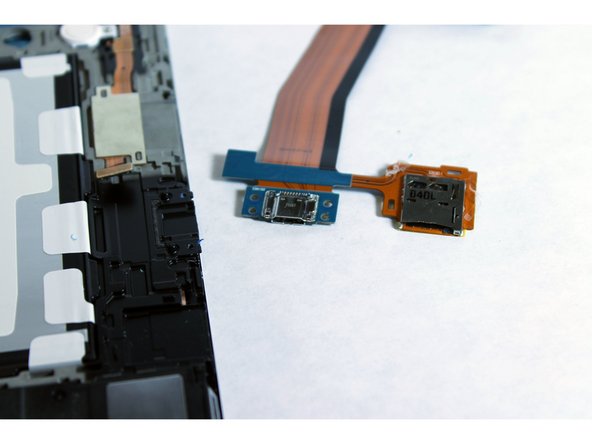
Step 9

– Gently pop out the charge port bracket like you’re opening a surprise gift!
Step 10

– Now that you’ve tackled the reassembly, just retrace your steps and put everything back together like a pro!
– If you hit a snag, remember, it’s totally okay to ask for help. You can always schedule a repair.
– You’ve got this!
Success!