Replace Galaxy vibration motor: Samsung Galaxy Prevail 2
Duration: 45 minutes
Steps: 8 Steps
Ready to give your Samsung Galaxy Prevail 2 a new shake? This guide will walk you through replacing its vibration motor, so you can get back to feeling those text message buzzes. We’ll be using a soldering iron, so make sure you’re comfortable with that before getting started. Don’t worry, it’s not as complicated as it sounds – just follow along with our easy-to-follow instructions. If you need help, you can always schedule a repair.
Step 1


– Time to get started. Use your fingernails or a trusty spudger to carefully pry open the plastic casing, then gently pull it away from the phone’s body. If you need help, you can always schedule a repair
Tools Used


Step 3

Don’t lose those little guys! Keep your screws safe and sound – you’ll need them to put everything back together. 😉
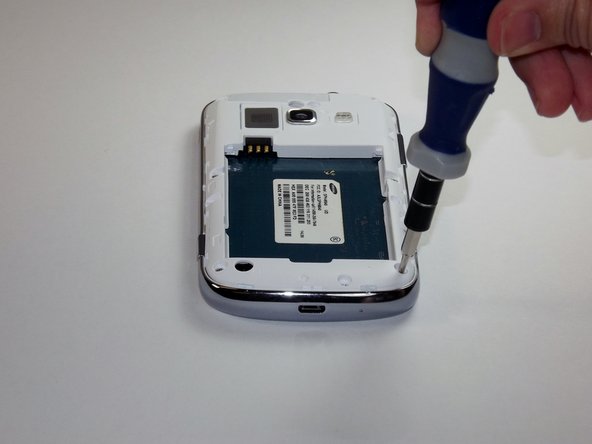
– Let’s get started by removing all the screws.
Step 4


Take a moment to gently work your way around the entire frame to loosen it up before moving on. You’ve got this!
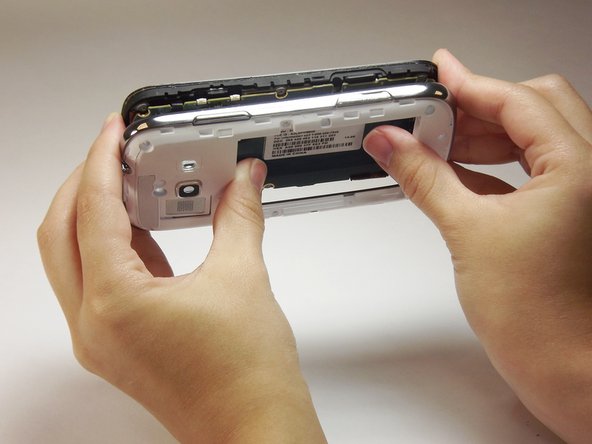
– Slide the plastic prying tool gently between the shiny silver frame and the bright white face of your phone to pop off that front frame like a pro.
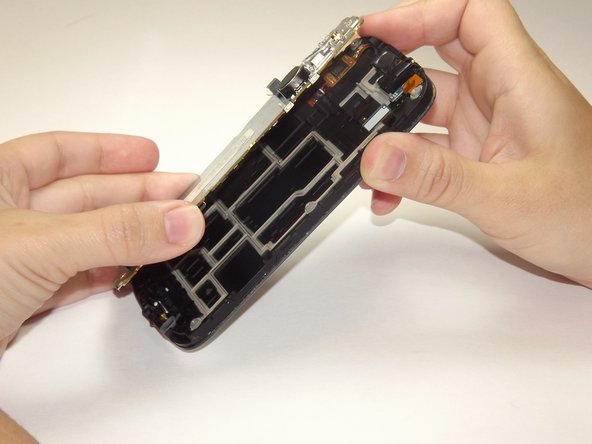
– Use your thumbs to give a little nudge and separate the motherboard from the back of the phone—you’re doing great!
Step 5

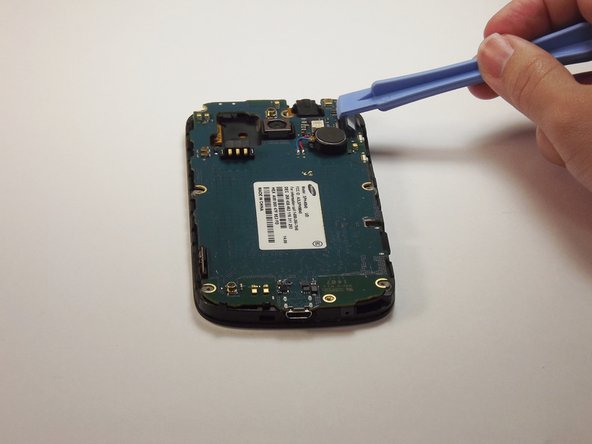
– Time to give that motherboard a little love! Using your trusty plastic prying tool, gently lift up the flap to reveal the motherboard in all its glory.
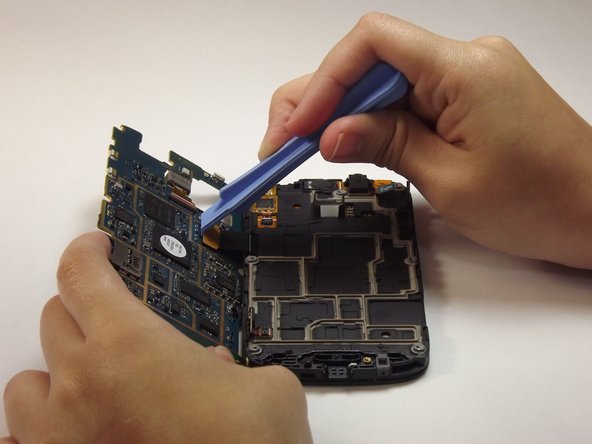
Step 6

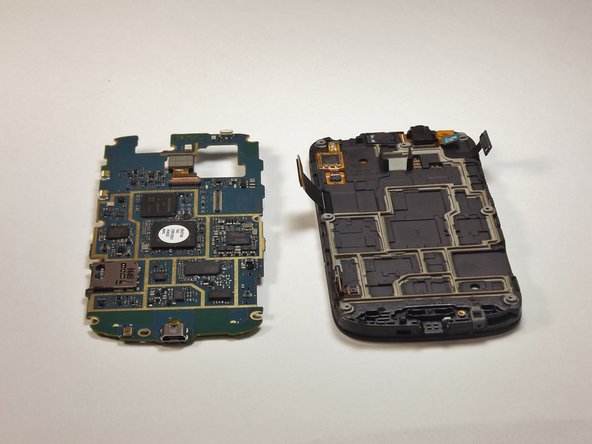
This will help you easily pop out the internal battery.
– Alright, let’s get this party started! Grab your trusty plastic prying tool and give that flap a gentle lift. We’re about to separate the motherboard, so get ready to unleash your inner tech wizard!
Step 7

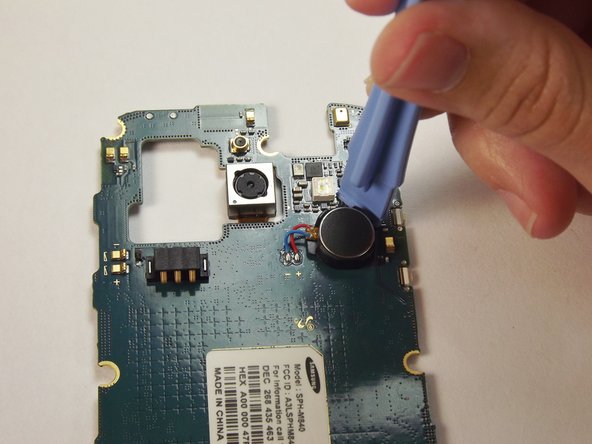

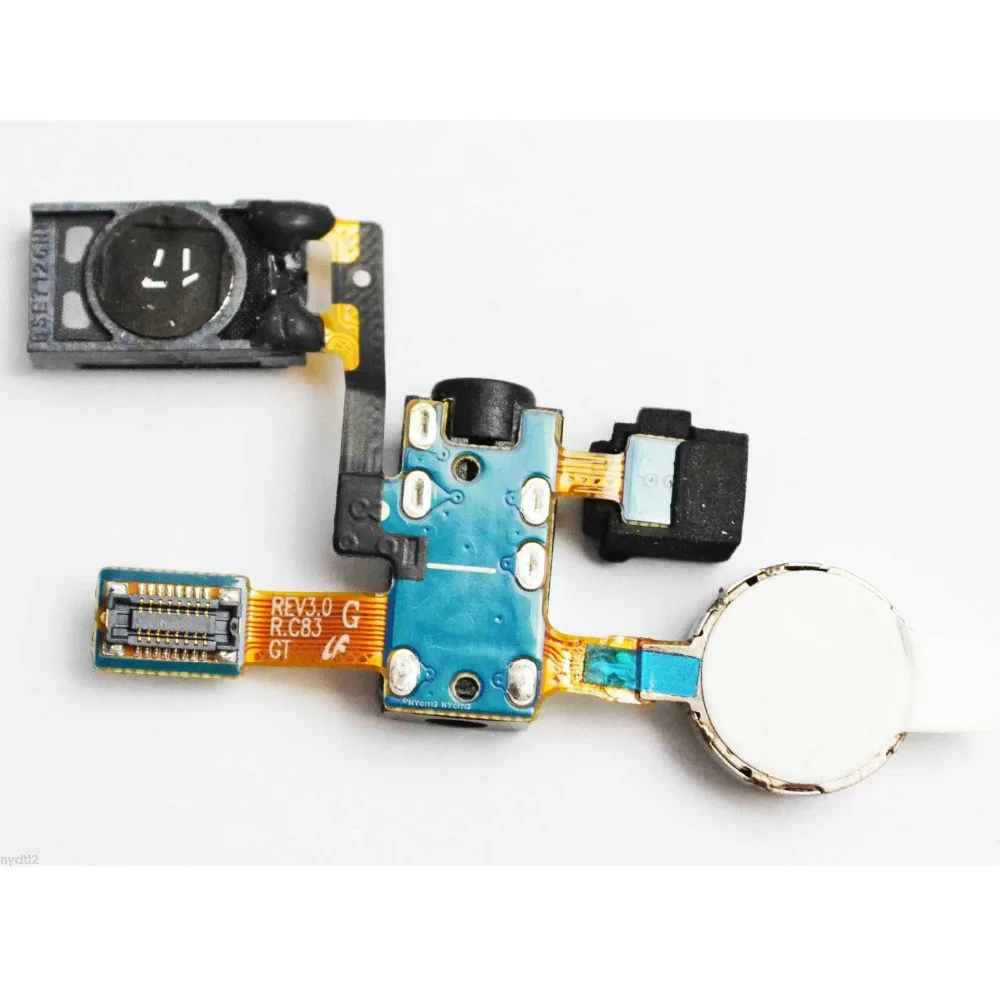
– Use a plastic prying tool to gently lift the vibration motor.
Step 8

– Grab your trusty soldering iron and carefully melt away the solder that’s keeping the vibration motor snug on the motherboard. You’ve got this!
Tools Used
