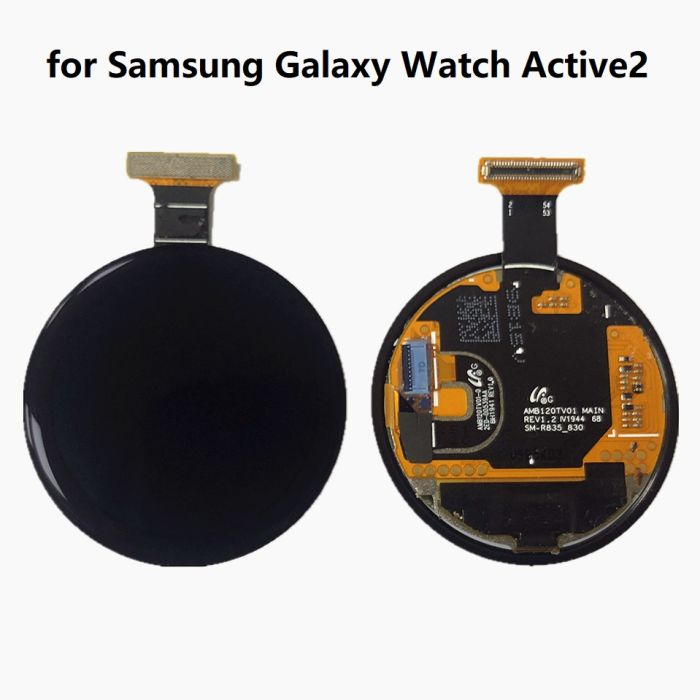
Replace Galaxy Watch Battery
Duration: 45 minutes
Steps: 16 Steps
Drain that battery to below 25% before you dive in. A little power loss won’t hurt, but keeping it under control will help you stay safe while working your device!
Ready to give your Samsung Galaxy Watch Active2 a fresh start? Let’s swap out that tired or lifeless battery! If you notice any swelling, be sure to handle it with care. For your safety, make sure to drain your battery below 25% before diving in. This little precaution helps keep things cool and reduces the chance of any thermal surprises if the battery gets a bit too adventurous during the repair. And don’t forget, you might need some replacement adhesive to snugly reattach the battery when you’re putting everything back together. If you need help, you can always schedule a repair.
Step 1


– Power down your Galaxy Watch Active2 by pressing and holding the bottom button for about 3 seconds—wait for a little buzz to let you know it’s ready.
– Once the ‘Power off’ icon pops up, give the center of the screen a quick tap to shut it down. You’ll feel a longer buzz to confirm it’s off.
Step 2

– Grab your trusty Tri-point Y00 screwdriver and let’s tackle those four 4 mm-long screws on the back of the watch. You’ve got this!
Tools Used

Step 3


Don’t pull the back cover all the way off just yet! There’s a sneaky cable connecting it to the motherboard, so let’s take it slow.
– Let’s get started! Use an opening pick to carefully pry open the gap between the plastic back cover and the metal housing, focusing on the area around the buttons.
– Gently push the opening pick further into the gap to release the back cover from the housing. Take your time, it’s easier than it looks!
Step 4


– Gently pop off the back cover to reveal the sensor array connector—like opening a treasure chest!
– Grab a spudger and carefully unhook the sensor array from the motherboard. Easy does it!
Tools Used


Step 8


It might help to also check the comments below this and the next step if you’re having difficulties.
– Slide a spudger under the motherboard at the top right corner, right by the display connector.
– Give the spudger a little twist and a gentle lift to nudge the core assembly loose.
Tools Used
Step 9


– Gently grab hold of that core assembly and glide it out from under the cables like a pro.
– Now, carefully remove the core assembly. You’ve got this!
Step 10

– Time to flip things around! Carefully turn the core assembly over so the motherboard is facing downwards.
Step 11


– Gently use the tip of an opening pick to pop the top button off the plastic frame—easy does it, like you’re peeling a sticker.
Step 12

– Grab your trusty Phillips screwdriver and carefully unscrew the 4.4 mm-long screw that’s keeping the motherboard snug in place. Easy does it!
Step 13


– Slide the flat end of a spudger between the motherboard and the plastic frame near the copper coil at the bottom right corner. Take your time, no rush here!
– Give the spudger a little twist to pop the motherboard loose from those plastic tabs. It’s like unlocking a tiny treasure chest!
Tools Used

Step 15


Handle that battery with care! Avoid poking or bending it, and stick to plastic tools. A battery that’s been punctured or bent could leak some nasty stuff or even cause a thermal surprise. Stay safe and keep it cool!
The battery is held in place with a bit of adhesive magic. If that adhesive is feeling a bit too clingy, just grab a hair dryer to give it a gentle warm-up and loosen its grip.
Tools Used
Step 16


– Stick that new battery down tight with some pre-cut adhesive or double-sided tape. Give it a good press to make sure it’s snug as a bug!
– Time to put your device back together! Just follow these steps in reverse, and you’ll be golden.
– For the best battery vibes, let’s calibrate that fresh power source: Charge it up to 100%, then keep it charged for at least an hour more. Use your device until it takes a nap from low battery, then give it a solid charge back to 100% without interruptions.
– Got some e-waste? Don’t just toss it! Take it to an R2 or e-Stewards certified recycler – they’ll know what to do.
– If things didn’t go as smoothly as you hoped, no worries! Check out some basic troubleshooting or reach out to our Answers community for a helping hand.
– If you didn’t quite finish this guide, that’s okay too! Just hit cancel.
– Remember, if you need help, you can always schedule a repair.
Success!