Replace Google Pixel 2 XL Screen: DIY Guide & Tutorial
Duration: 45 minutes
Steps: 18 Steps
This repair guide is brought to you by the awesome team at Salvation Repair. Just a heads up, it hasn’t received a thumbs up from Google. If you’re curious about our repair guides, feel free to check them out here.
Hey there! Let’s get your Google Pixel 2 XL back in tip-top shape. This guide, crafted by the Salvation Repair team, will help you replace a cracked or faulty screen, including the display and digitizer. If your replacement part doesn’t come with adhesive, don’t worry—you’ll need some to seal up your phone again. Also, keep an eye out for any small components that might need transferring from your original display to the new one. Give both displays a thorough inspection to ensure all the necessary bits are moved over. If you need help, you can always schedule a repair.
Step 1


Got a cracked display glass? No worries! Just tape it up to keep yourself safe and prevent any further damage. Plus, it creates a nice smooth surface for that suction cup to stick to.
Keep in mind that the suction cup might struggle to seal properly on the curved edges of the glass.
– Get your suction cup nice and close to the SIM slot edge of your phone. Go for that sweet spot, just try to avoid the curved edge, you know? If you need help, you can always schedule a repair
Step 2


Removing this can be a bit of a challenge, but don’t worry, you’ve got this. It’s going to take some force and patience, so take a deep breath and let’s do this. If it’s not budging, try gently rocking the suction cup and screen back and forth to loosen the adhesive. You can also apply some heat with an iOpener, heat gun, or hair dryer to help it along. And remember, if you need help, you can always schedule a repair
– Now, take that suction cup and give it a good pull! Keep that pressure steady, and then slip an opening pick between the front panel and the back. You’re almost there! You got this.
Step 3


Hey there! We’re about to get into some delicate parts, so let’s be careful. We’ve got this! If you need help at any point, you can always schedule a repair.
– When using the pick, be gentle and don’t insert it more than 0.25 inches (6 mm) into the bottom edge of the phone. We want to avoid damaging that beautiful OLED display.
– Take care not to cut along the left edge, as there are some delicate display cables hiding out that can get damaged easily.
– In the upper left corner, make your cuts super shallow. Prying too deeply can put the front-facing camera at risk of damage. If you’re not feeling confident, you can always schedule a repair with the pros at Salvation Repair.
Step 4


– Let’s get that display loose! Slide the opening pick down the right side of the phone to loosen up that adhesive. If you need help, you can always schedule a repair
Step 5


When working through these steps, use the flat edge of your opening pick to cut – it’s easier to control and helps you avoid inserting the pick too far. If you need help, you can always schedule a repair
– Alright, let’s get this party started! Slide that opening pick around the lower-right corner and along the bottom edge of your phone. We’re gonna get this thing open in no time!
Step 6


– Now, take your trusty pick and slide that flat edge along the top-right corner. Keep going, slide it around the corner and up the top edge. You got this!
Step 7


Hold your horses before completely disconnecting the display! Those delicate ribbon cables are still linked to the phone’s motherboard, so let’s be gentle and take it step by step.
Step 8


Take it slow and steady! You don’t want to accidentally rip that cable or send the cover flying! If you need help, you can always schedule a repair.
Hang onto this component – you’ll need it for reassembly later.
The clip that secures this cover is located along the bottom edge, so keep an eye out for it. If you need help, you can always schedule a repair
– Grab your trusty opening tool and gently nudge it into the corner to lift up and unclip the lower edge of that digitizer cable connector cover. It’s like giving it a little love tap!
– Now that you’ve got it loose, go ahead and lift off the connector cover like a pro.
Step 9


– Grab your trusty spudger and gently lift the digitizer cable connector out of its cozy home on the motherboard. Be gentle, we want to keep it happy!
– Ready to reattach? Just align those connectors like a pro! Press down on one side until you hear that satisfying click, then do the same for the other side. Remember, no pressing in the middle—let’s keep those pins straight to avoid any drama!
– If your screen is feeling a bit shy and doesn’t respond to your touch after your repair, give that connector another seat. Make sure it clicks in snugly and check for any dust bunnies or other sneaky obstructions hanging around in the socket.
Tools Used


Step 11


Hang onto this component – you’ll need it again when you’re putting everything back together.
– Let’s get that display connector cover off! Gently insert the tip of your spudger into the little hole on the edge of the cover.
– Now, use the spudger to carefully pry the cover up and out of its little home.
– And there you have it! You’ve successfully removed the connector cover. If you need help, you can always schedule a repair
Tools Used
Step 12


– Time to get that display cable loose! Use the flat edge of your spudger to gently lift it up from its socket. You got this!
– Take that display off! You’re doing awesome.
– Almost done! During reassembly, take a moment to freshen up that adhesive around the edges of the display. If you need help, you can always schedule a repair
Tools Used
Step 13


Before you apply that display adhesive, make sure the grilles and gasket are securely in place – it’s an easy step to skip, but trust us, you don’t want to.
When it comes to the adhesive strip, get it as close to the edge of the slot as possible without overlapping. This will save you from potential headaches down the line, like interference with the display adhesive. If you need help, you can always schedule a repair
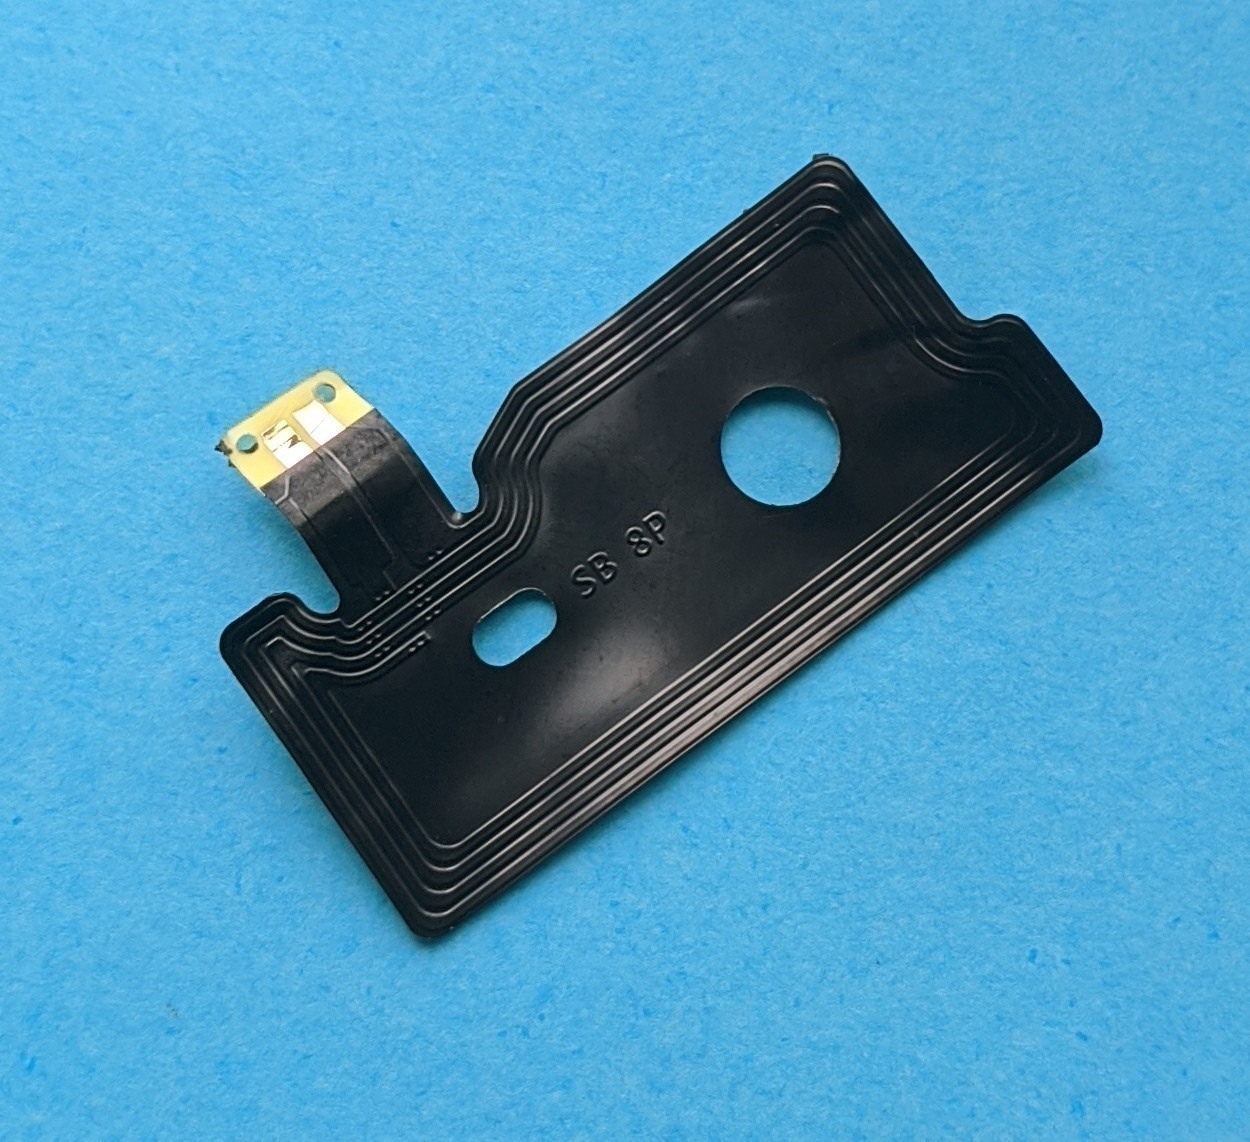
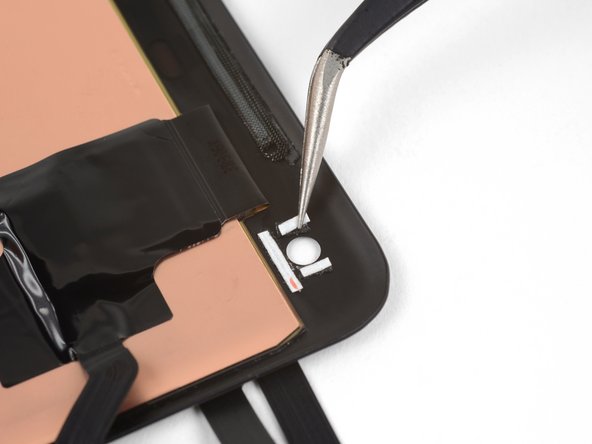
– Before you start, take a look at your replacement display. If it doesn’t come with speaker grilles or a front-facing camera gasket, don’t worry – you can easily remove these parts from your old display using tweezers and then install them on the new one. Just follow along with the rest of this guide.
– Cut a 1 mm wide strip of double-sided tape, about 3 cm (1.25 inches) long. This will come in handy in the next step.
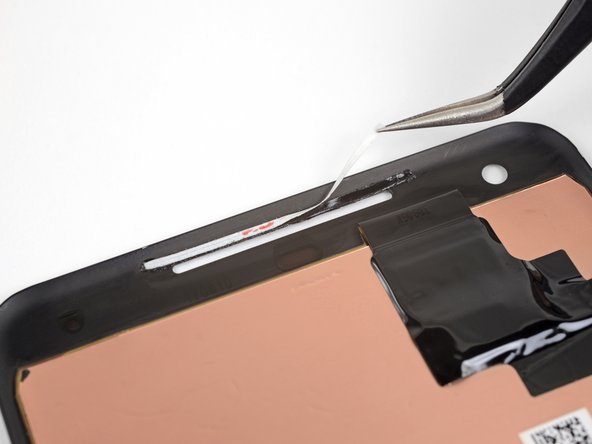
– Now, carefully place the adhesive strip along the upper edge of the earpiece speaker slot on your new display. Make sure it’s centered and touching the edge – you’re doing great!
– Gently press the adhesive strip into place with your finger or a spudger. Easy does it!
– Next, peel the white backing away from the adhesive strip. You’re making progress!
– Before reinstalling any parts, give them a quick clean to remove any adhesive residue. If you need help or have any questions, you can always schedule a repair with Salvation Repair.
Step 14

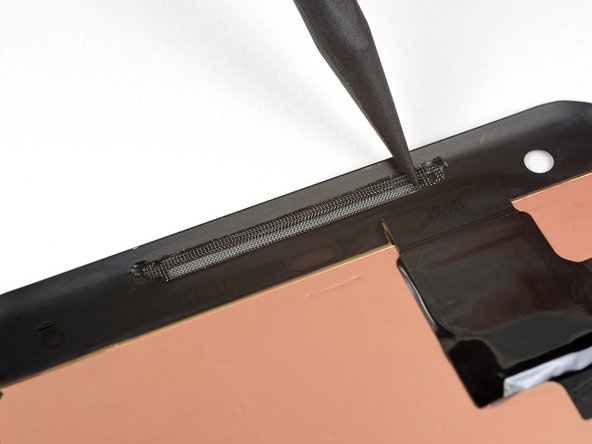

– Alright, let’s get that speaker grille nestled in its spot! Gently set it in so the indented side is inside the slot and the flat side is sitting on top of the adhesive. Don’t push it all the way down just yet.
– Now, grab your trusty spudger and use the pointy end to gently nudge the edges of the grille against the edges of the slot. Make sure you’re centering it nicely!
Tools Used
Step 15
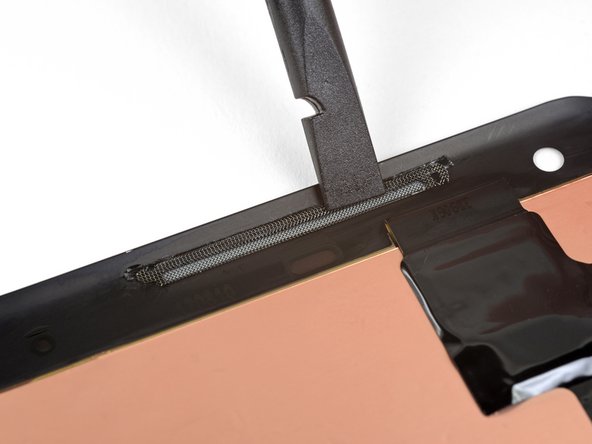

– Grab that spudger and use the flat end to press the top of the grille right onto the adhesive strip.
– Do the same steps you just did to stick on the lower speaker grille.
– Applying the lower speaker grille? Stick the adhesive strip on the lower edge of the speaker slot, then make sure the grille’s flat part is seated below the slot.
Tools Used
Step 16


If you’re reusing the camera gasket from your old screen, you might find that some of the old adhesive stuck to it. If the adhesive is still sticky, skip to the last step. Otherwise, you’re good to go!
Now, line up those three strips as close as you can to the camera hole without overlapping it. We’re going for a snug fit!
– Cut a 1 mm wide strip of adhesive 6 mm long. Cut two more 3 mm strips using the same width. Gently press these sticky bits into place on your display like a DIY MOD. Place one under the front-facing selfie camera hole, right next to the top edge. Then pop two more on either side, but make sure they’re straight and creating a perfect V! If you’re feeling stuck or need more pointers, don’t stress – we’re here to help. Just reach out to our whizz-bang team for an easy-peasy repair fix schedule a repair
Tools Used
Step 17