
Replace Google Pixel 9 Pro Fold Battery: Step-by-Step Guide
Duration: 45 minutes
Steps: 133 Steps
Hey there! Just a quick heads up: this repair guide is put together by our awesome team at Salvation Repair. It’s not officially backed by anyone else. If you have any questions or need a hand, feel free to schedule a repair.
Hey there! Who’s ready to have some fun and take on this Google Pixel 9 Pro Fold base battery replacement adventure? Don’t worry, we’ve got your back with this totally awesome and easy-peasy repair guide. Step by exciting step, we’ll ensure that you’ll be a pro in no time! So, grab your toolkit, and let’s dive in!
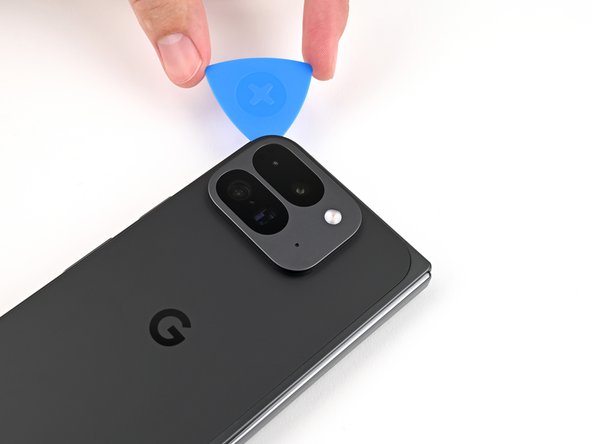
Step 2
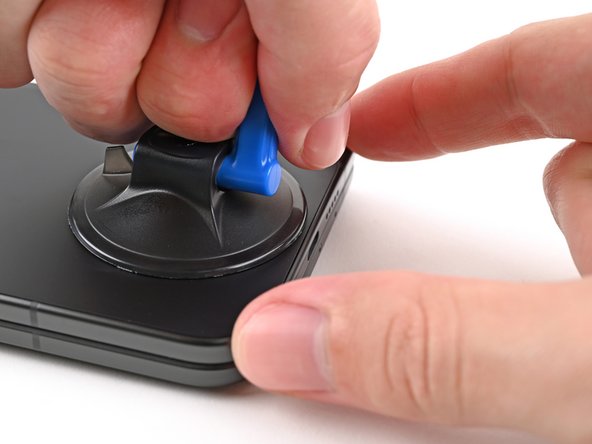


Got a back cover that’s looking a bit worse for wear? No worries! Slapping on a layer of clear packing tape can help the suction cup stick right where you need it. If you want to switch things up, super strong tape works like a charm too. And if you’re really in a bind, a little superglue can help you attach that suction cup to the cracked back cover. You’ve got this!
– Stick that suction cup right on the back cover, aiming for the sweet spot near the bottom edge.
– Hold your phone steady with one hand and give that suction cup a confident, smooth pull to pop a gap between the cover and the frame.
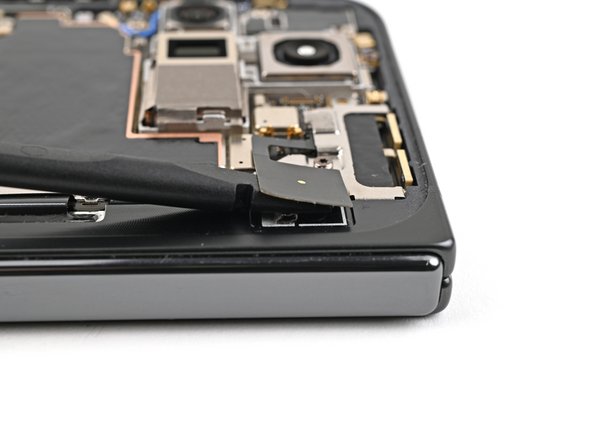
– Slide your opening pick into the gap like a pro. If you need help, you can always schedule a repair.
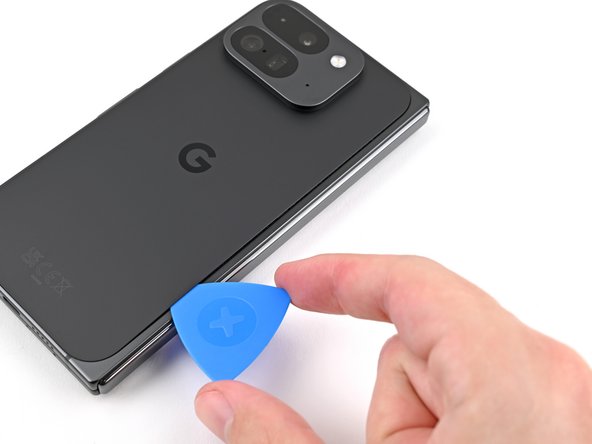
Step 3

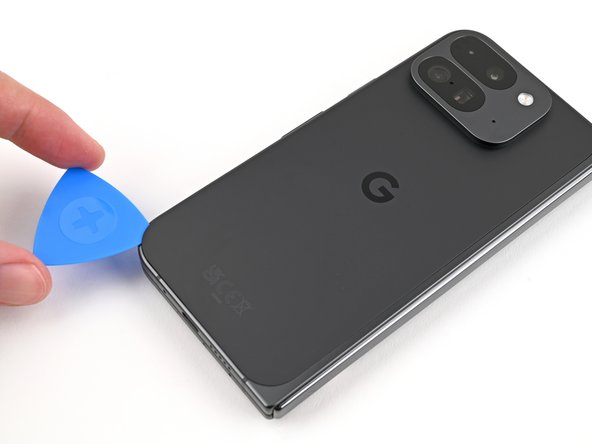
Alright, listen up! For the next couple of steps, keep your opening pick chill and don’t go deeper than 3mm. Those metal springs around the frame are kinda delicate, so we don’t want to mess ’em up!
Feel free to mark your opening pick at 3mm to get a clearer visual of the length—you’re doing great!
– Pop that suction handle off the back cover like a pro.
– Work that opening pick around the bottom left corner and slide it up the left edge of the back cover to loosen the adhesive.
Tools Used

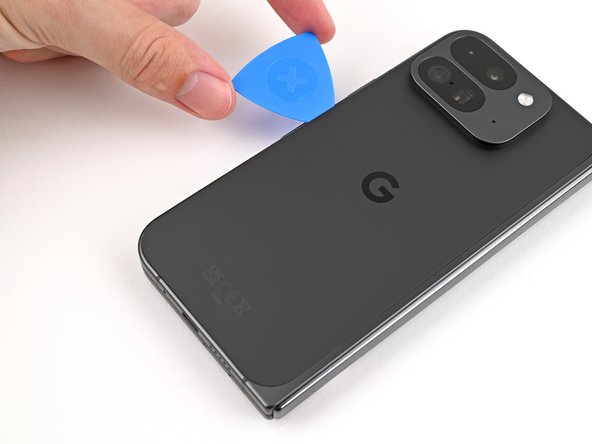
Step 4

– Keep that pick sliding smoothly around the top left corner and glide it across the top edge of the back cover like a pro.
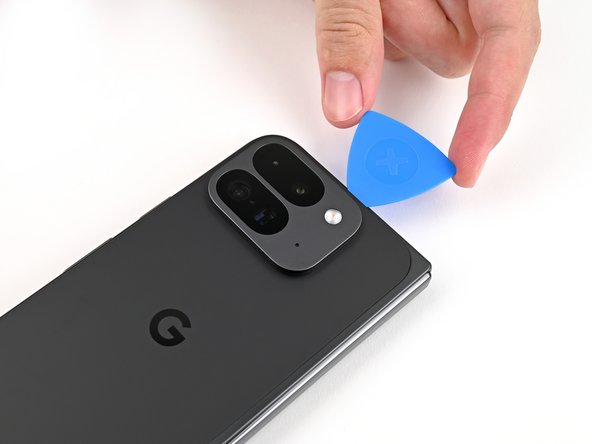
Step 5
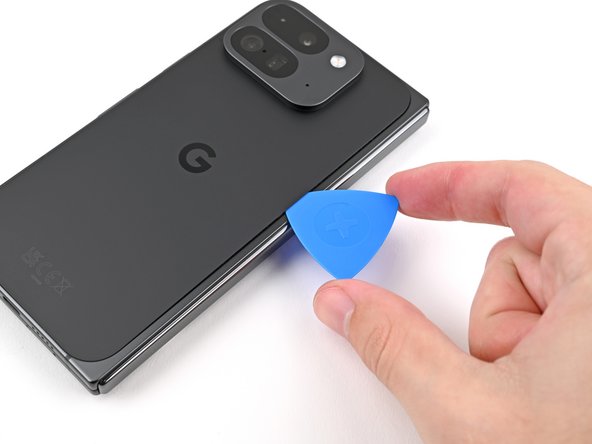

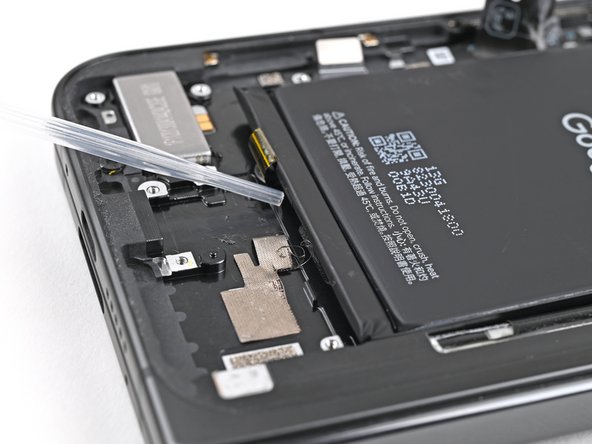
The adhesive along the right edge of the back cover is a bit more stubborn than the rest. Make sure to slide your opening pick in at least 4 mm to break that adhesive free. You’ve got this!
– Gently glide your pick along the right edge and around that tricky bottom right corner to break free any leftover adhesive. Keep it smooth and steady!
Step 6
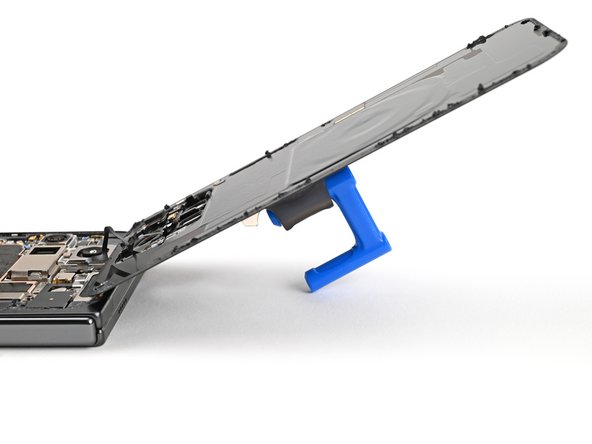

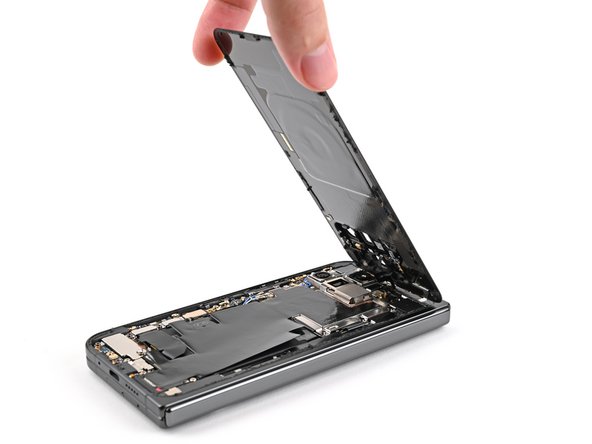
Hang on a sec, don’t yank off that back cover just yet – there’s still a wire connecting it to your device!
Alright, it’s time to let that back cover break free from the frame! If you’re feeling a bit of resistance along the edges, grab an opening pick and gently work your way around to loosen any stubborn adhesive still hanging on.
– Gently lift the bottom edge of the back cover and swing it over the top edge of your phone with a little flair.
– Now, give the back cover a little support using your suction handle or a clean, strong object—just make sure that cable stays cozy and doesn’t get stretched!
Tools Used
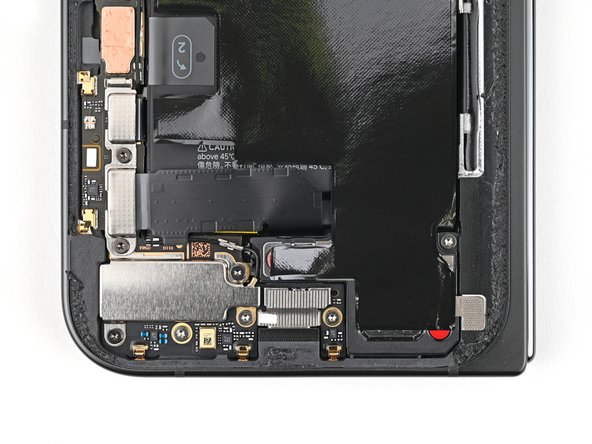
Step 7

As you embark on this repair journey, make sure to keep an eye on each screw and remember where it all belongs. It’s like a treasure hunt, but with screws!
The Pixel 9 Pro Fold has a fondness for Torx Plus screws, but don’t worry—standard Torx bits are also your trusty sidekicks. Stick with the same size or go for one size larger (T3 or T4 Torx bits will do the trick for 3IP Torx Plus screws) and apply steady, downward pressure to keep those screws from misbehaving.
– Grab your Torx Plus 3IP driver and tackle that 3.0 mm-long screw holding down the top bracket. You’ve got this!
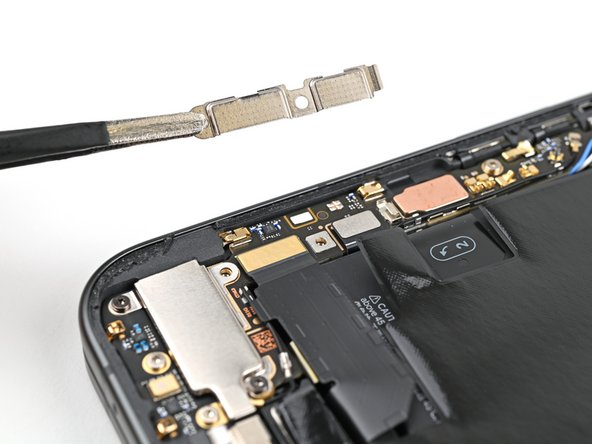
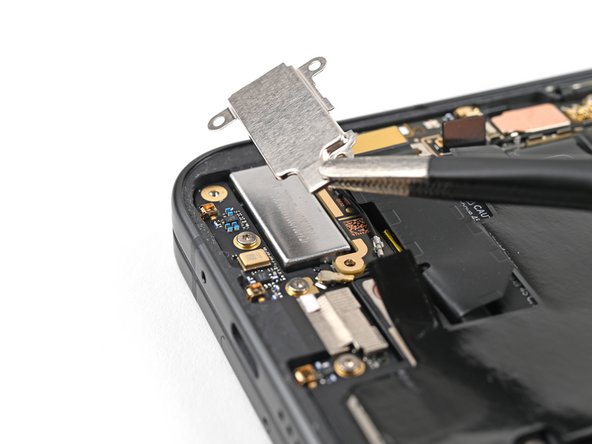
Step 8

– Grab those tweezers or just use your fingers, and gently tug the top bracket upwards towards the phone’s top to set it free from its snug little clip.
– Now, carefully lift off the top bracket and say goodbye to your old buddy!
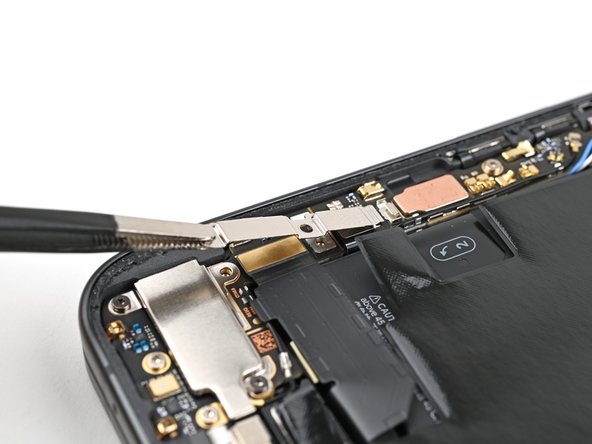
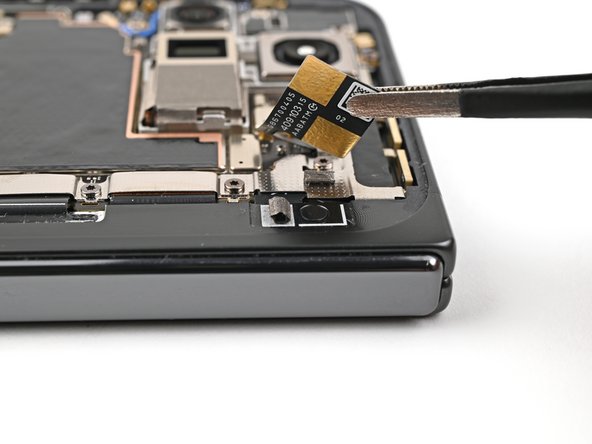
Step 9

Keep your spudger in the safe zone! Inserting it elsewhere might send those tiny surface-mounted components on a wild adventure. Let’s keep everything in place, shall we?
– Let’s pop open that back cover cable! Use the tip of your spudger to gently slide it under the connector.
– Now, carefully pry it up and disconnect that cable. You’re doing great!
Tools Used

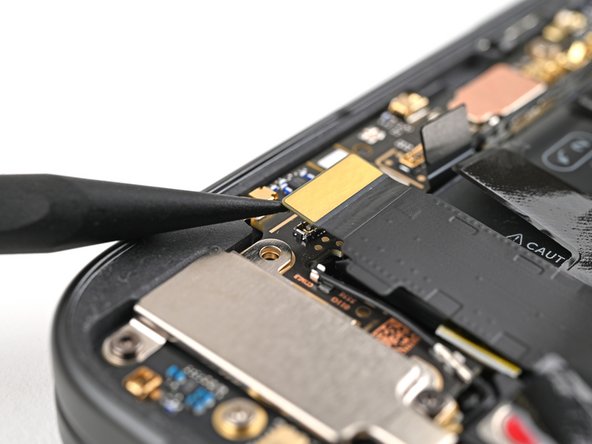
Step 10

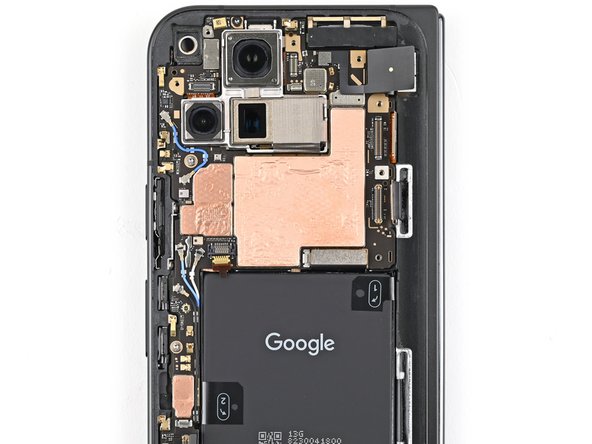
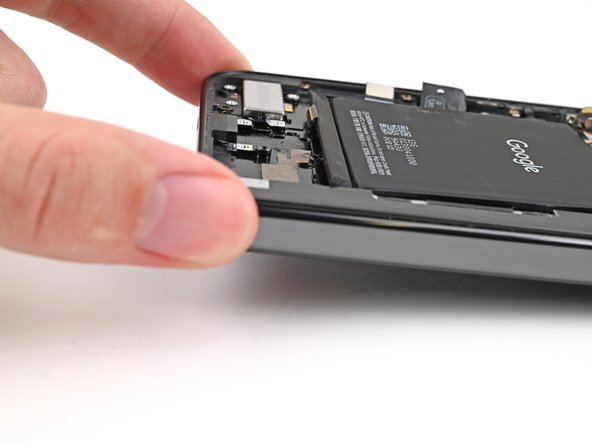
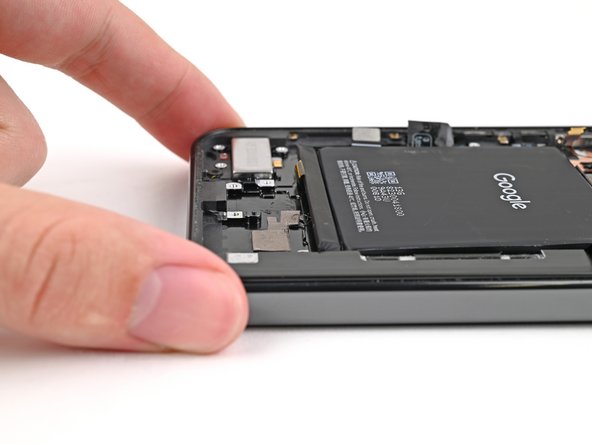
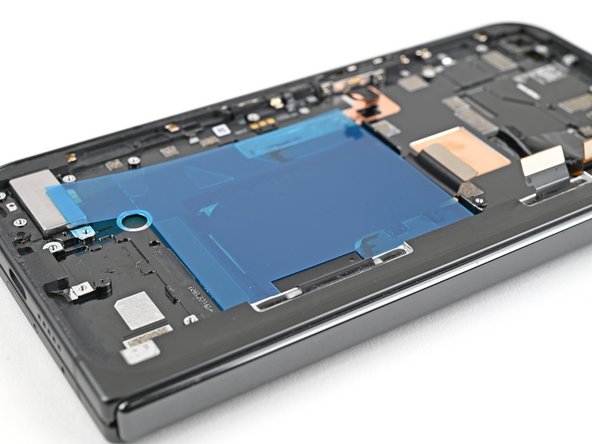
– Time to get that back cover off! Carefully lift it away from the frame and set it aside. You got this!
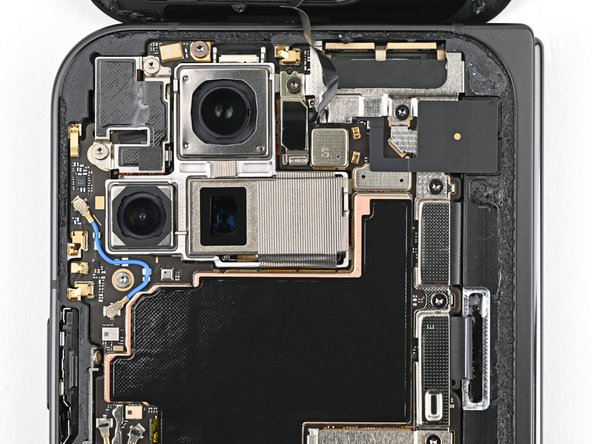
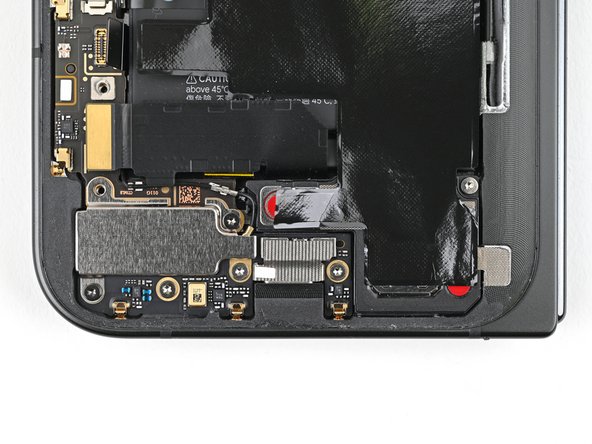
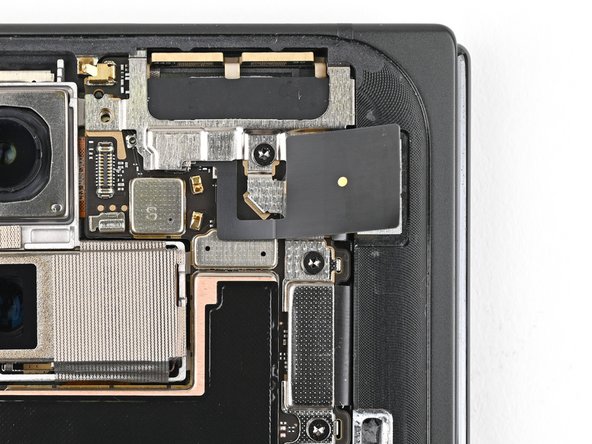
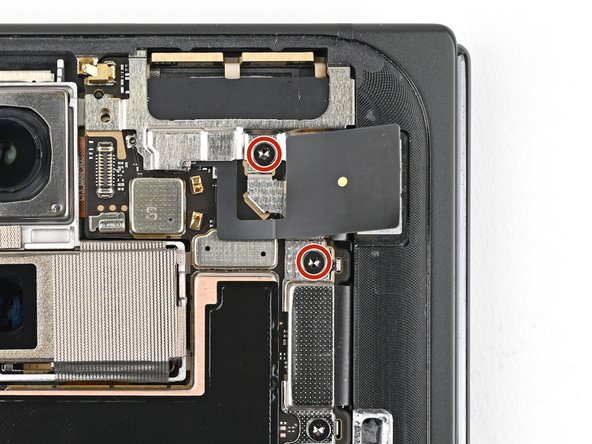
Step 11

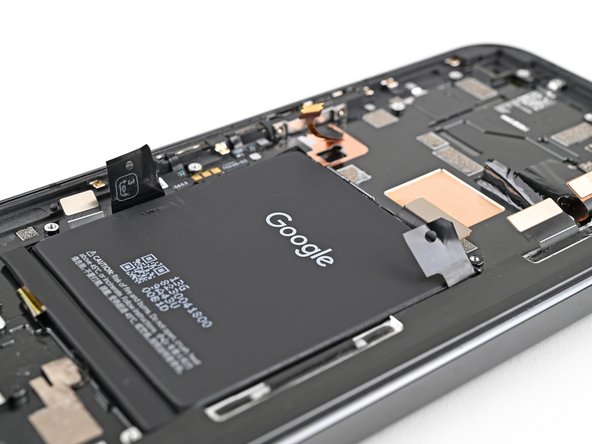
– Let’s loosen those screws! Use a Torx Plus 3IP driver to remove the two 3.0 mm‑long screws holding down the battery bracket. It’s just like taking off a belt!

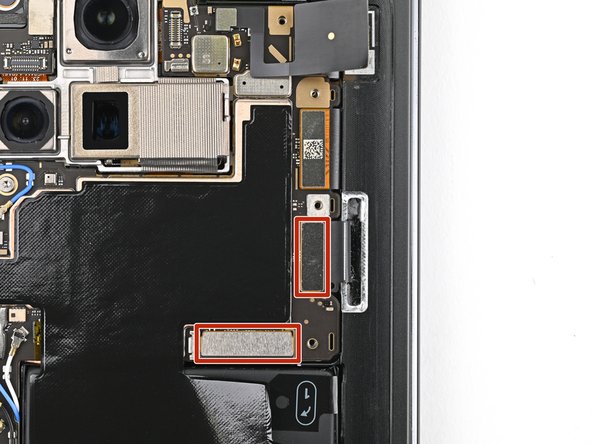
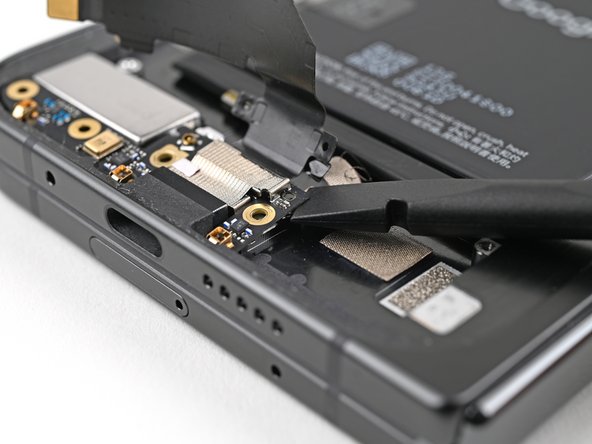
Step 13


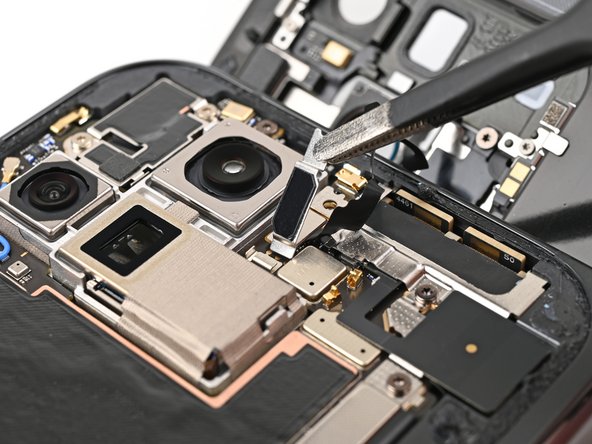
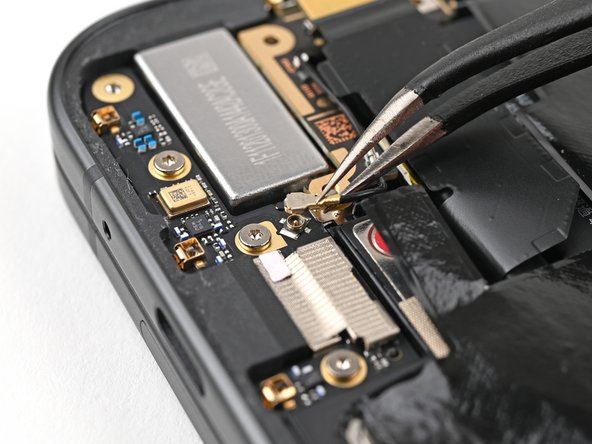
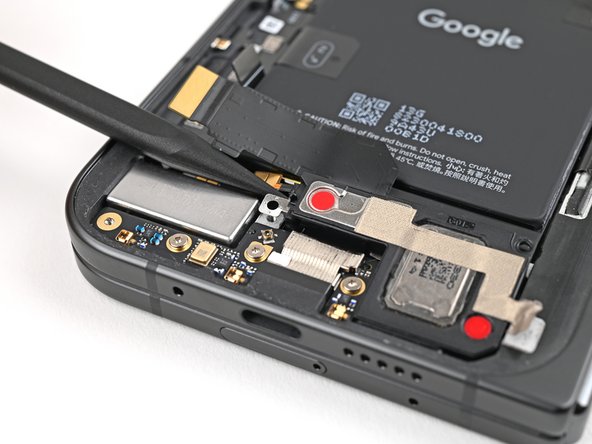
Keep your spudger in its happy place! Inserting it elsewhere could lead to some sneaky surface-mounted components getting knocked loose.
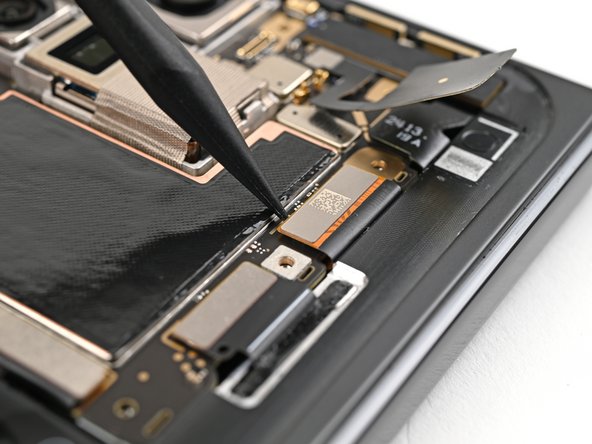
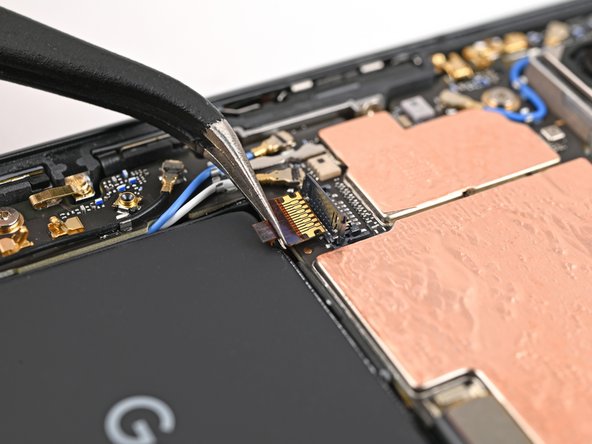
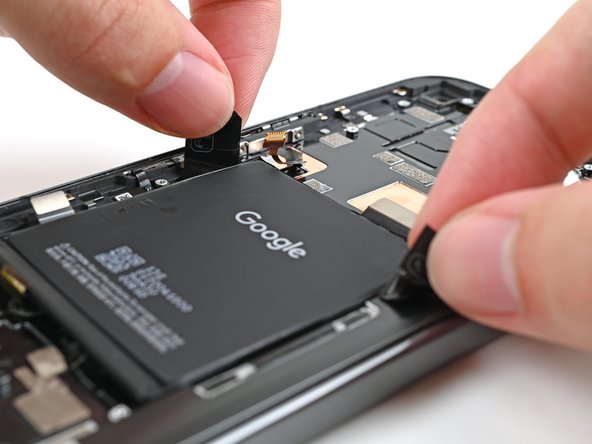
– Slide your spudger’s tip under the bottom left corner of the base battery connector, right by that shiny gold marker.
– Gently lift and pop that base battery connector free—easy does it!
Tools Used
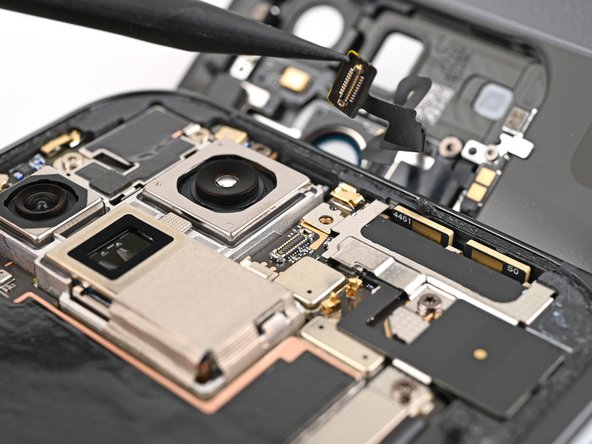
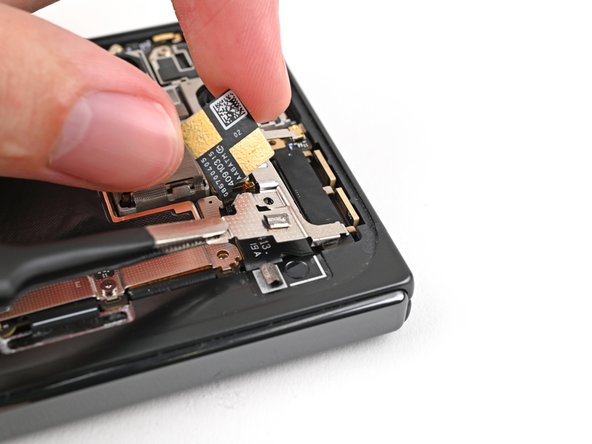
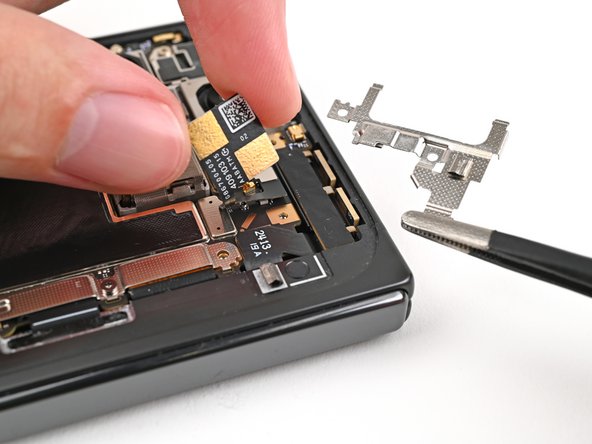
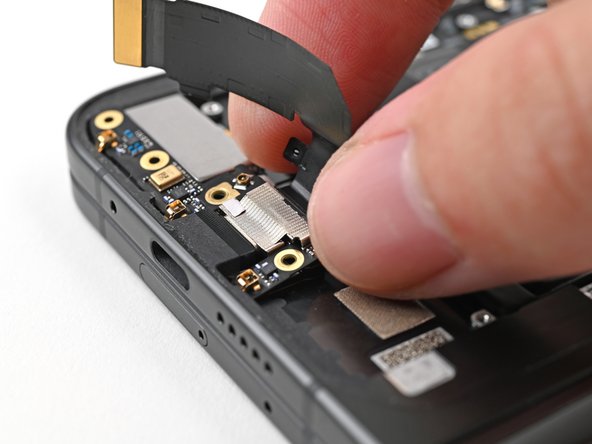
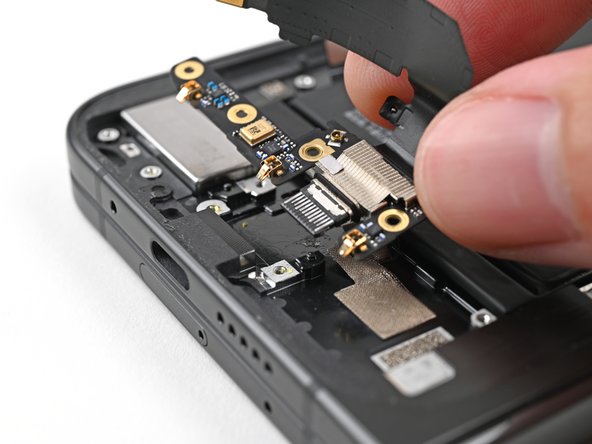
Step 14

– Time to get those nimble fingers working! Grab your trusty spudger and gently pry up the USB-C port board cable connector. It’s like giving it a little high five! Just be careful not to force it, you want to make sure you don’t damage anything.
Tools Used
Step 15

– Grab your Torx Plus 3IP driver and unscrew the two 3.0 mm-long screws holding the vibrator bracket in place. Easy peasy!

Step 17

– Gently slide one arm of those trusty angled tweezers beneath the sleek metal neck of the black antenna cable’s connector head resting on the USB‑C board.
– Now, with a steady hand, lift straight up to gracefully disconnect that cable.
Tools Used

Step 18

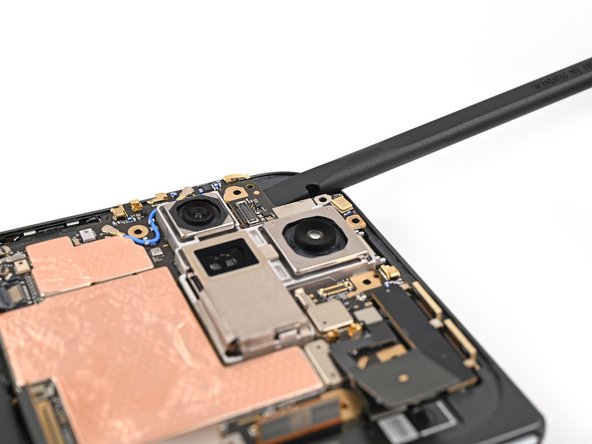
– Grab your Torx Plus 3IP driver and unscrew the two 2.6 mm-long screws holding the inner front camera bracket in place. Easy peasy!
Step 19

– Grab those tweezers or use your fingers to gently lift the inner front camera bracket up and slide it toward the left edge of the phone. This will help you pop those clips right out!
– Now, it’s time to take out the inner front camera bracket. You’ve got this!
Step 20

– Grab your trusty spudger and gently nudge up to disconnect the inner front camera press connector. You’ve got this!
Tools Used
Step 21


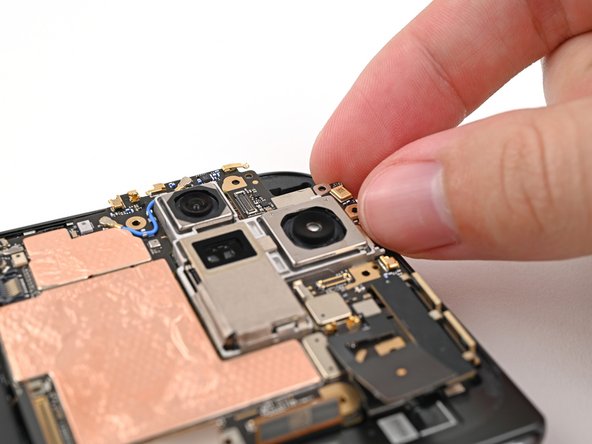
– Grab your trusty spudger and carefully lift the inner front camera, separating the adhesive that’s holding it in place.
– Gently remove the inner front camera. Voila!
Tools Used
Step 22

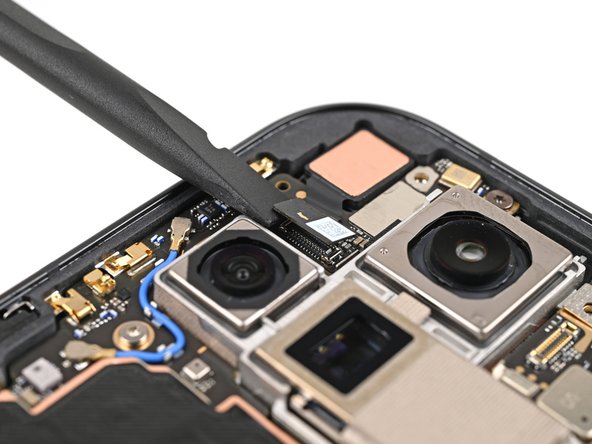
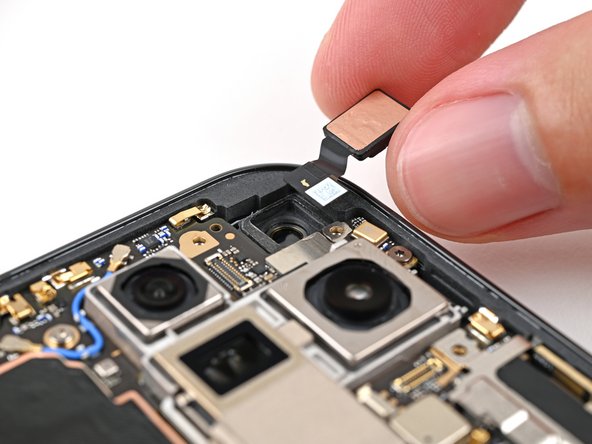
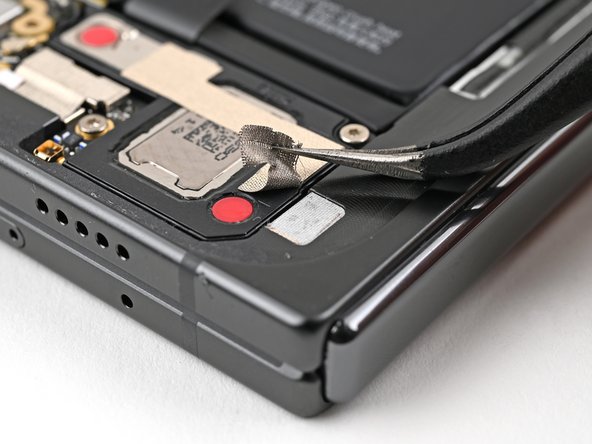
– Gently wiggle the flat end of a spudger under the ultra wideband antenna to free it from the adhesive foam holding it to the frame.
– Grab your tweezers or use your fingers to lift the antenna away from the frame, breaking any leftover adhesive bonds. If you need help, you can always schedule a repair.
Tools Used
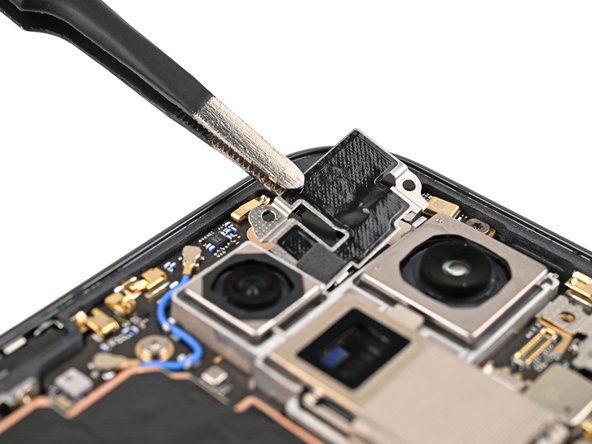
Step 23
– Grab your trusty Torx Plus 3IP driver and gently twist out those two 3.0 mm-long screws holding the ultra wideband bracket in place. It’s as easy as pie!
Step 24

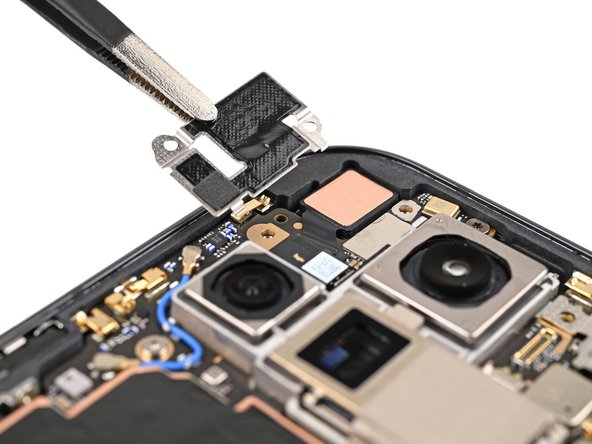
– Gently keep the ultra wideband antenna out of the way, then slide the bracket down towards the bottom of the phone to let those clips pop free.
– Now, go ahead and take off the ultra wideband bracket.
Step 25

– Grab your trusty Torx Plus 3IP driver and carefully unscrew that 3.0 mm-long screw holding down the interconnect cable bracket. You’re doing great!
Step 26

– Grab those tweezers or just use your fingers to gently nudge the bracket over to the right side of the phone. You’ll hear a satisfying little click as it releases its clip!
– Now, go ahead and take out the bottom interconnect cable bracket. You’re doing great!
Step 27

– Grab your trusty Torx Plus 3IP driver and let’s tackle that 3.0 mm-long screw holding the inner display cable bracket in place. You’ve got this!
Step 28

– Grab the inner display cable bracket with your trusty tweezers (or your fingers, if you’re feeling brave!), and gently pull it towards the left edge of the phone. You’ll hear a satisfying click as it releases from its clip.
– Time to give that inner display cable bracket its freedom! Carefully remove it from the phone.
Step 29

Avoid sticking your spudger anywhere else, or you might knock off some delicate surface-mounted parts.
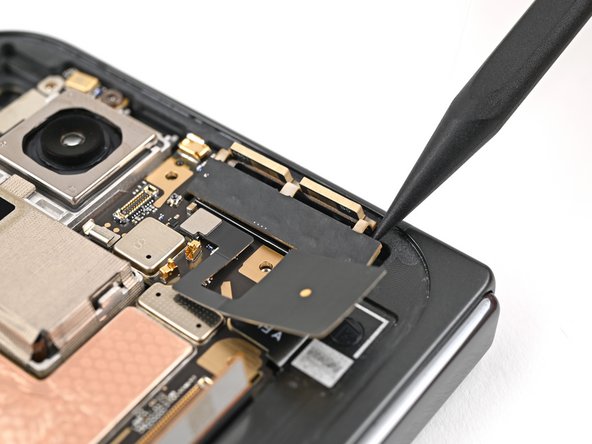
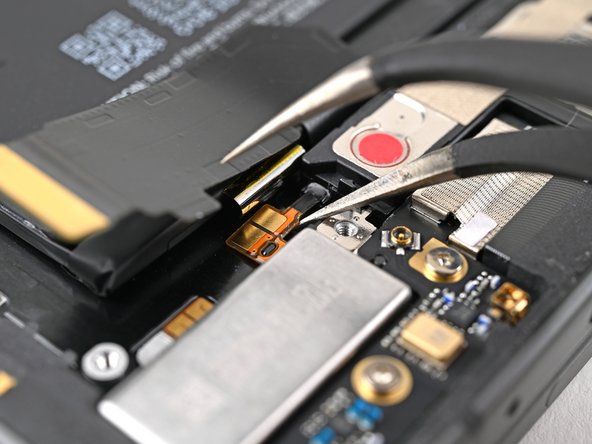
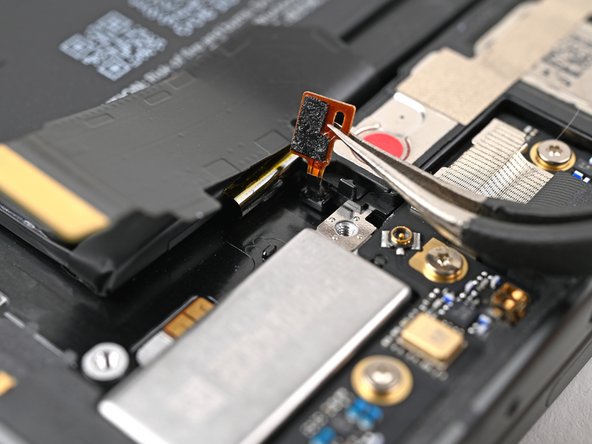
– Gently slip the tip of a spudger under the bottom left corner of the inner display press connector, just next to the golden marker on the logic board.
– Carefully pry up and detach the inner display cable.
Tools Used
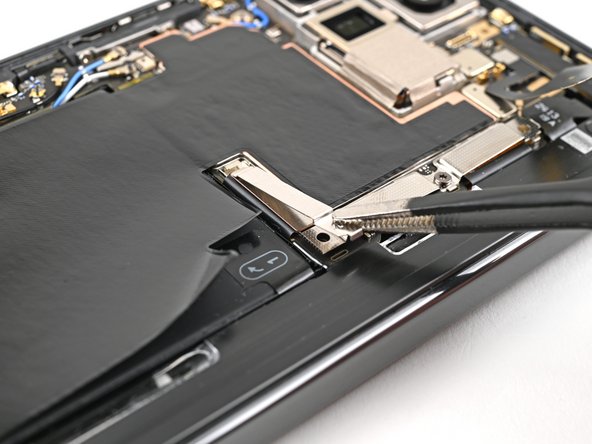
Step 30
– Go ahead and repeat the same move to disconnect the top and bottom interconnect cable press connectors. Just remember to keep your prying action close to those trusty gold markers—they’re your guide!
Step 31


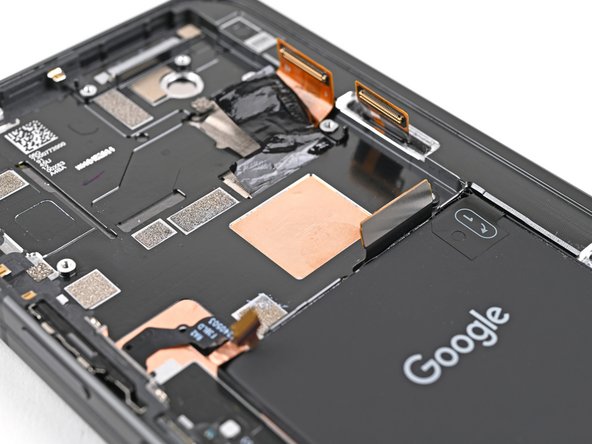
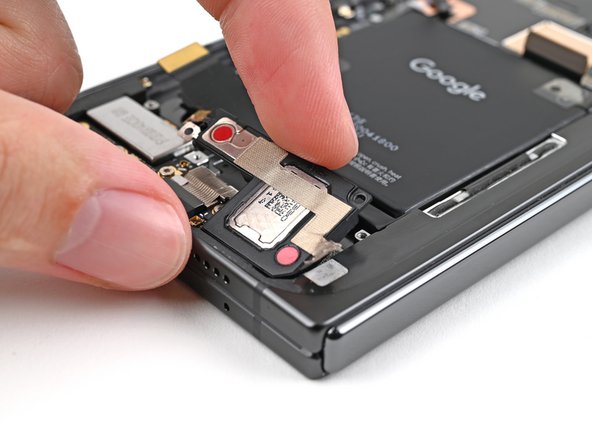
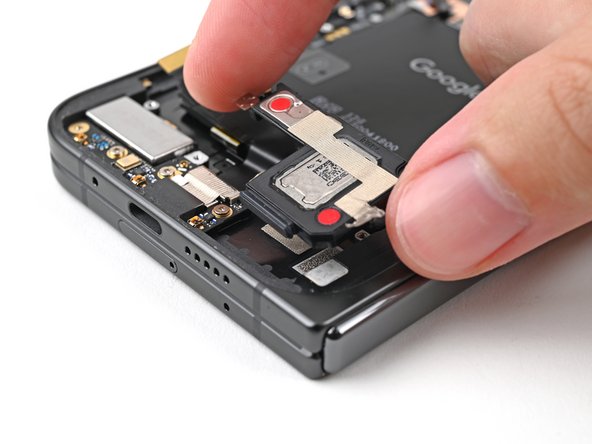
– Gently lift the graphite sheet from the bottom speaker to break the adhesive that’s holding it in place.
Step 32
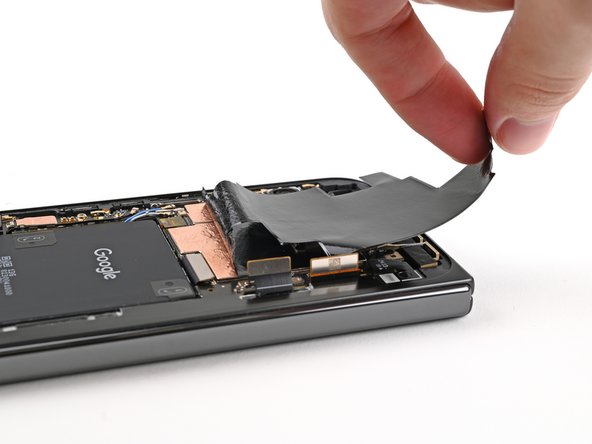
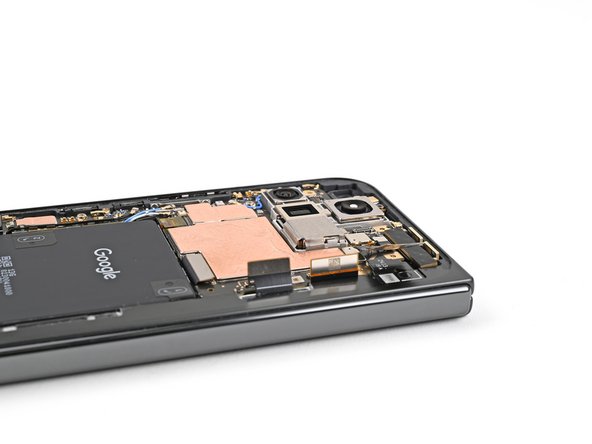

– Keep on peeling that graphite sheet away from the logic board like a champ to remove any leftover adhesive. You’ve got this!
Step 33

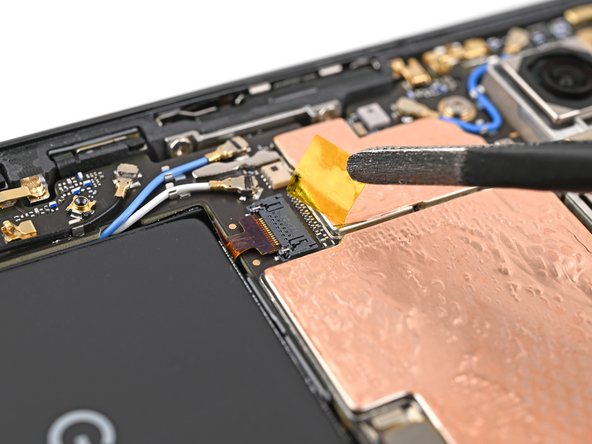
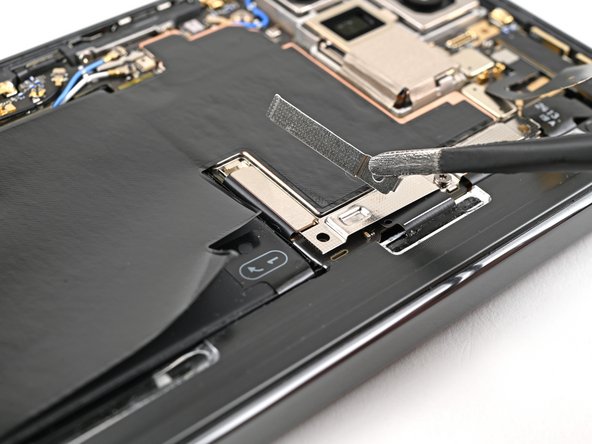
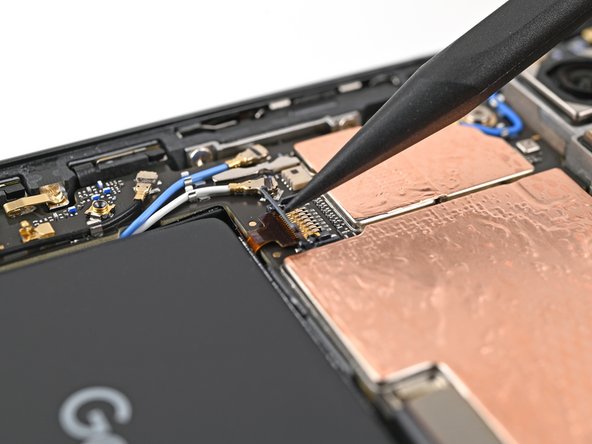
– Grab your tweezers or use your fingers to gently peel off the yellow tape from the side button cable ZIF connector.
– Keep that tape safe—you’ll want it back when it’s time to put everything together again.


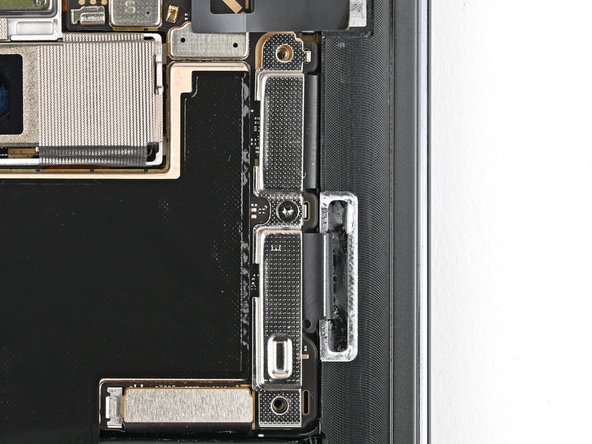
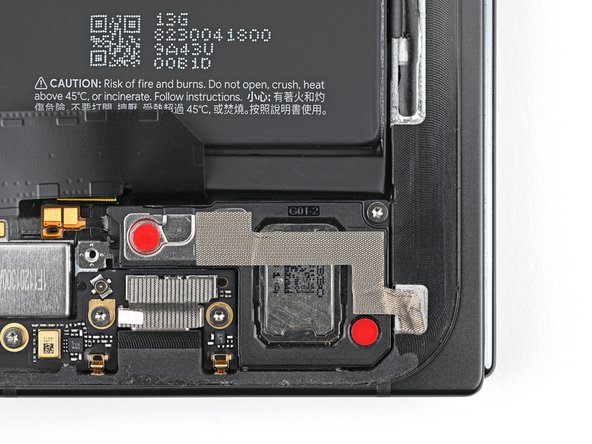
Step 36

The 5G mmWave antenna is chillin’ on the frame with a little thermal pad help. It’s like a cozy little hug to keep things cool and connected.
– Use the tip of a spudger to carefully lift the 5G mmWave antenna from the frame. Gently separate it from the thermal pad. It’s like giving the antenna a little high-five!
Tools Used
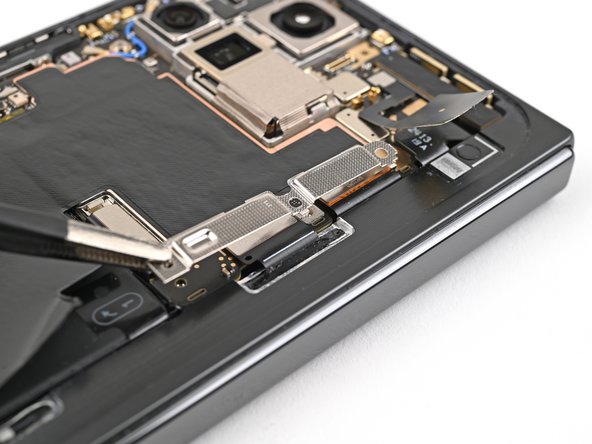
Step 37

– Grab your trusty Torx Plus 3IP driver and let’s tackle those screws holding down the logic board! First up, we have one bold 2.2 mm-long screw ready to be removed, followed by its two comrades, the 2.6 mm-long screws. Let’s get them out so we can move on to the fun part!
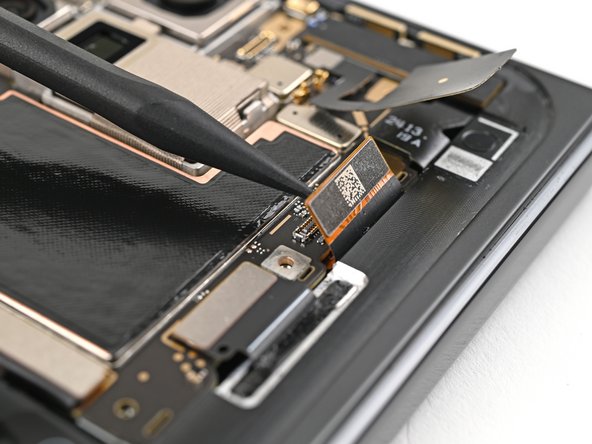
Step 38

Don’t worry, a little push is all it takes! The logic board’s holding on tight with some thermal paste, so you might feel a bit of resistance. Just keep going, you got this!
– Slide the flat end of your spudger under the top left corner of the logic board, right by the front camera cutout. Easy does it!
– Gently lift the logic board just enough to grab the top edge with your fingers. You’ve got this!
Tools Used
Step 39

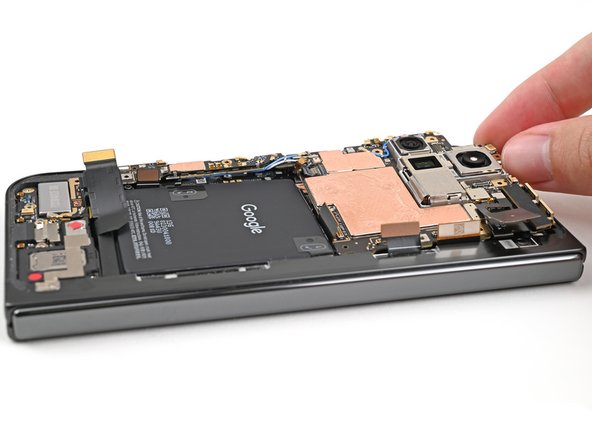
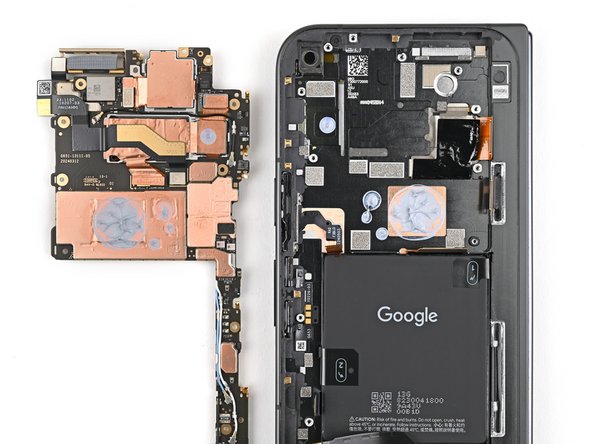
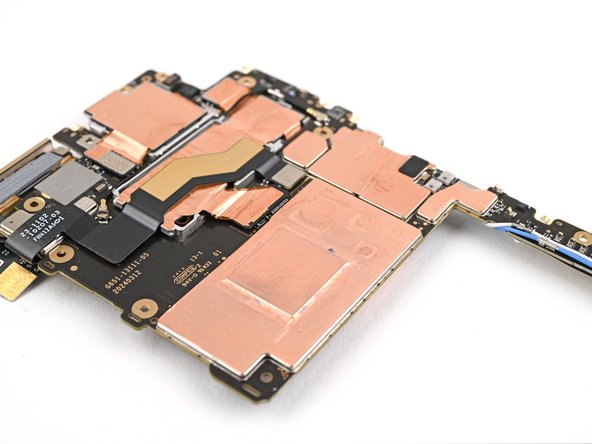
– Time to give that logic board a little air! Gently lift it out of the frame and give it a break.
– Now, let’s give that logic board a comfy spot to relax. Lay it face down on a clean surface. It deserves a little pampering!
Step 40
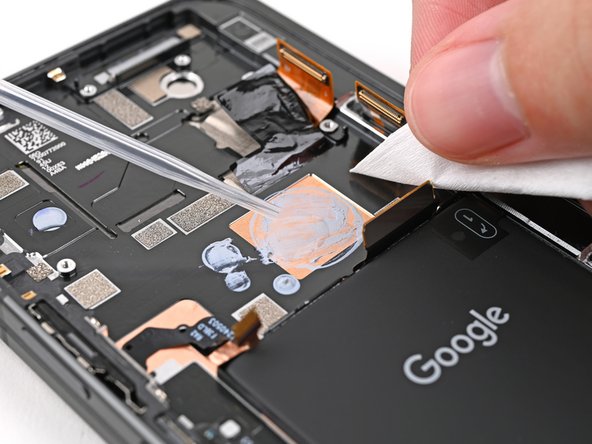

– Use the flat end of a spudger to gently remove any large pieces of old thermal paste from the frame. No worries, this part is easy peasy!
– Add a couple of drops of really strong isopropyl alcohol (over 90%) to any leftover thermal paste. It’s like a little cleaning party!
– Wipe away the leftover residue using a coffee filter or a lint-free cloth. You’re almost there! You’re doing great!
Tools Used
Step 41

Go easy on the logic board while cleaning—no heavy pressing! We want to keep those metal springs straight and the rear camera assembly smudge-free. If you need help, you can always schedule a repair.
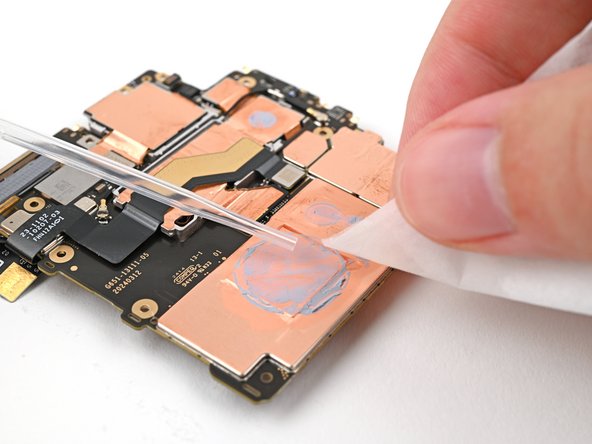
– Don’t forget to give the bottom of that logic board some love by repeating the thermal paste cleaning process!

Step 43

Be super careful with the battery—poking it could lead to leaks or even a fiery surprise! If you need help, you can always schedule a repair.
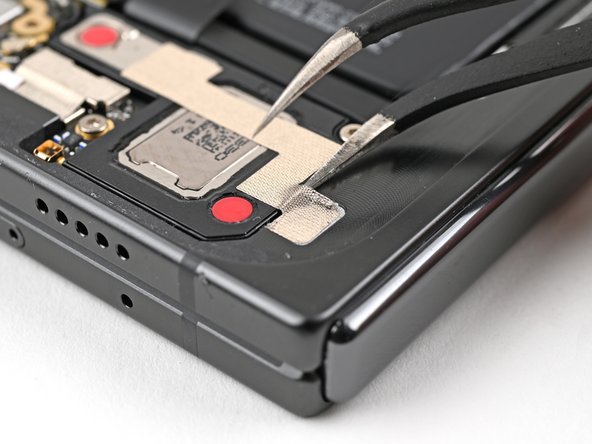
– Gently slide one arm of your trusty angled tweezers beneath the contact pad that’s cozying up to the loudspeaker.
– Carefully lift the contact pad to break free from the adhesive that’s holding it snugly to the frame.
Tools Used
Step 44

– Grab your trusty Torx Plus 3IP driver and unscrew that 2.6 mm-long screw holding the loudspeaker in place. You’re doing great!

Step 46

– Gently wiggle the top edge of the loudspeaker with your fingers and ease it out of its snug spot in the frame.
– Now, go ahead and remove the loudspeaker.
Step 47


– Gently slide the tip of your trusty opening pick under the USB-C port board cable to break that adhesive grip it has on the frame. You’re almost there!
Step 48

– Grab your Torx Plus 3IP driver and unscrew the three 2.6 mm-long screws holding the USB-C port board in place. Easy peasy!
Step 49

– Grab your trusty spudger and gently wiggle it under the top right corner of the USB-C port board. Just like that, you’re going to unclip it from the frame. Easy peasy!
Tools Used
Step 50
– Gently wiggle and lift the USB-C port board out of its cozy spot in the frame—easy does it! If you need help, you can always schedule a repair.

Step 52

Keep it cool, superstar! Don’t let that screen soak up the heat for more than 30 seconds – it’s got a delicate side and can’t handle too much warmth.
– Flip open your phone and lay it down with the inner screen facing up.
– Grab a hair dryer or heat gun and gently warm up the area of the inner screen near the battery until it’s just a bit too hot to touch. Easy does it!
Tools Used


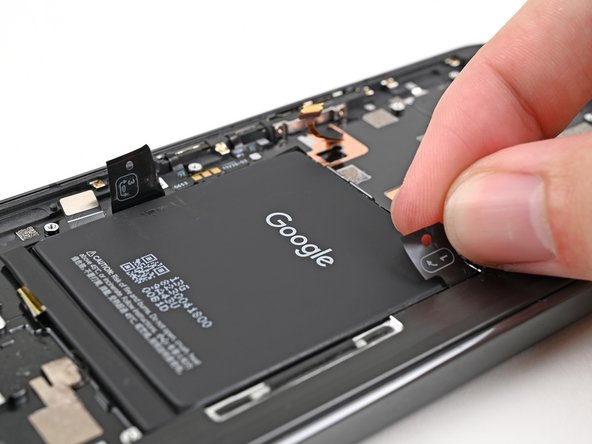
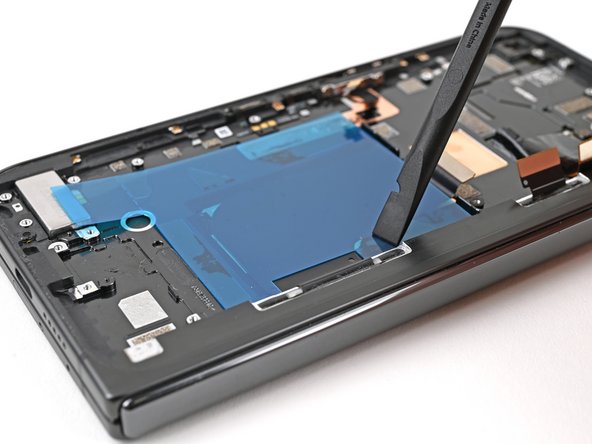
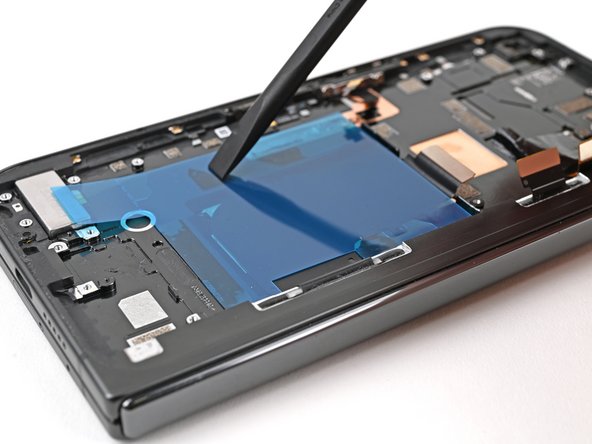
Step 57


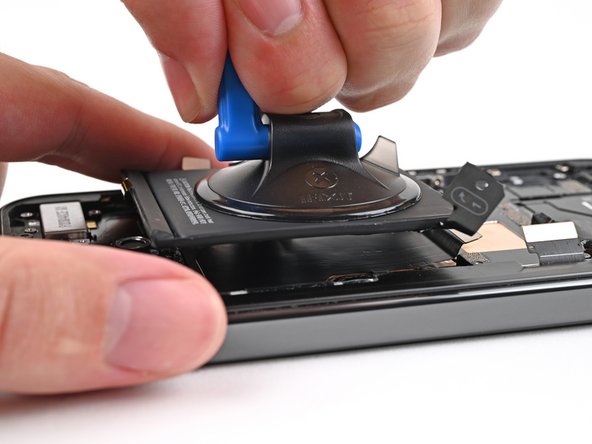
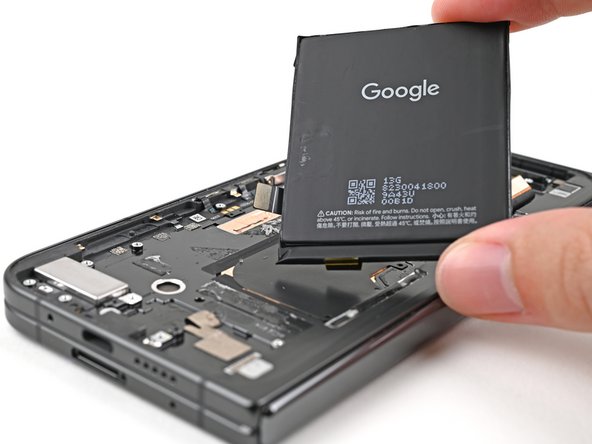
– Stick a suction cup right in the middle of the base battery.
– Hold your phone steady with one hand, and give that suction cup a firm, smooth pull to pop the base battery free.
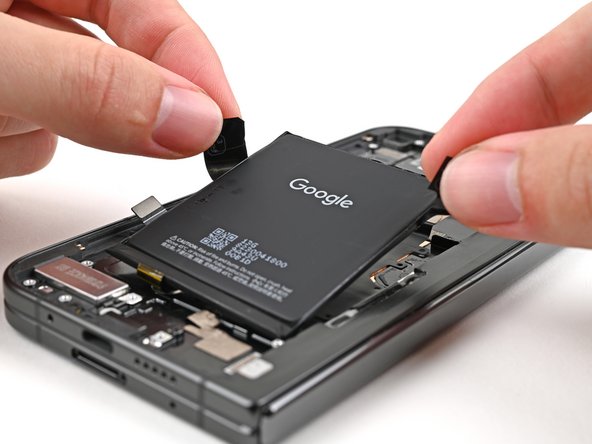
– Take out the base battery. If you need help, you can always schedule a repair.
Step 58

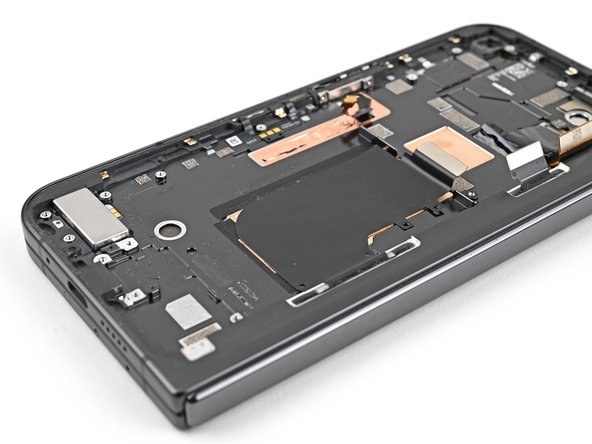
– Way to go on finishing the disassembly! Now, let’s dive into the next steps to put your device back together. It’s going to be a breeze!
Step 59

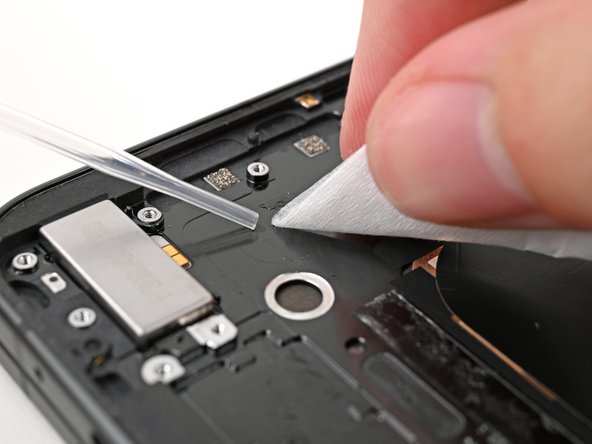
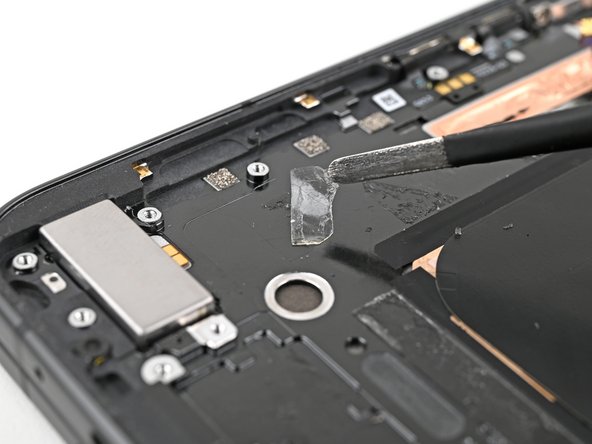
– Time to give that old adhesive the boot! Use tweezers or your fingers to carefully remove the old battery adhesive from the frame.
– Now, let’s get this thing sparkling clean! Apply some isopropyl alcohol (make sure it’s at least 90%) and use a coffee filter or microfiber cloth to wipe away any lingering adhesive residue. Don’t worry, we’ll get it looking brand new!

Step 61

Take it easy during this part! It’s easy to get that sticky stuff in the wrong place, so give yourself some time and proceed with care.
Step 62

– Grab the flat end of a spudger, or just use your trusty fingers, and gently press down on those five
