Replace IC Chips Apple IIC Guide: Step-by-Step Tutorial
Duration: 45 minutes
Steps: 11 Steps
Need to get those IC chips back in place or replace them? You’ve got this! These Integrated Circuit chips are super important for your computer’s vital functions. If you’re rocking an Apple II series, unseated or faulty chips are a common issue, but don’t worry—they’re easy to fix or swap out. Re-seating your chips will get your computer up and running smoothly again. If you need help, you can always schedule a repair.
Step 1


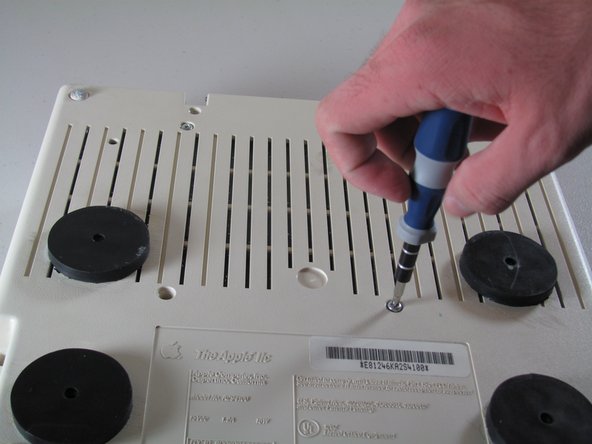
– Let’s get those six 19 mm long screws out of there! Grab your trusty #2 Phillips head screwdriver and show them who’s boss!
Step 2


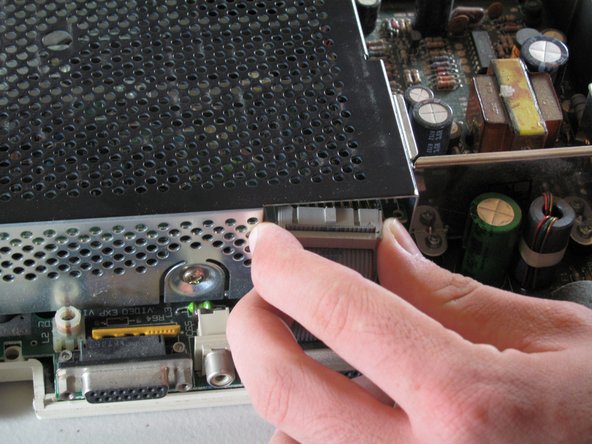
The catch is slightly off-center, matching up with the middle of the speaker beneath. If you need help, you can always schedule a repair
– Gently push in the catch with a plastic opening tool to release it. You’ve got this!
Step 3
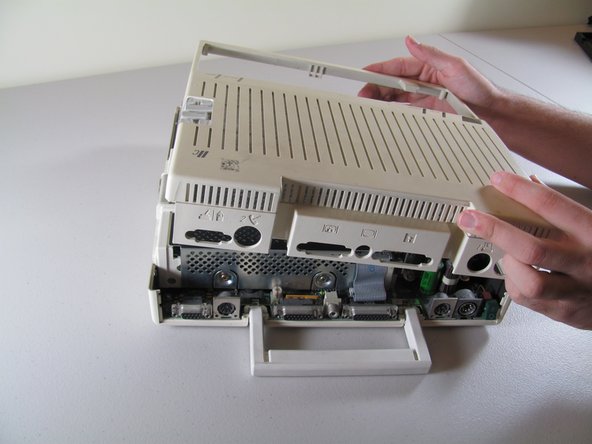

– Gently slide the case towards the ports at the back. Next, get a good grip under the catch and lift it up as you continue to slide towards the ports to take it off.
Step 4


– Time to get that handle off – simply lift it straight up and it’s gone! If you need help, you can always schedule a repair
Step 5

Take it easy when pulling out the ribbon—no need to rush! Gently wiggle it free to prevent any tears. And remember, pulling on the keyboard to yank the ribbon out is a no-go; that could lead to some serious damage.
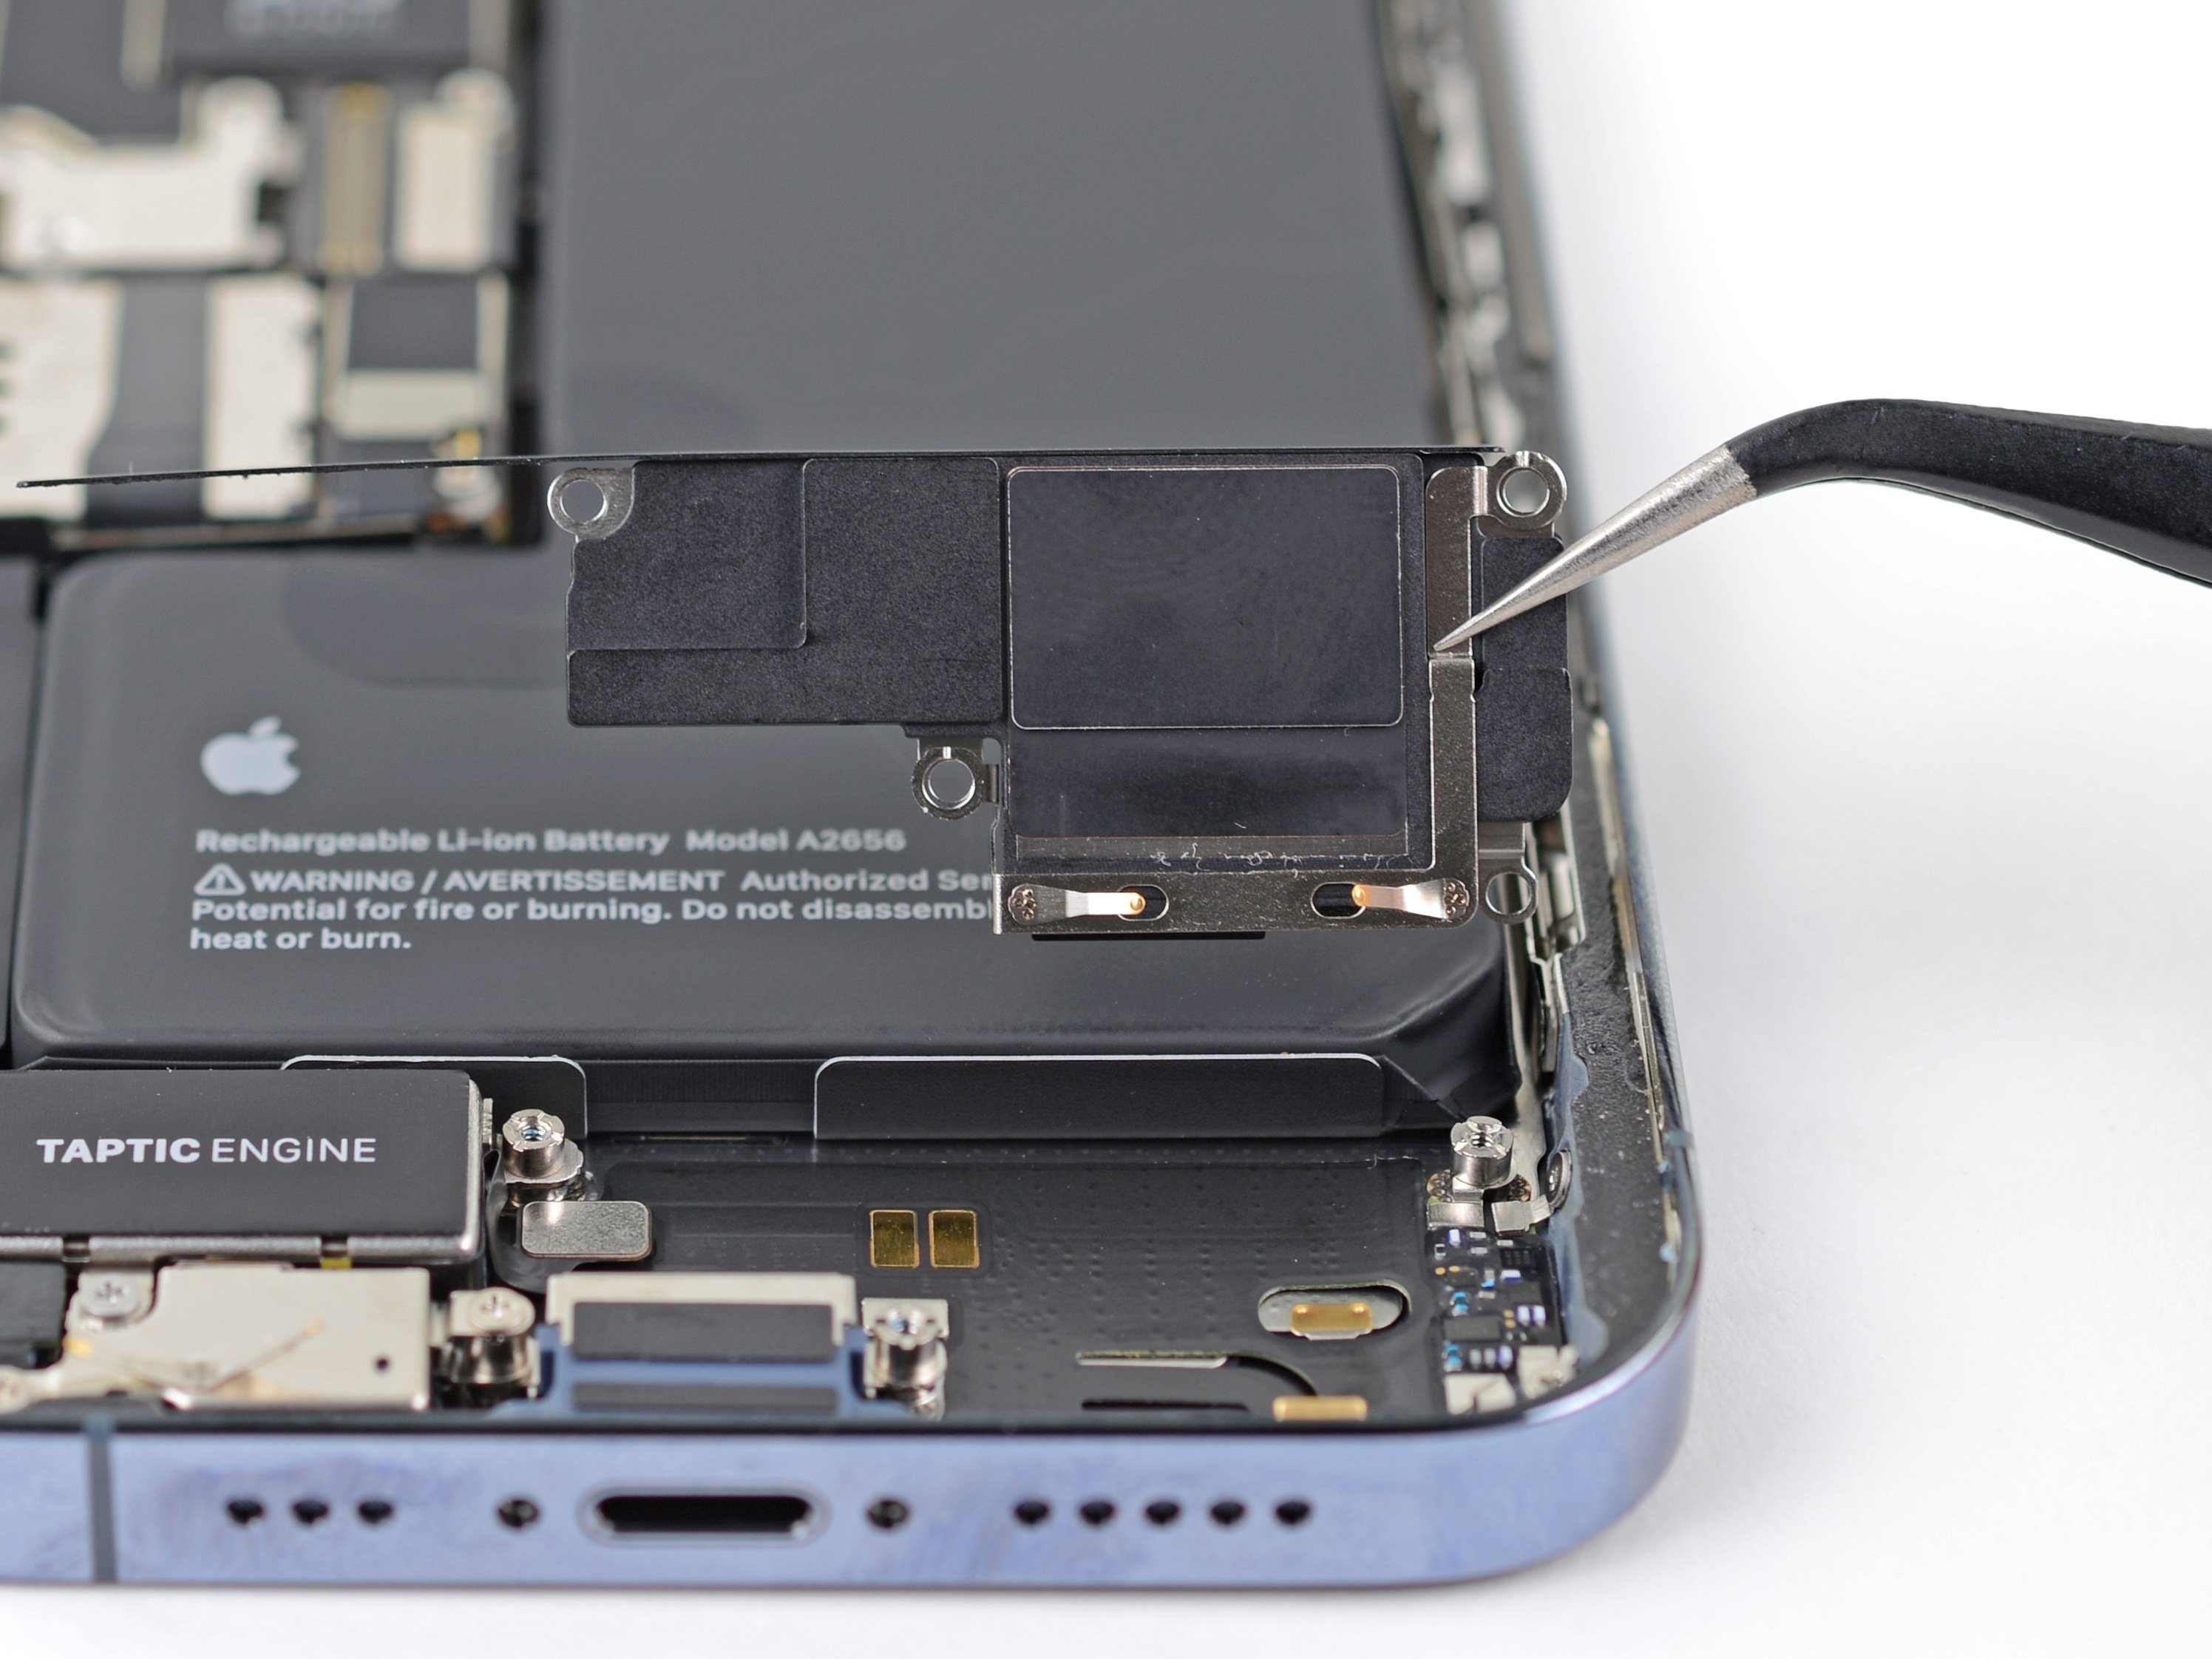
– Gently lift the keyboard while carefully pulling the ribbon connection straight up. If it’s feeling a bit stubborn, don’t hesitate to give the connector a little side-to-side wiggle to help it loosen up!
Step 6

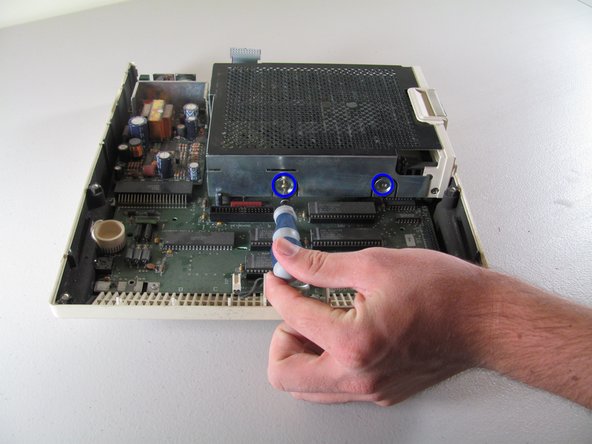
– Gently flip your device over and get ready to tackle those four centered 21.1 mm screws holding the floppy drive in place. You’ve got this!
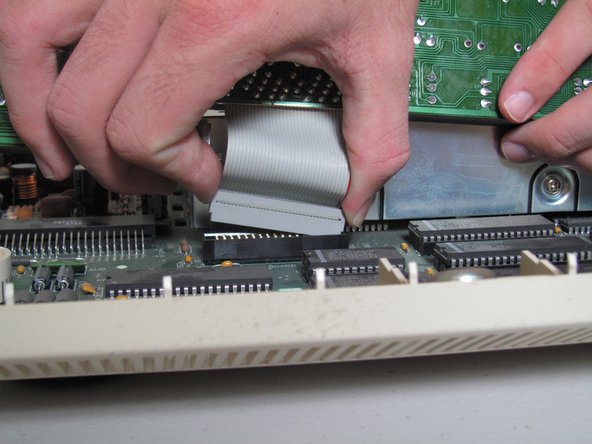
Step 7


– Gently wiggle and pull that ribbon connector from the floppy disk drive, making sure to slide it out straight. You’ve got this!
Step 8

– Let’s get started by removing the four 8.5 mm screws that hold the floppy drive cage in place. You’ll find two screws at the front and two at the back of the cage. If you need help, you can always schedule a repair
Step 9
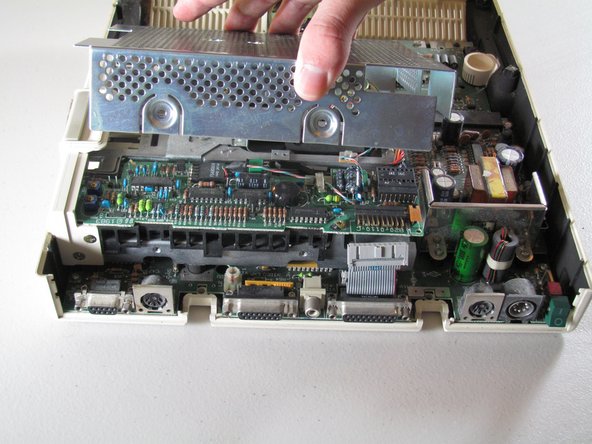

– Gently lift the floppy drive cage straight up to set it free.
Step 10
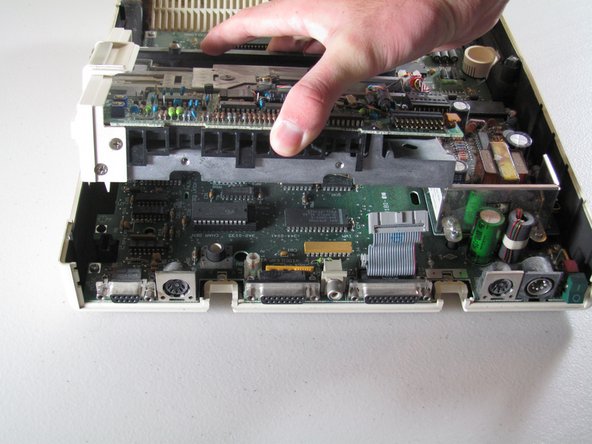

– Gently lift the floppy drive straight up to set it free.
Step 11
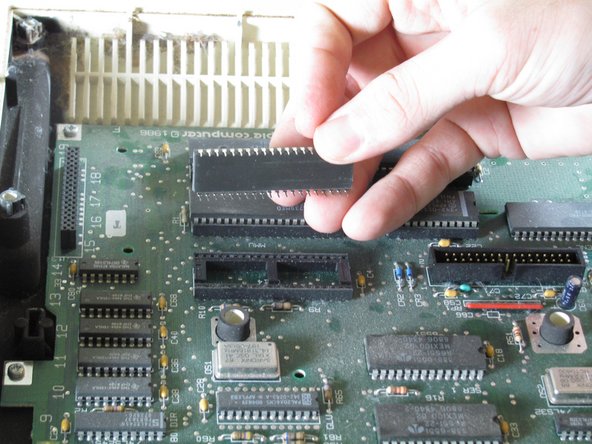
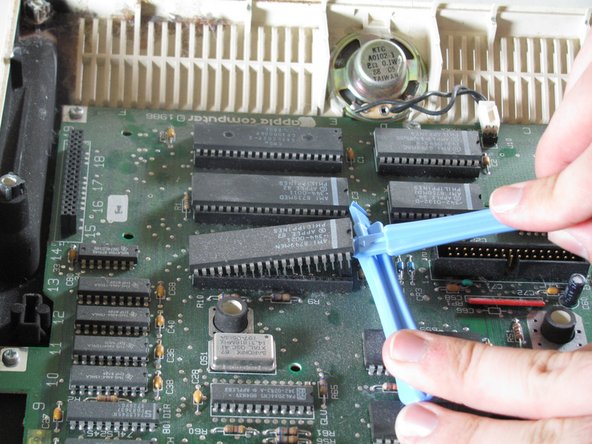

Hey there! Remember, don’t try to push those IC chips out with too much force! Their pins are super delicate and can easily bend or break. Take it easy and be gentle!
– Grab those plastic opening tools and gently wiggle the IC chips out of their cozy home in the holder. Start by lifting one end, then switch to the other end to smoothly pop them out. You’re doing great!