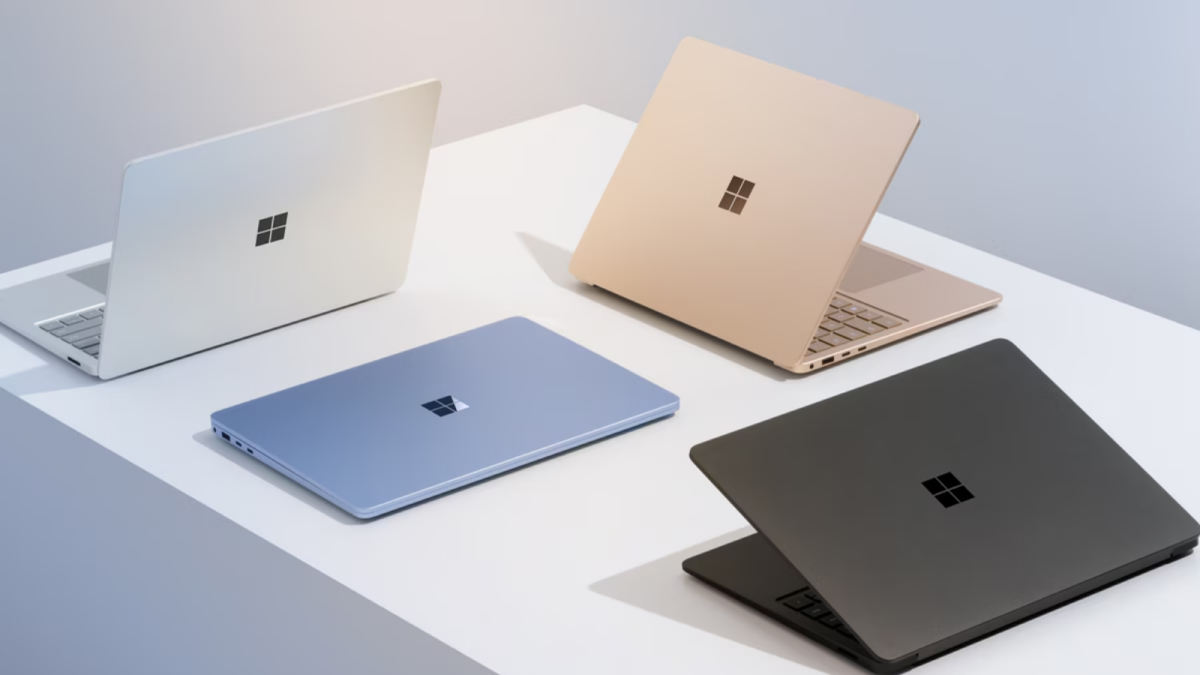
Replace Microsoft Surface Laptop 7 (13.8-inch) Lower Case
Duration: 45 minutes
Steps: 7 Steps
Let’s embark on this repair journey to replace the lower case (aka bottom cover) of your Microsoft Surface Laptop 7 (13.8-inch).
Step 1


– Disconnect every cable, give your laptop a rest, and power it down completely. It’s like tucking it in for a little nap before we dive in!
Step 2


– Shut that laptop of yours and flip it over so the rubber feet are waving at you from the top!
Step 3


Watch out! Those feet can pop out fast—don’t let them escape!
You can grab a spudger and use its pointy end for this! Just keep in mind, if you’re planning to reuse that little foot, you might want to be extra careful not to damage it.
– Carefully slide one arm of your angled tweezers into the groove near the upper right corner of one of the feet.
– Use your tweezers to gently pry up and remove the foot.
– Repeat the process to remove the remaining feet.
– To install a foot, line up the pegs on the bottom with the cutouts in the frame and press the foot into place.
Tools Used


Step 4


As you work through this repair, make sure to keep track of every screw—each one has its own special place, so it’s important they go back exactly where they came from.
The Surface Laptop 7 uses Torx Plus screws, but don’t worry—standard Torx bits will work just fine. Just remember to apply steady, downward pressure to avoid stripping them.
– Grab your trusty Torx Plus 5IP screwdriver and take out the four 4.5 mm screws (washers included) that are holding the lower case. You’ve got this!
Step 5


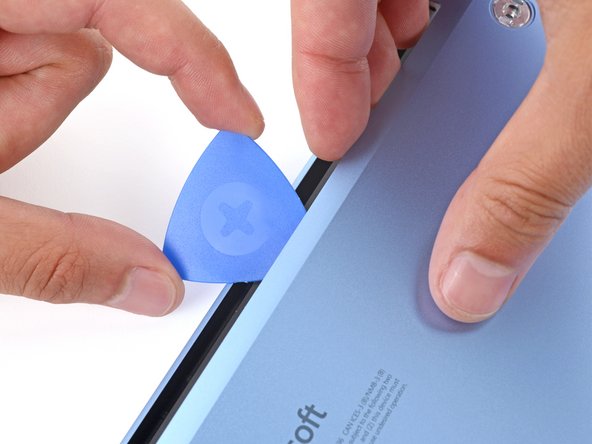
Keep that pick away from the outer edges, or you might give the antenna bar a bad day!
– Let’s get started! Insert the tip of an opening pick under the top edge of the lower case, about an inch (2.5 cm) to the left or right of the Microsoft logo. This is the first step in your repair journey with Salvation Repair!
Step 6
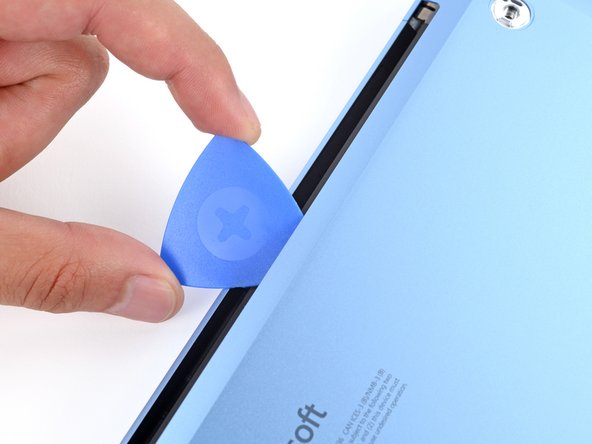

– Give the pick a little twist to nudge the lower case up just enough to grab it with your hand.
Step 7


– To put everything back together, simply follow these steps in reverse order, and you’ll be good to go!
– Things didn’t quite go according to plan? No worries! Try some basic troubleshooting, or check out the Answers community for extra support.
– Need to cancel? No problem, just let us know you didn’t finish this guide.
–
Success!