Replace Nintendo DS Lite Volume Switch Guide
Duration: 45 minutes
Steps: 7 Steps
Swap out the volume switch on your DS Lite. No sweat, you got this! Just follow these steps and your device will be good as new. If you need help, you can always schedule a repair.
Step 1


Don’t stress—the screw is still attached to the battery cover, so you won’t lose it.
– Grab a Phillips screwdriver and unscrew the screw that’s keeping the battery cover snug against the lower case. Easy peasy!
– Use a spudger or even your fingernail to gently pop that battery cover up. Once it’s loose, lift it out of the lower case like a pro!
Tools Used


Step 4

– Alright, time to loosen up the lower case! Start by unscrewing these little guys holding it in place:
– Two 4.3 mm gold Phillips screws
– One 3.9 mm black Tri-Wing screw
– One 3.3 mm silver Phillips screw
– Three 5.5 mm silver Tri-Wing screws
Step 5


Go ahead and pop off the cover from the Game Pak slot before you move on.
– Let’s get started! Insert the edge of a spudger between the lower and upper case near the top right corner of the DS Lite – it’s time to get this repair underway!
– Now, carefully run the spudger along the right edge of the DS Lite, creating an opening as you go. You’re making great progress!
– Keep going! Continue running the spudger along the backside of the DS Lite until the majority of the lower case has been separated from the upper case. You’re doing fantastic!
Tools Used
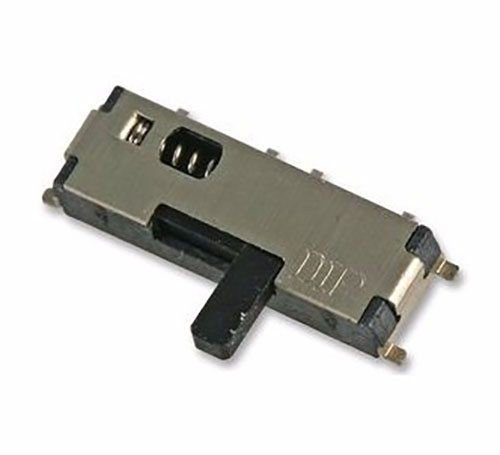
Step 6

Take it easy! Some units are glued down, and tugging too hard might mess up the power switch.
When you’re putting it back together, make sure the power switch and volume sliders line up just right with the switches on the motherboard.
– Gently detach the lower case from the rest of your DS Lite, like peeling off a cozy blanket.


Success!