Replace PlayStation 2 Slimline Chassis
Duration: 45 minutes
Steps: 22 Steps
Get ready to breathe new life into your PlayStation 2 Slimline! This step-by-step guide will show you how to remove and install the metal chassis like a pro. Follow along and you’ll be gaming in no time. If you need help, you can always schedule a repair.
Step 1
– First things first, power down your PlayStation 2 and gently unplug it from the wall. Oh, and don’t forget to pop that CD out of the console before you flip it over. Let’s keep things tidy and ready for action!
Step 2

You’ll find five of these little feet just hanging out in plain view, while the last one is playing hide and seek under the black void sticker on the back of your device. Sneaky, right?
Now, if you’re working with a console version like the PAL Version, it might be sticker-free. No worries! In that case, the foot or screw should be right there for you to see.
– Spot the six little feet hanging out on the underside of your PS2.


Step 4


– Peel off the sticker and take out the 6th foot.
Step 5


– Once you’ve popped off all the little feet, grab your trusty Phillips #1 screwdriver and unscrew the six 4.0mm screws holding down the PS2’s base. Easy peasy, keep going!
Tools Used

Step 6


Give it a gentle nudge to pop those covers off, but watch out for those plastic screw pins – we don’t want any breakages!
– After unscrewing all the screws, gently pry apart the plastic covers. Lift the side with the power cable and Ethernet port first. Then, lift the other side to completely separate them. If you need help, you can always schedule a repair
Step 7

– If everything goes smoothly, you should be left with a completely free plastic back, giving you a clear view of the electronic guts of the PlayStation 2.
Step 8


– Find the IR sensor on the motherboard. Next, grab your trusty tweezers and carefully unhook the blue/white ribbon connecting the IR sensor to the motherboard. You’ve got this!
Tools Used

Step 9


– Locate that sneaky clock battery and gently use your tweezers to unplug the connector from the motherboard. You’ve got this!
Tools Used


Step 11


– First things first, find the fan component on the motherboard of your PS2. It’s like a treasure hunt, but way cooler!
– Now, grab your fingers or some tweezers and gently peel off that sticker that’s keeping the fan’s wiring in place. Think of it as unwrapping a gift—just a little bit of finesse and you’re golden!
Tools Used
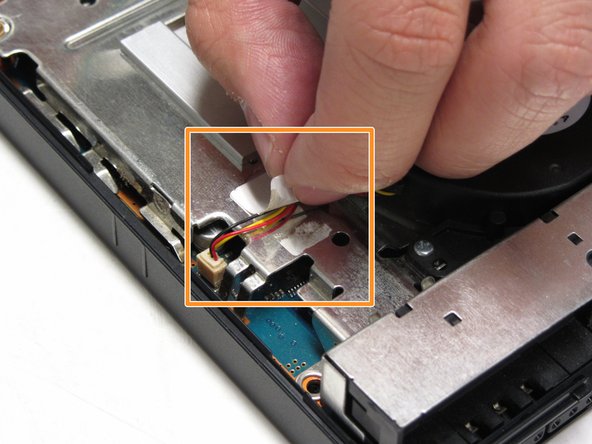
Step 12


– Use tweezers to disconnect the terminal (white covering) from the red and yellow cords on the motherboard to the fan.
Tools Used


Step 15


– Let’s get started! Begin by removing the four 4.0mm screws that hold the optical drive in place on the motherboard. This is a pretty straightforward step, but if you need help, take a deep breath and remember that you’re one step closer to fixing your device!
Step 16

Heads up! These ribbons come in three distinct sizes: one large, one medium, and one small ribbon.
– Find the three ribbons that are connected to the motherboard. You’ve got this!
Step 17


Heads up! The orange ribbon is stuck to the metal chassis like a best bud. Give it a gentle tug upward to avoid any mishaps with ripping. You’ve got this!
– Grab those tweezers and carefully unplug all three ribbons from the motherboard terminal. To free the middle orange ribbon, flip up the black tab on each side.
Tools Used
Step 18


– Carefully lift the optical drive away from the motherboard, like you’re unveiling a surprise gift!

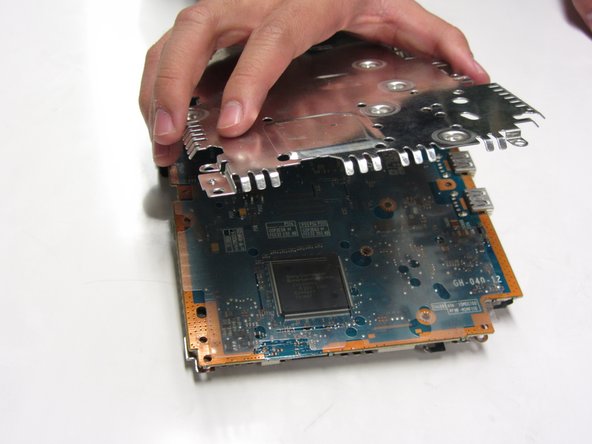
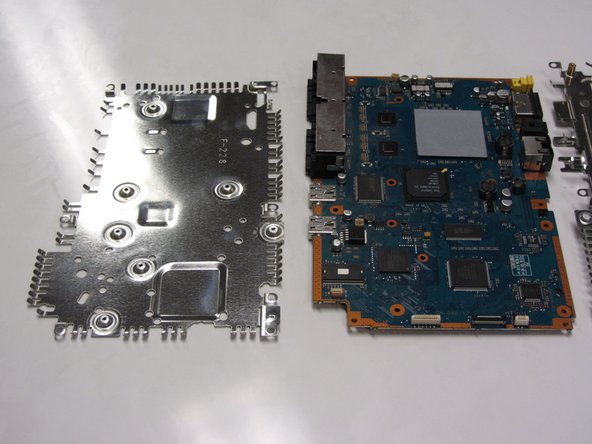
Step 20
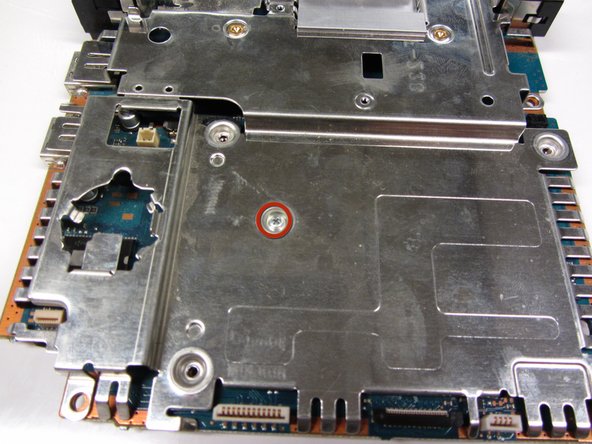


– Alright, time to spot those six 1.6mm screws holding the metal plate onto the motherboard. Let’s get to it!
Step 21
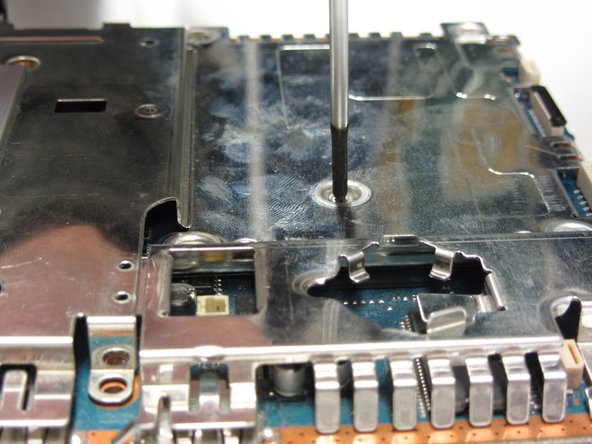

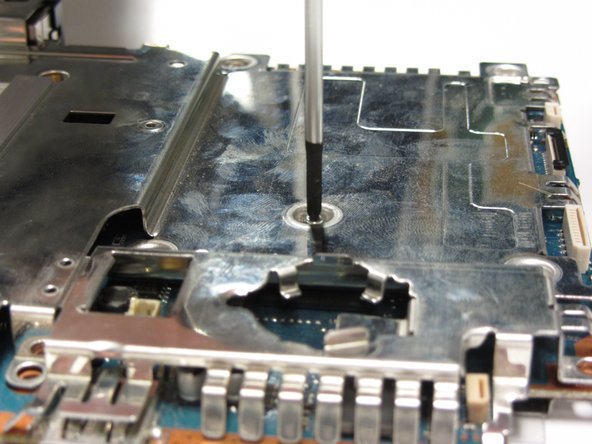
– Take out all six 1.6mm screws that are holding down the metal plate on the motherboard. Let’s get this show on the road!

Success!