Replace PlayStation 5 Pro CMOS Battery: Step-by-Step Guide
Duration: 45 minutes
Steps: 5 Steps
Ready to give your PlayStation 5 Pro a little boost? Let’s replace that CMOS battery, also known as the coin cell or RTC battery. If your PlayStation’s date and time settings are acting up, it’s time for a change. Follow this guide, and let’s get your console back on track. And remember, if you need help, you can always schedule a repair.
Step 1


Before you dive into your repair adventure:
– Power down your PlayStation and disconnect all cables and accessories.
– Take off any stands holding up your console and lay it down with the right side facing up.
Step 2


The cover is held in place with hooks along the back edge and clips along the front edge.
You’ll hear a few ‘pops’ as the clips release. It’s like a little party in there!
– Give the front edge of that bigger, lower cover a good tug to pop those clips loose and free up some space.
– When you’re ready to put the cover back on, align those hooks with their cutouts at the back, then press down firmly on the front edge to click those three clips back into action.
Step 3
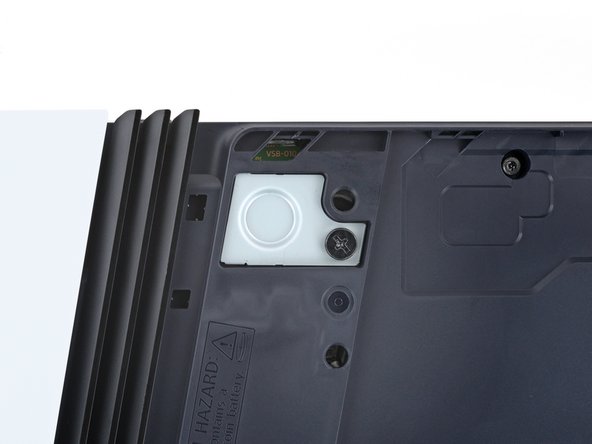

A nifty wide, flathead screwdriver can help you get that screw loose and ready for your next step!
– Grab your trusty Phillips screwdriver and give that captive screw a gentle twist to loosen it up. No need to worry about it popping out; it likes to stay cozy in the battery cover!
Step 4

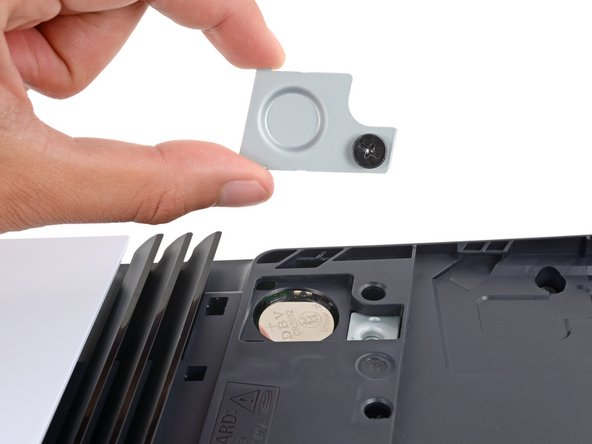
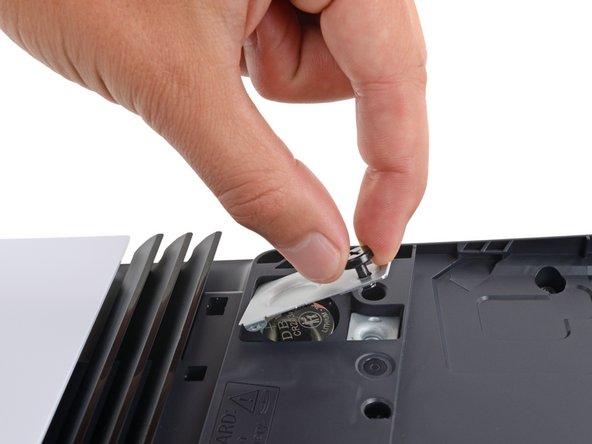
– Using your fingers, twist the cover’s screw and pop off the cover.
– When putting it back together, slot the cover’s tab into place before you lay it down.
Step 5


– Time to put your device back together! Just retrace your steps and follow the instructions in reverse.
– Got some old electronics? Think green and take them to an R2 or e-Stewards certified recycler.
– Mishaps happen! If things didn’t quite go as planned, give some basic troubleshooting a shot, or swing by our Answers community for a helping hand.
– If you need to step away, no worries! Just cancel this guide.
–
Tools Used

Success!