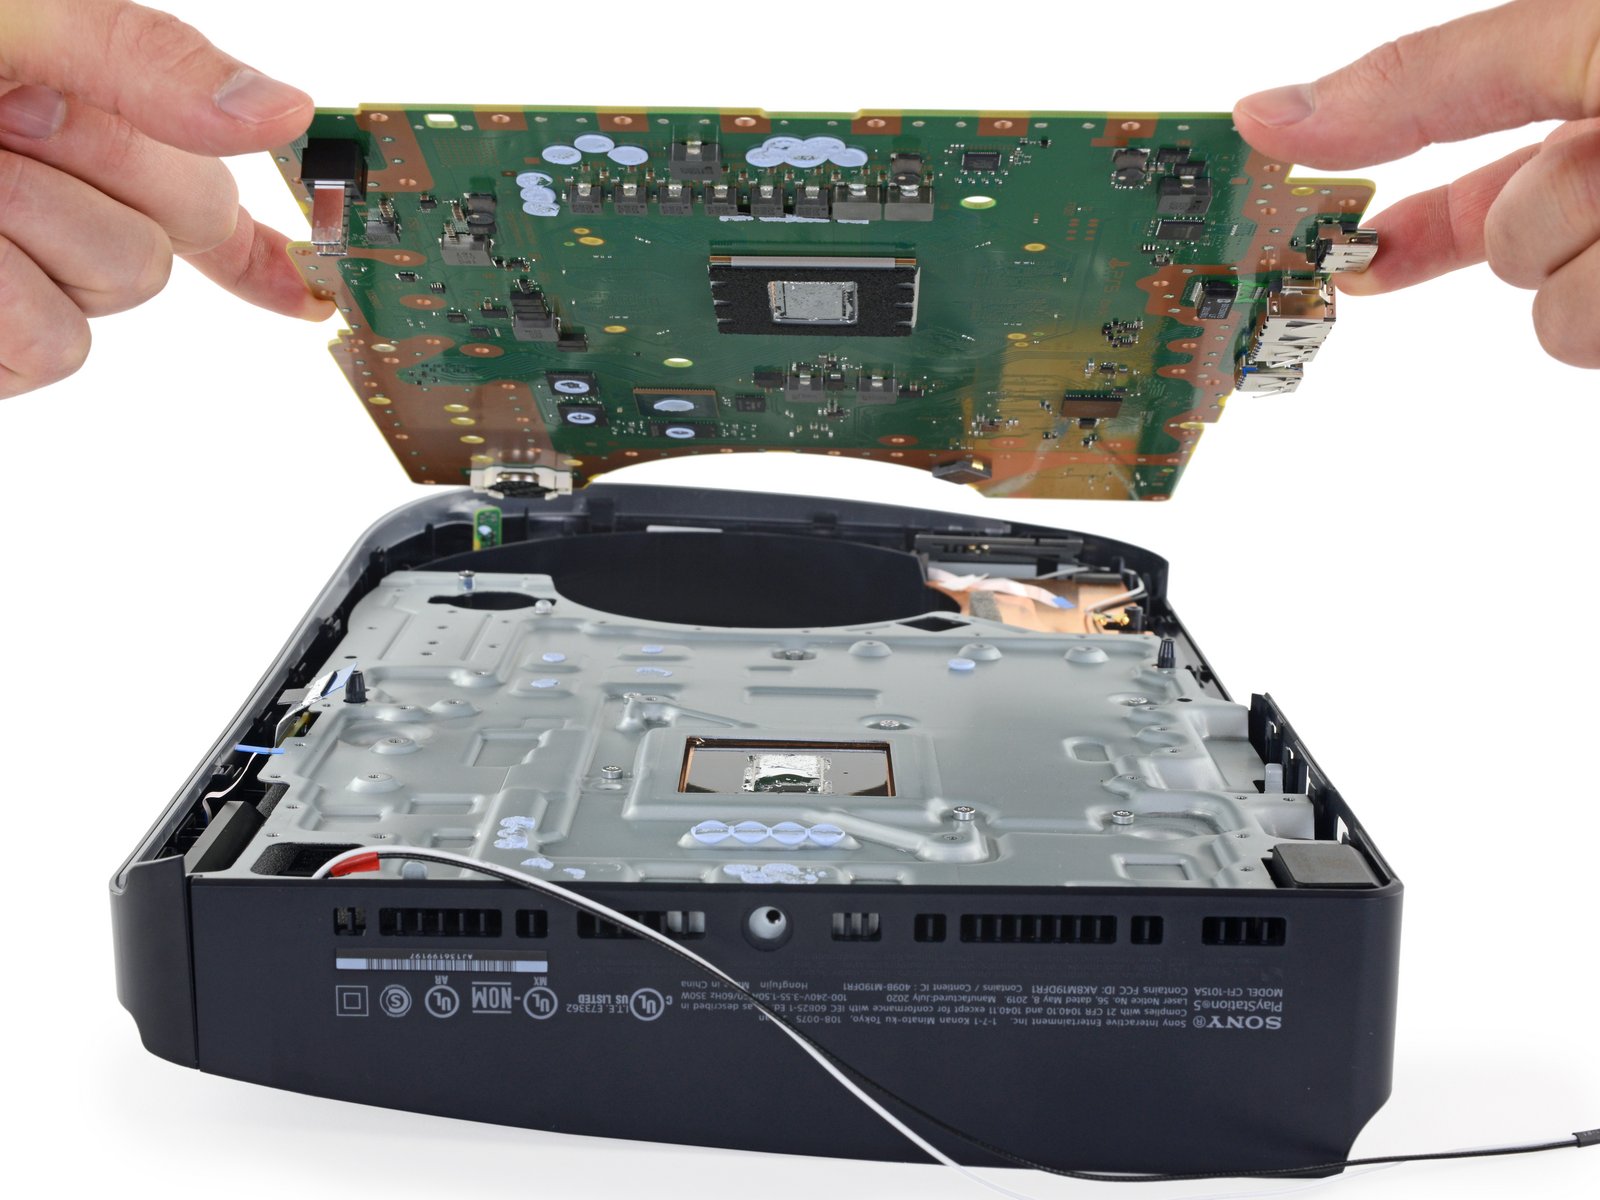
Replace PlayStation 5 Pro Heat Sink Guide
Duration: 45 minutes
Steps: 16 Steps
Get ready to tackle replacing the smaller heat sink on the right side of your PlayStation 5 Pro! Let’s make this repair journey a breeze together. If you need a hand along the way, just remember, you can always schedule a repair when you need it.
Step 1


Before you dive in:
– Time to get started! Shut down your PlayStation, then carefully unplug all the cables and accessories – we don’t want any accidental power-ons.
– Now, let’s get your console into position. Remove any stands that are holding it up, and gently lay it down with the right side facing up. This will give you easy access to the parts you need to repair.
Step 2


Get ready to free those console covers! They’re held in place by hooks at the back and clips at the front, so gently work your way around to release them.
Listen for that satisfying ‘pop’ sound as the clips let go – it’s music to a repairer’s ears!
– Pop off the cover by lifting up the front edge to release those sneaky clips.
– Cover gone! Onward we go.
Step 3


– Now let’s keep the momentum going! Follow the same steps to pop off the other three covers. You’re doing great!
– Once you’ve got those covers off, it’s time to put them back on! Just align the hooks with their cutouts on the back edge, and give a gentle push at the front edge to snap those clips back into action. You’ve got this!
Step 4


It’s like a puzzle, so keep those screws organized! Put them back where they belong, just like they were in the beginning. You’re doing great!
– Grab a Phillips screwdriver and get ready to tackle that 17.1 mm-long screw that’s holding your expansion slot cover in place. You’ve got this!
Step 5


– Gently pry the expansion slot cover near the notch by the screw hole with your fingers, and carefully remove it to get started on this repair.
Step 6


The cover is held on with a little bit of sticky stuff, just like a hug from a friend (but less messy).
– Use your fingers to gently pry off the plastic cover that’s hiding the fan cables connector. It’s like a little puzzle, and you’re the master solver!
– When you’re putting everything back together, simply press the plastic piece back into place. If it’s being stubborn, a few strips of double-sided tape will keep it securely in place.


Step 8


If you’re having trouble, just grab the cables right above the connector, and gently pull. You got this!
– Grab the fan cables’ white connector head firmly and gently pull it straight up and out of its socket – easy does it!
– When putting everything back together, line up the connector with its socket and use the flat end of a spudger to nudge it into place until it clicks in securely.
Tools Used

Step 9


– Grab your trusty T8 Torx Security screwdriver and let’s get to work on that fan! First up, we need to remove the four screws holding it in place:
– One screw that’s 31.7 mm long
– Two screws measuring 21.5 mm each
– And finally, one little 11.5 mm screw. You’ve got this!
Step 10


Now’s a perfect moment to give that fan a little TLC. Grab a clean cloth and some compressed air to blast away any pesky dust or dirt that might be lurking inside.
– Alright, time to give that fan a little lift! Use your fingers to grab it by its vents and gently pull it straight up. You’ve got this!
– Now, let’s put things back together.
– Line up that fan so its cables are close to their connector. You’re almost there!
Tools Used

Step 11


Hey there, U.S. folks! You’ve got the Magnuson–Moss Warranty Act on your side, making those sneaky stickers illegal—so don’t let them scare you off! If you’re outside the U.S., just keep in mind that warranty protections can vary. You’ve got this!
– Check it out! A sneaky tamper-evident sticker is covering one of the screws on the right side of the inner shell. Time to reveal that mystery screw!
– Grab your trusty tweezers and gently peel off the sticker so you can get to that screw hiding underneath. You’re making great progress!
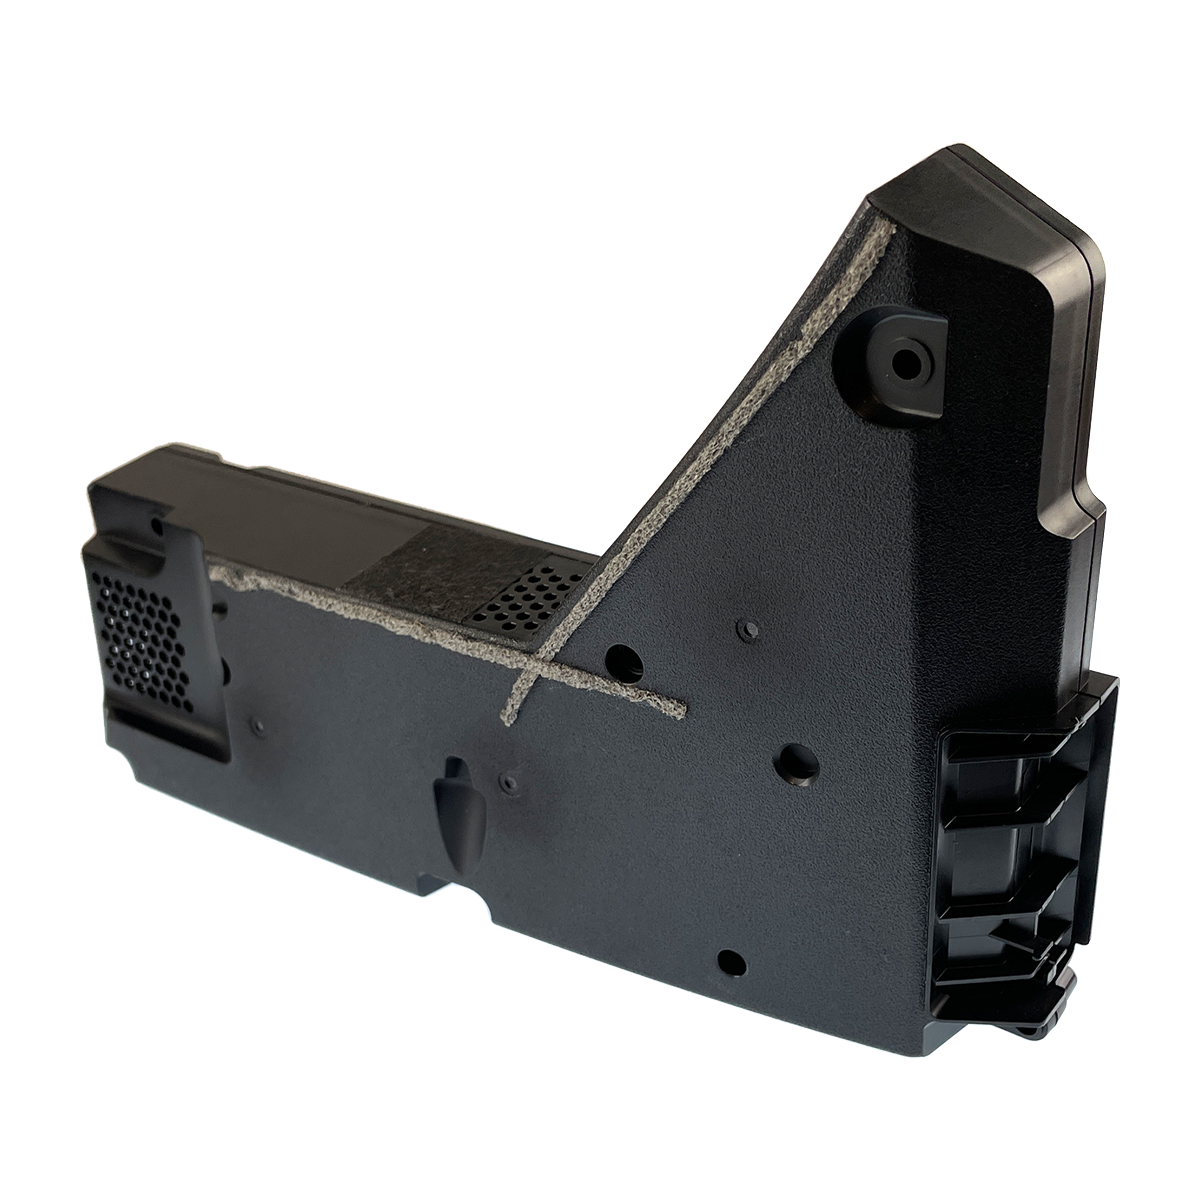
Step 12


– Gently pry off the plastic grille near the fan with your fingers, just like lifting the lid of a cookie jar!
Step 13


– Let’s get started by removing the 10 screws that hold the right-side inner shell in place – you’ll need a T8 Torx Security screwdriver for this step.
– First, remove the four 18.8 mm-long screws.
– Next, take out the two 18.6 mm-long screws.
– Finally, remove the four 31.7 mm-long screws to completely release the inner shell.
Step 14


– Time to give that inner shell a lift! Gently pry up the right side and pop it off. You’re doing great!
Step 15


Thermal paste is the glue that holds those bottom heat sink fins (right by the power button) to the metal shield. Depending on how old your device is and the state of that thermal paste, you might need to channel your inner strength to separate the heat sink. Just take it slow, and if things get too tricky, remember, you can always schedule a repair.
– Slide the flat end of your trusty spudger under the bend in those copper pipes, right near the bottom edge of the heat sink.
– Now, it’s time to give that heat sink a gentle nudge! Use your spudger to lift it up while applying steady pressure, helping it to part ways with the thermal paste below.
– If the heat sink is being a bit stubborn and won’t budge all the way, don’t sweat it! Just whip your spudger over to the other side of those metal fins and pry up the bottom edge gently.
Tools Used
Step 16


Be careful not to grab those sharp, metal fins on the heat sink – they’re not exactly friendly to your fingers!
Before wiping off any old thermal paste, take a mental snapshot of where it’s spread and how much there is. This way, you’ll know just the right amount to use when replacing it.
– Now it’s time to put your device back together – just remember to follow these steps in reverse, piece by piece!
– Got some old tech? Don’t just toss it! Make sure to drop it off with an R2 or e-Stewards certified recycler.
– Is the repair not going quite as planned? No biggie! Dive into some basic troubleshooting, or reach out to our awesome Answers community for a little extra support.
– Changed your mind? No worries, just cancel and walk away – it’s all good!
–
Tools Used

Success!