Replace Samsung Galaxy Ace II x Digitizer
Duration: 45 minutes
Steps: 11 Steps
Alright, let’s get this party started! You’ll need a trusty PH00 screwdriver. They’re like the rockstars of the phone repair world – you can’t go wrong with one. If you’ve tinkered with phones before, you’ve probably got a whole collection! And while a metal and plastic spudger is super helpful, don’t worry if you don’t have one – those strong nails of yours can do the trick. 😉 If you need any help, you can always schedule a repair
Step 1


– Let’s get started on this repair – it’s the first time we’re laying eyes on this phone, but don’t worry, we’ve got this!
– The display is cracked, which means it’s time to swap out the glass digitiser on the front – a pretty straightforward fix.
– We got this phone from a friend, who gave us the lowdown: replace the digitiser and we’ll be $20 richer. Easy peasy, right? If you need help, you can always schedule a repair
Step 2

– On the left side of your phone, near the volume buttons, you’ll find a little hole. Use your fingernail (or a small tool if you have one handy!) to gently pry the battery casing off. You got this!
Step 3

Step 4


You might have to give it some TLC, but don’t overdo it or you may risk harming the goods. If you’re unsure, don’t hesitate to reach out to the pros at schedule a repair.
– Whoa-hey, junkyard cats and nifty tots! Let’s get this wild gizmo grooving! First, with a steady hand and a fearless grin, find those eight adorable little buddies holding our shiny pal together. No harm here, they’re just taking a quick vacay. Once those critters are chillin’ in a safe and cozy spot, our next move is in! Introduce a trusty spudger, about the size of one of your knuckles or that funky marble from your childhood – thanks mom! Give it a gentle nudge, just enough to make a sparkly introduction to our gadget’s best-kept secret – the plastic wonderland! With a dance-like-dreamy rhythm, pry around your device, where the grey dance partner meets the glass stage. Your magician move’s a success, and now we’re one step closer to the big reveal! Keep up the fantastic work – you’ve got this! If you need help, you can always schedule a repair.
Step 5

Hold up! Don’t try to yank out the motherboard just yet!
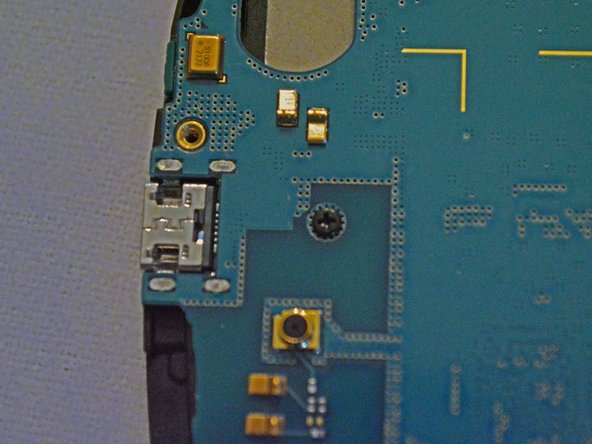
– Alright, time to get up close and personal with the motherboard. It’s the heart of your phone, so treat it with care!
– There’s just one screw holding this bad boy down. Give it a gentle twist, and we’re ready for the next step.
Step 6

Be careful not to pull the motherboard away from the display housing just yet! Let’s take it one step at a time to ensure a successful repair. If you need help, you can always schedule a repair
Alright, cool cat, check out this last pic! You’re lookin’ at the ribbon cable that connects the speaker and headphone jack assembly. If you’re just replacing the digitiser, you can chill out and leave that ribbon cable alone – no need to disconnect it. You’ve got this!
– Alright, let’s give that power button connector a little nudge! Start from the bottom right corner like it’s your own little dance floor.
– Now, gently unhook that ribbon cable. It’s just like saying ‘goodbye’ to a friend, but in a way that’s totally cool with the motherboard.
Step 7

Gently wiggle that ribbon cable connector with your trusty plastic spudger and carefully lift the motherboard out of the display chassis. You’ve got this!
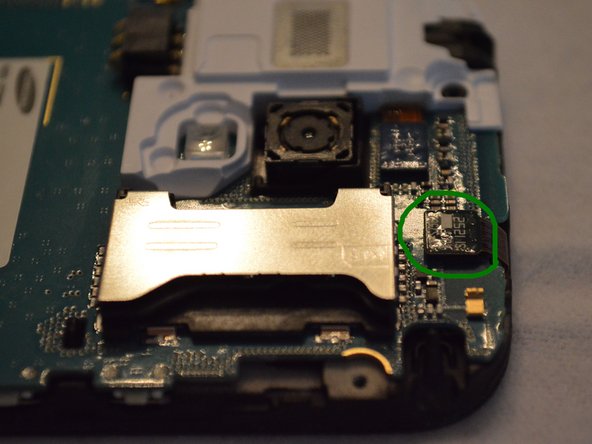
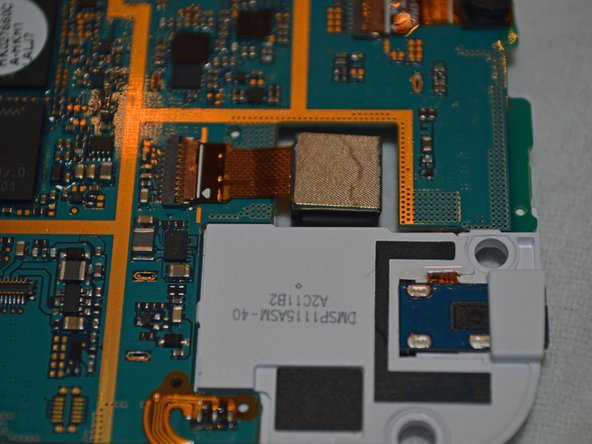
– Carefully lift the side that doesn’t have the white plastic covering to reveal the ribbon cable connected at the bottom. It’s like a little surprise waiting to be discovered!
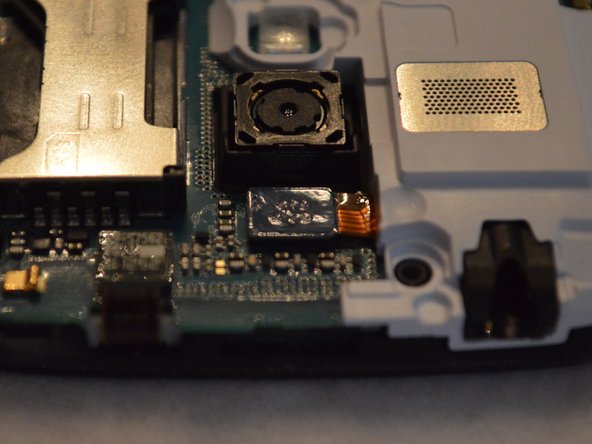
– If you’re looking to swap out the main camera of the unit, you’re in luck—it’s right here just waiting for you to disconnect it!
Step 8

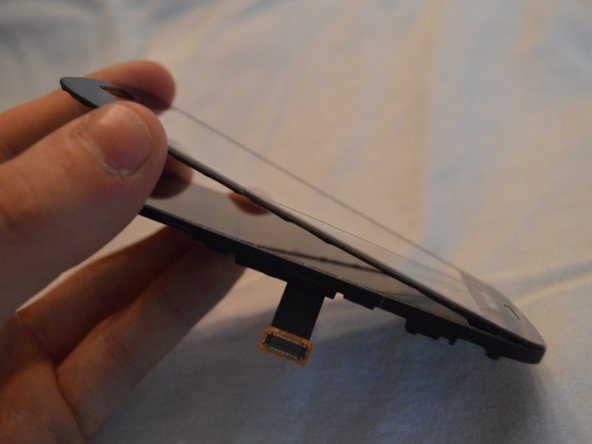
– Alright, now you’ve got that display panel out of the way! We’re getting to the good stuff. You’re looking at the TFT housing, folks. Pretty cool, huh?
Step 9

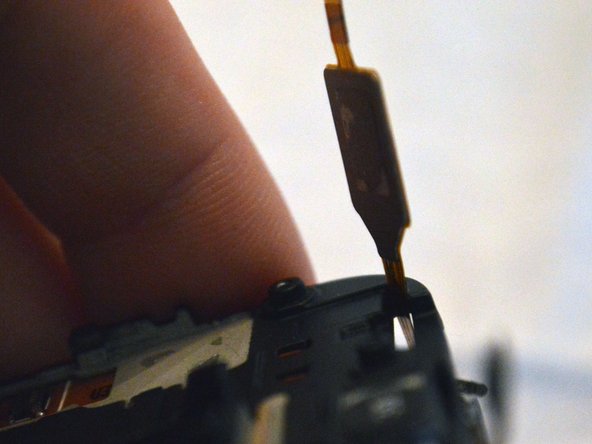
– Flip the black tab on the far left side up to the right to disconnect the ribbon cable, and then gently pull the cable out. If you need help, you can always schedule a repair.
Step 10
As you get your spudger groove on to peel away that adhesive, remember to glide it along the digitiser side (aiming for the glass) and steer clear of the metal body. Otherwise, you might just give that TFT a little scratchy scratch, and we don’t want that!
When you’re working on the digitiser, make sure to gently pull it away from the metal TFT housing if it’s come loose. This will help prevent it from sticking back together and causing more problems down the line. If you need help, you can always schedule a repair
– Warm up the front of the display using a heat gun or even a hair dryer.
– Gently wedge your fingernail in any small seam – I found one at the upper right corner – and lift it just enough to slide a spudger in.
– Slide the spudger along the edge of the display – no need to worry about any fragile ribbon cables, just keep an eye on the silver speaker at the top and the home button at the bottom.
Tools Used

Step 11

– Now, gently slide that ribbon cable connector through the slot. Make sure it doesn’t get tangled up with anything!
– If you’re replacing the digitiser, you don’t have to be super careful with the ribbon cable, but it’s always good to be gentle. You know, just be kind to your electronics. 😊
– To put everything back together, just reverse the steps. It’s like a dance, but with gadgets! If you need help, you can always schedule a repair.