Replace Samsung Galaxy Alpha Camera
Duration: 45 minutes
Steps: 9 Steps
Ready to embark on a little adventure with your Samsung Galaxy Alpha? This guide will walk you through the steps to swap out that rear camera. If your camera has a crack or is just not capturing those picture-perfect moments the way it used to, it’s time for a little TLC. Remember, your phone is as delicate as a butterfly, so handle that screen and back with care—those parts are super easy to bend or break! By following this straightforward guide and taking your time, you can save both time and cash by replacing this little component instead of splurging on a brand new phone. If you ever find yourself in a jam, just schedule a repair with us!
Step 1


– First, locate the slot on the back of your phone – it’s on the side, to the left of the camera when you’re looking at it from the back. Easy peasy!
– Now, grab a trusty tool like an iFixit opening pick and gently slide it into the gap to create some space between the back panel and the phone’s body. No tool? No problem! You can also use your hands to get the job done. If you need help, you can always schedule a repair
Step 2

Before you start, make sure your phone is completely powered off – it’s an important safety step to avoid any accidents or damage to your device. If you need help, you can always schedule a repair
– Let’s find that battery slot near the base of the battery housing. You got this!
– Now, grab your trusty iFixit opening pick or your hand and give that battery a little lift, upward and outward. You’re almost there!
Step 3


– Alright, grab that trusty Phillips #00 screwdriver and give those twelve 3.0 mm screws holding the back case on a little spin! Set those screws aside, we’ll need them later. You got this!
Tools Used

Step 4


– Let’s get this party started! Flip the phone so the screen is facing you.
– Now, grab your trusty flat blade end of the halberd spudger. It’s time to gently pry the screen from the body of the phone.
– With a little lift and a little wiggle, you’ll be able to separate the screen. You got this!
Tools Used


Step 5


– Alright, let’s flip that phone over so the back case is facing up. You’re the boss now!
– Grab your trusty halberd spudger (it’s the cool tool with the hook) and slide it into those gaps on the side of the battery housing. Gently pry upward until you feel that sweet separation between the back case and the phone’s body.
– Now, using your fingers or a prying tool, carefully pop off the back case. You got this!
Tools Used
Step 6


– Grab your trusty Phillips #00 screwdriver and gently remove those three 3.0 mm screws holding the motherboard to the main phone body. Once you’ve done that, set them aside for safekeeping!
Tools Used
Step 7


– When you removed the screws in the previous step, you might have accidentally loosened a pair of pin connector tabs. No worries, just use your trusty spudger to gently lift them up and make sure they’re separated from the main phone body.
– Now it’s time to lift the motherboard off the back of the phone case. Use your spudger to carefully pry it loose – and don’t worry if it takes a little bit of effort. If you need help, you can always schedule a repair
Tools Used
Step 8


– With a little finesse, gently lift the motherboard using your hands or a spudger and set it free!
Tools Used
Step 9
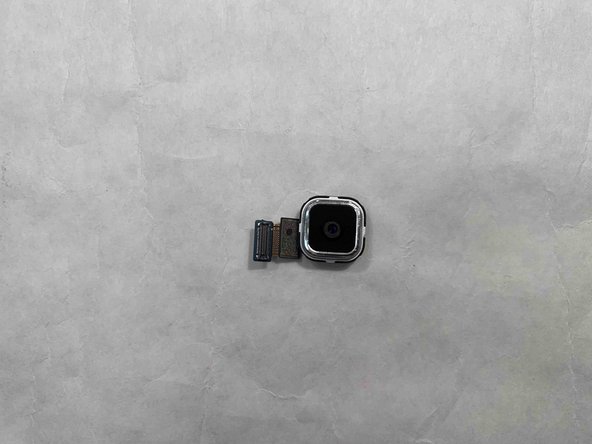

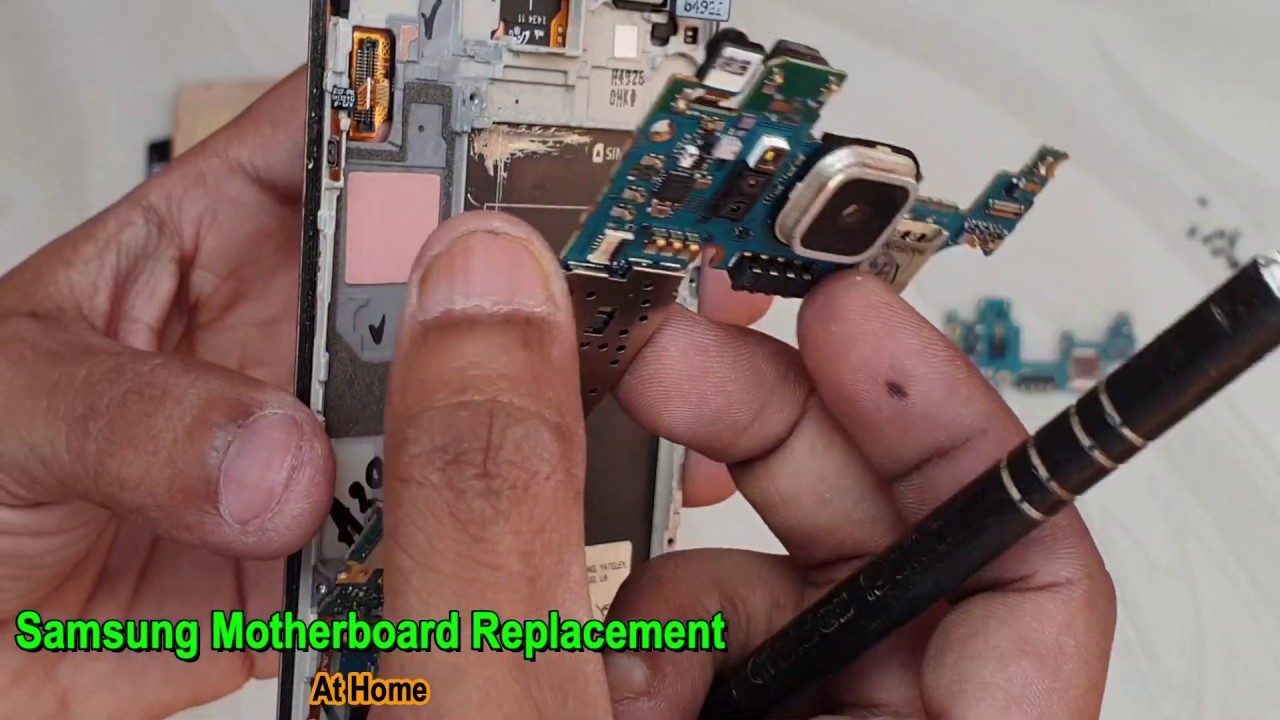
– Alright, with the motherboard out of the way, let’s give that rear camera some space. Use your spudger to gently disconnect it from the motherboard. You got this! If you need help, you can always schedule a repair
Tools Used