Replace Samsung Galaxy Grand Neo Plus Touchscreen
Duration: 45 minutes
Steps: 10 Steps
Ready to give your Samsung Galaxy Grand Neo Plus I9060i a fresh look? Let’s get this touchscreen swap party started! This guide will show you how to take apart your phone, remove the broken touchscreen glass, and put in a new one. If you need help, you can always schedule a repair. Let’s get to it!
Step 1


– Meet the Samsung Galaxy Grand Neo Plus i9060i, currently rocking a shattered screen. Let’s bring it back to life!
– First things first, let’s pop off the battery and remove any SIM and memory cards that are hanging out. Time to clear the deck!
Step 2


Feel free to grab a couple of plastic tools.
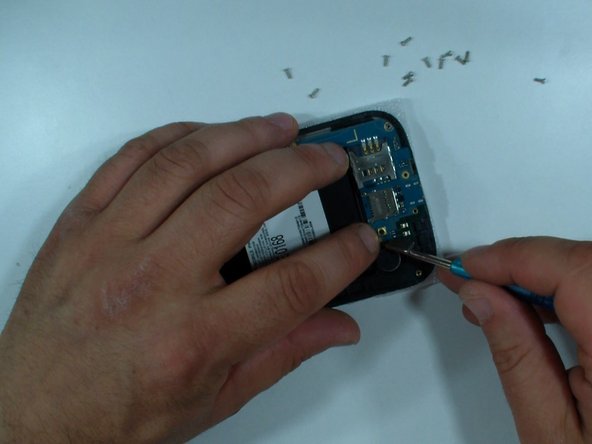
– First, let’s get started by removing the 12 small Phillips screws – it’s an easy step to get you on your way to a fixed device.
– Next, grab a plastic tool and begin disassembling from the bottom side. If you need help, you can always schedule a repair
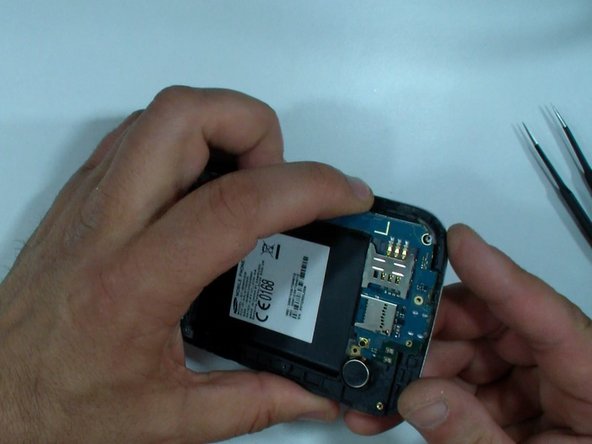
Step 3


– Alright, let’s get this party started! The rear bezel is holding tight near the battery connector. Use a tool with a sharp tip to gently pry it loose. You got this!
– Now, it’s time to give that rear bezel some space. Carefully separate it from the frame. You’re doing great!
– And there you have it – the loudspeaker! If you need to replace it, you’re all set. If you need help, you can always schedule a repair.
Step 4


– Let’s kick things off by removing a single Phillips screw. It’s like popping the top off a soda can!
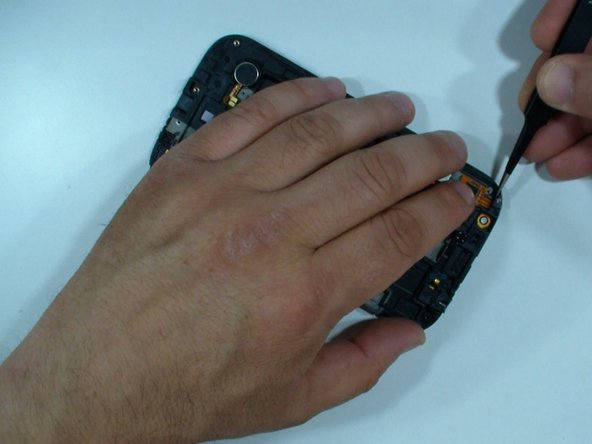
– Next up, it’s time to disconnect the following components:
– Gently lift out the logic board like you’re unveiling a surprise gift!
– Unplug the Volume UP/DOWN buttons flex cable and the Power ON button flex cable.
– Carefully detach the LCD flex cable.
– Time to disconnect the front camera; it’s ready for its close-up!
– Lastly, unplug the audio jack flex cable and say farewell for now!
Step 5

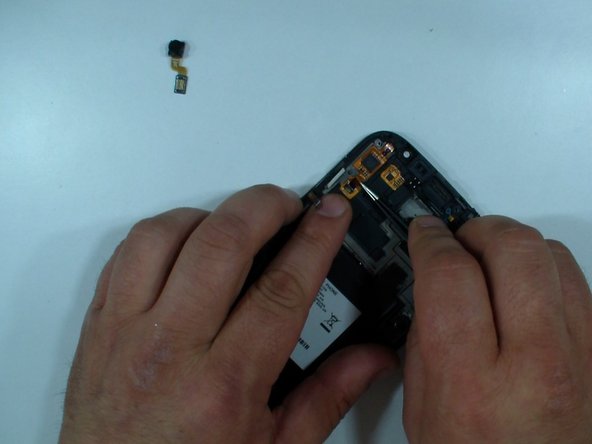
– Let’s get that front camera out! Carefully remove it from its spot.
– Alright, time to disconnect that touchscreen flex cable and free it from its hold on the middle frame. We’re almost there!
Step 6


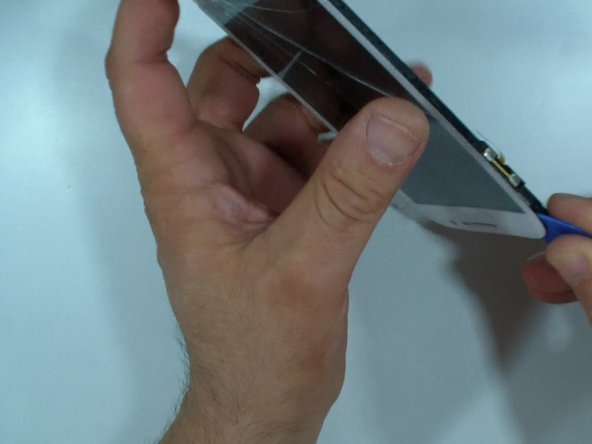
C’mon now, move carefully under the touch screen glass – don’t forget the hidden menu buttons flex cable is nearby! Separate that glass from the frame, but keep it cool and casual, alright?
– Let’s get this glass warm! That’ll loosen up the glue holding it in place. You can use a hot air gun or a hairdryer to do the trick.
– Now, using a plastic tool, gently start separating the glass from the device at the top. Take your time and be careful – we don’t want to break anything! If you need help, you can always schedule a repair
Step 7


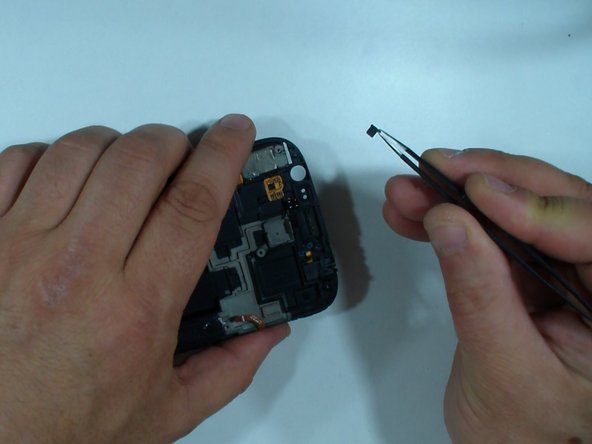
– If the glass is being stubborn, try warming it up again to make separation a breeze.
– Now it’s time to gently coax the menu buttons flex cable free and remove the glass – you’re making great progress! If you need help, you can always schedule a repair
Step 8

Hey there, you’ll spot a tiny plate chillin’ in the touch screen flex cable slot. Just gently pop it out to make room for the new touch screen’s flex cable to slide through. You got this! If you need help, you can always schedule a repair.
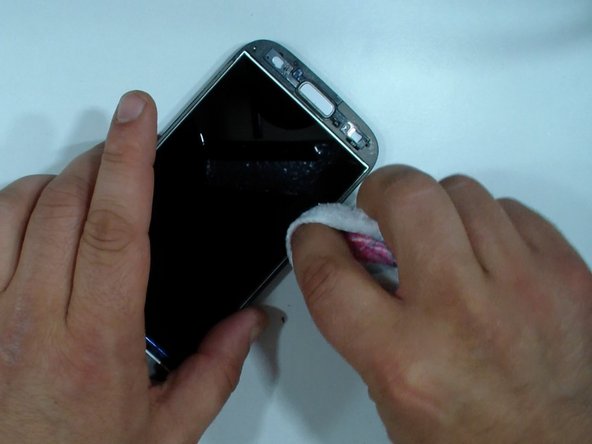
– Now, let’s get rid of those sticky remnants and give that LCD a nice, sparkling clean!
Step 9

– Pop in that shiny new touch screen and let’s get this reassembly party started!
