Replace Samsung Galaxy Grand Prime Digitizer LCD: Step-by-Step Guide
Duration: 45 minutes
Steps: 10 Steps
Step 1


– Pop off that back cover by lifting the tab with the blue plastic opening tool.
– Trace around the edge of the back cover to fully remove it.
Step 2


– Time to bid farewell to that old battery! Gently lift up on the thumb tab and send it on its way.
– Give those battery terminals a little TLC! Grab a Q-tip and a tiny drop of ISO and give those brass terminals a gentle clean. Keep those connections sparkling! If you need help, you can always schedule a repair
Step 3


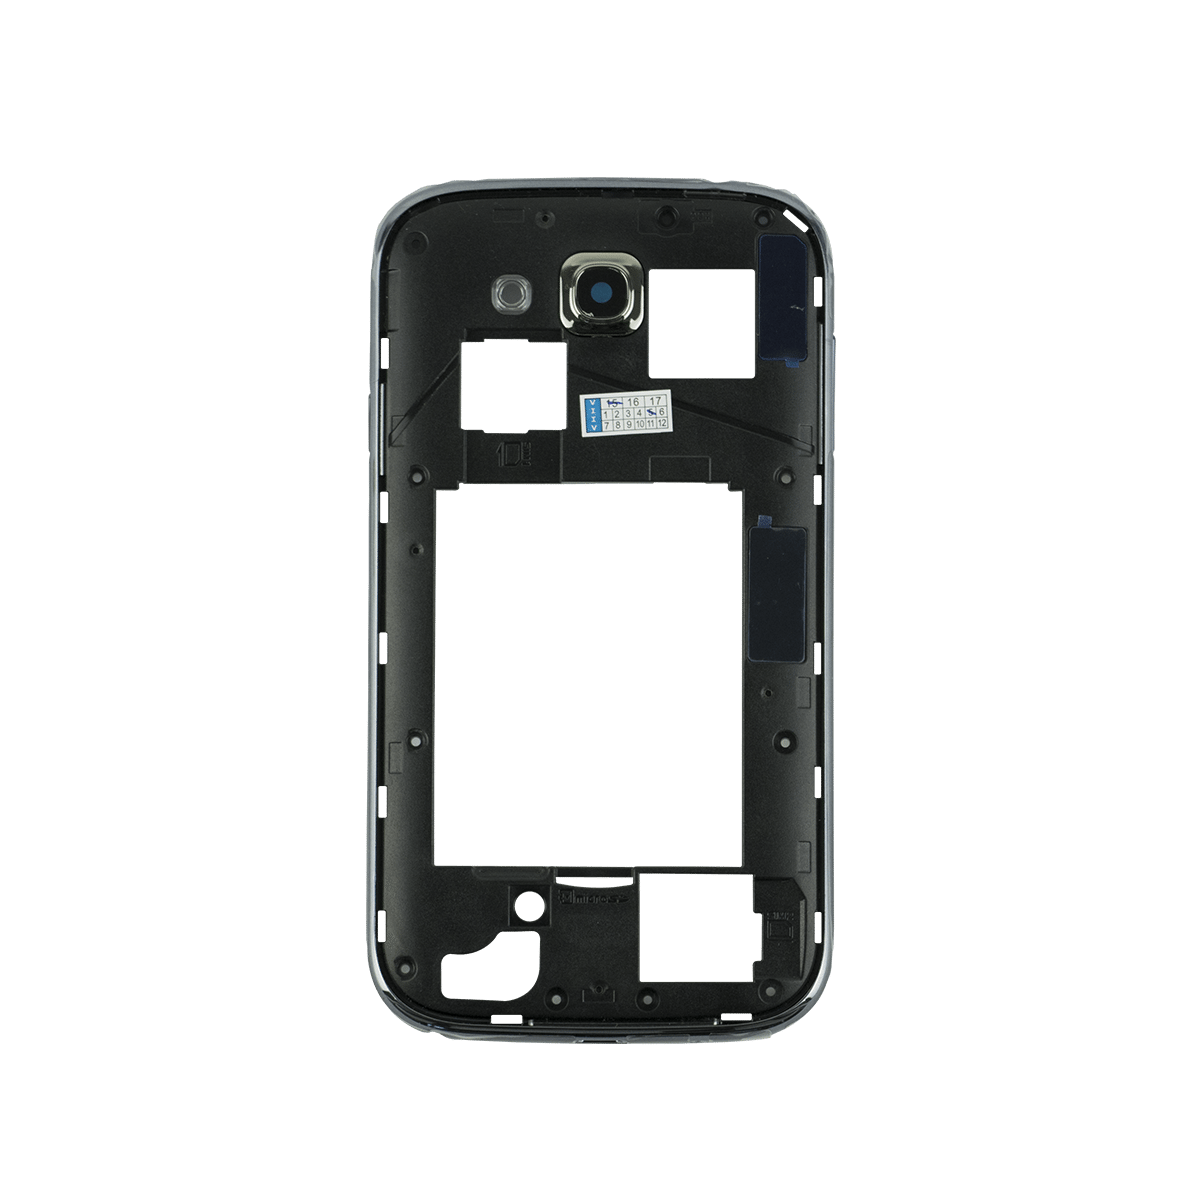
– Let’s get started by removing the nine 4mm screws from the midframe using a Phillips #000 screwdriver. If you need help, you can always schedule a repair
Tools Used

Step 4


– Gently slide the blue plastic opening tool into the gap between the front and side panel. You’re off to a great start!
– Carefully run the blue plastic opening tool along the edges, working it between the front and side panel. Keep it smooth and steady!
Step 5


– Don’t forget to pop off the mid-frame from the inside as well!
Step 6

– First things first, disconnect all those flex cables and gently lift out the motherboard along with the front-facing camera. We’re making progress!
– Now, the display assembly is stuck to the frame with some adhesive love.
– Grab an opening pick and slide it between the glass and the frame right above the front-facing camera bracket. Let’s start slicing through that adhesive on the top bezel like a pro!
Step 7


– In the top right corner, give that pick a gentle twist up and down to loosen up the adhesive a bit more, then slide it in between the LCD and the frame just like shown.
– Next, pop a second pick into the space between the frame and the display flex cable.
– Now, slide both picks down towards the bottom of the phone to break free the adhesive along the sides of the screen.
Step 8

If the home button decides to go on a little adventure and leave your device, don’t worry! We’ve got your back. Just give us a holler and we’ll guide you through fixing it up. If you need help, you can always schedule a repair.
– Let’s get this bezel warmed up! Apply some heat to the bottom bezel, then slide a pick between the frame and the digitizer. You’ve got this!
– Now, let’s keep that home button safe! Make sure the pick stays above it, just like you see in the picture. You’re doing great! If you need help, you can always schedule a repair
Step 9

The ear speaker grille might just decide to take a little dive!
– Time to get sticky! Gently peel apart the adhesive on the bottom half of the phone. Now flip it around and give that frame a little love – separate it from the screen assembly starting from the bottom.
– Make sure that display cable is feeling free and easy, moving smoothly through the hole in the frame. You’ve got this!
Step 10

– Let’s get started by noting that the LCD and digitizer aren’t stuck together with LOCA glue – they’re just held in place with some adhesive around the edges of the digitizer.
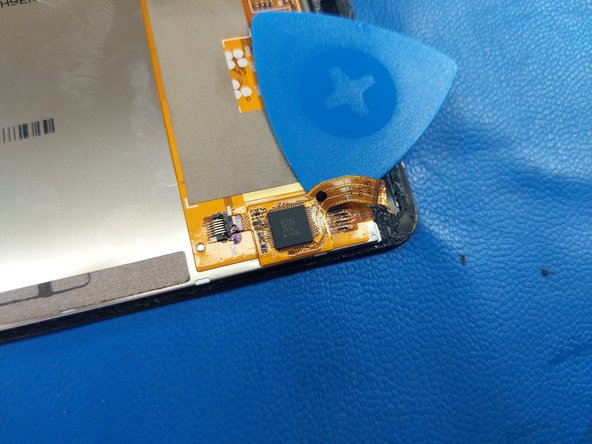
– The digitizer is connected to the LCD with a flex cable, so carefully flip up the bottom half of the connector to get started.
– Now it’s time to apply some gentle heat to the IC. Use a pick to carefully separate the parts, just like you see in the picture.
– To separate the LCD and digitizer, apply some gentle heat to the front of the assembly, then use a pick to slide along the edges of the LCD. If you need help, you can always schedule a repair with Salvation Repair.