Replace Samsung Galaxy J3 Luna Pro Motherboard Guide: Step-by-Step Tutorial
Duration: 45 minutes
Steps: 5 Steps
So, you’ve got a perfectly fine phone one minute and then—bam!—it suddenly decides to take a break. Sounds like it might be time to swap out that motherboard! Don’t worry, though, we’ve got you covered with a straightforward guide to help you replace the processing component of your Samsung Galaxy J3 Luna Pro. Let’s dive in and get your device back in action. And remember, if you need help, you can always schedule a repair.
Step 1

– First, power down your phone to get started.
– Next, take off the back cover and remove the battery to begin the repair process. If you need help, you can always schedule a repair
Step 2


Hey there! Just a friendly reminder: keep the screen attached for now, as there are still some cables connecting the two parts. Let’s take it easy and avoid any accidental disconnections!
– Grab a suction cup and give that screen a gentle pull upwards. You’ve got this!
– Slide the plastic opening tool into the little gap beneath the screen and glide it around the edges like a pro.
Step 3

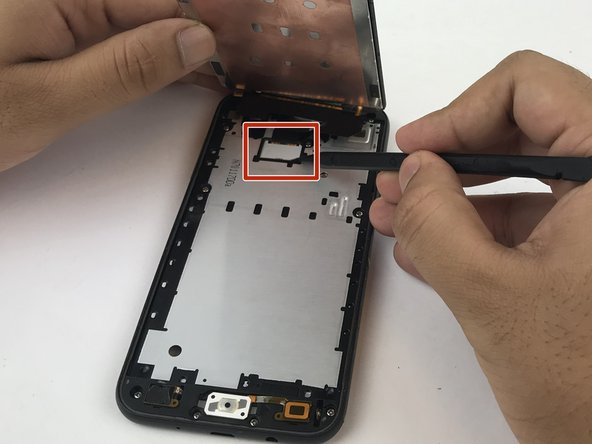

– Grab your trusty spudger (the pointy end, of course!) and gently pop off that white plastic cover protecting the display. You got this!
– Now, using the spudger, carefully pry up the display cable from the motherboard. Don’t worry, it’s like a mini-treasure hunt.
– Time to unveil the screen! Carefully lift it off, and admire your handy work. You’re a tech whiz!
Tools Used


Step 5


– Alright, let’s get that motherboard out of the mid-frame. It’s like a dance – carefully remove it and we’ll be on our way to fixing things up!
