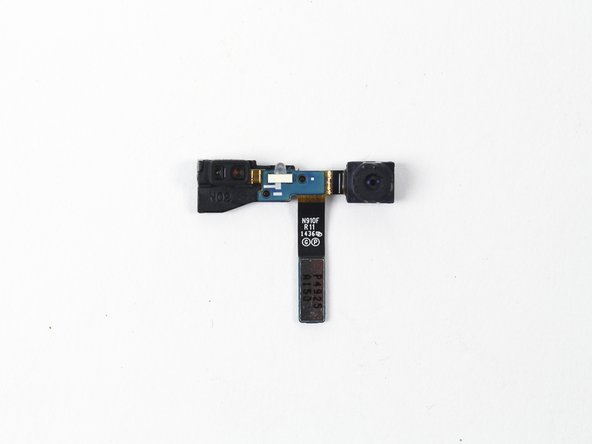
Replace Samsung Galaxy Note 4 Front Camera
Duration: 45 minutes
Steps: 13 Steps
Ready to give your Samsung Galaxy Note 4 a little facelift? In this guide, we’ll walk you through the steps to swap out that front-facing camera. It’s super easy, and you’ll be snapping selfies in no time! If you need help, you can always schedule a repair.
Step 1
– Let’s get that back cover off! Slide a fingernail or plastic opening tool into the little notch near the camera.
Gently pry and twist the back cover off. It’s like a little dance, just be careful not to go too crazy! If you need help, you can always schedule a repair
Step 3
– To get started, gently push the SIM card out of its housing, then give it a little pull to remove it completely. If you need help, you can always schedule a repair
Step 5
Be careful not to accidentally separate the front glass panel from the rest of the display assembly – it’s still stuck together with adhesive, so handle with care. If you need help, you can always schedule a repair
The adhesive used here is pretty gentle, so you shouldn’t need to bust out the heat gun. Just take your time and you’ll be golden. If you need help, you can always schedule a repair
– Slide a plastic opening tool between the midframe and the display assembly. It’s like a gentle dance – slow and steady wins the race!
– Carefully work the tool around the edges of the phone to loosen that sticky adhesive. Remember, patience is key, just like a pro!
Step 6
– Let’s get this battery out! Grab your trusty plastic opening tool and gently loosen those clasps holding the battery housing together. You got this!
Step 7
You’ll need to give it a good push to separate the two parts.
If your new midframe doesn’t have a headphone jack, you’ll need to move the one from the old midframe to the new one. You can use plastic opening tools to carefully pop it out, as it’s held in place with a few plastic pins.
Step 8
– Let’s get started by removing the two 2.9 mm Phillips #00 screws – easy peasy, just take your time and you’ll be done in no time. If you need help, you can always schedule a repair
Step 10
– Grab a pair of tweezers or the flat end of a spudger and gently pry apart those two ribbon cable connectors. You’ve got this!
Tools Used
Step 11
– Carefully pop that motherboard out of the phone. If you need help, you can always schedule a repair
Step 12
– Flip that motherboard over and get ready to tackle the next step.
– Now, use those trusty tweezers to gently lift the metal tab up – you’re making great progress! If you need help, you can always schedule a repair
Tools Used
Step 13
– Flip that motherboard back over like a pancake. 😉
– Now, use your fingers to gently unclip those two plastic clips holding the rear camera to the motherboard. It’s like a little camera hug, but we gotta break it up for this repair!


