Replace Samsung Galaxy Note II Camera
Duration: 45 minutes
Steps: 21 Steps
Get ready to give your Samsung Galaxy Note II a brand new rear-facing camera assembly. This step-by-step repair guide from Salvation Repair will walk you through the process. If you need help, you can always schedule a repair.
Step 1


– Grab the end of that stylus and gently pull it out from its cozy little spot in the midframe.
Step 2


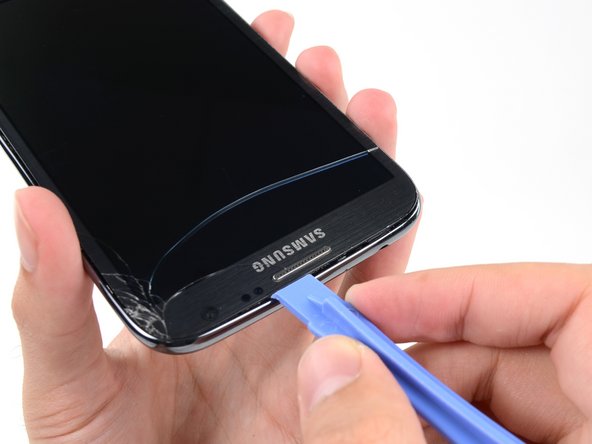
– Gently slide a plastic opening tool or your trusty fingernail into the little notch to the left of the rear-facing camera, right by the power button. You’ve got this!
Step 3


– Let’s get started by lifting the rear case from the corner with the divot – just pry it up gently and set it aside. If you need help, you can always schedule a repair
Step 4


– Got an SD card in there? No problem! Just take the flat end of a spudger or your trusty fingernail and give that microSD card a gentle push deeper into its cozy slot until you hear a satisfying click.
– Once you hear that click, let go of the card and watch it pop right out of its home!
– Now, go ahead and remove that microSD card with ease.
– When it’s time to put everything back together, simply slide the microSD card back into the slot until you hear it click into place.
Tools Used

Step 5


– Time to get that battery out. Insert a plastic opening tool or your finger into the notch of the battery compartment and gently lift the battery upward. If you need help, you can always schedule a repair

Step 7

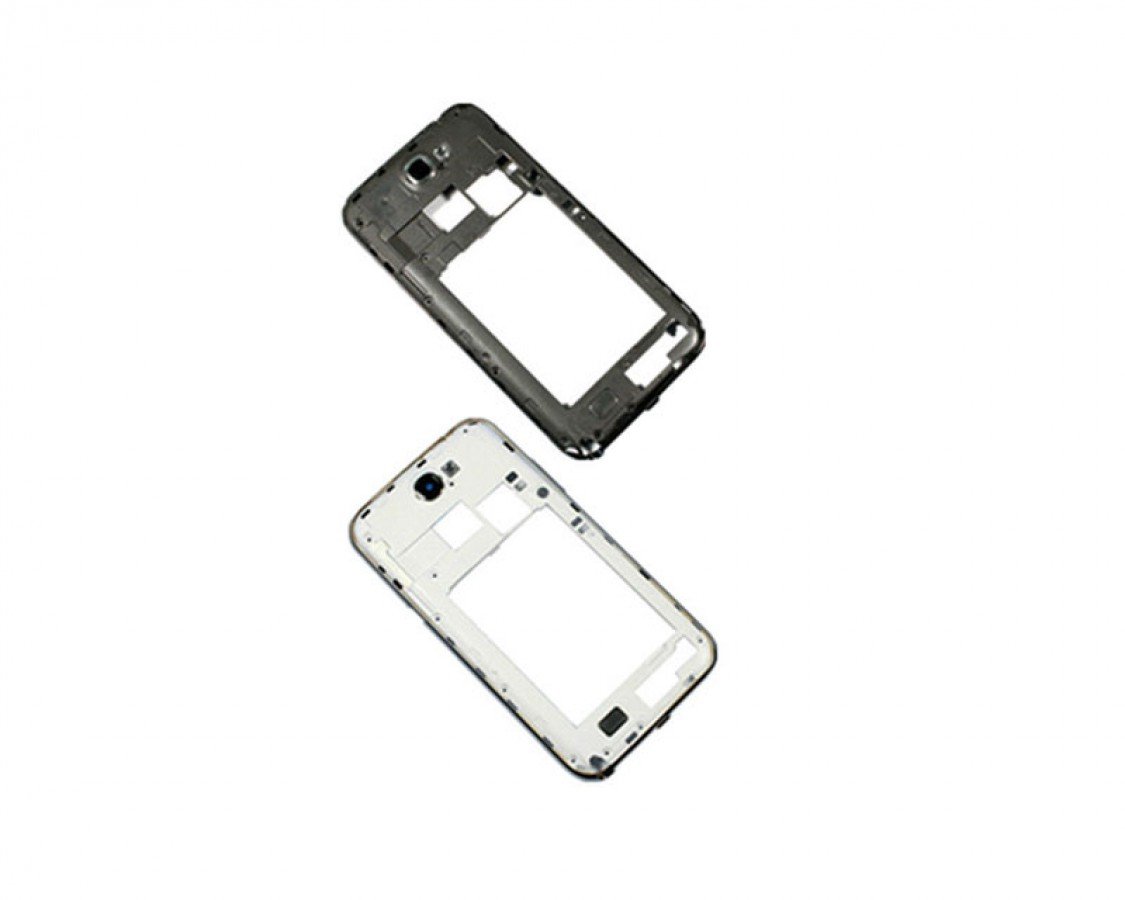
– Unscrew the eleven 4.0 mm Phillips #00 screws that are holding the midframe snugly against the display assembly. Let’s get that midframe off!
Step 8


– Let’s pop this phone open! Slide your trusty plastic opening tool between the midframe and the front panel assembly, right along the side of the phone.
– Now, gently slide that tool down the seam, feeling the phone separate. You’re doing great!
Step 9


– Keep on truckin’ with the plastic opening tool, movin’ it down the groove, like it’s sliding down a super smooth and fun slide! Let’s cause those seams to part ways, so we can peer into the inner workings of this techy treat!


Step 11

– Use a plastic opening tool to gently pop open the top of your phone. If you need help, you can always schedule a repair.
Step 12


– Now it’s time to get that midframe loose – gently push the plastic opening tool down to release the corner of the midframe from the display assembly. If you need help, you can always schedule a repair
Step 13


– Start by gently releasing the clips on the side of the phone where the power button is located.
– Finally, don’t forget to unclip the two clips situated at the top and bottom edges of the battery compartment.
Step 14


– Gently lift the display assembly out of the midframe, like you’re unveiling a surprise gift!
Step 15


– Grab your trusty spudger and gently disconnect that pesky vibrator/power button assembly cable connector.
– Next up, let’s tackle the antenna cable connector—give it a little twist and pull to disconnect it.
– Finally, it’s time to disconnect the display cable connector. A smooth move here will keep everything in tip-top shape!
Tools Used
Step 16


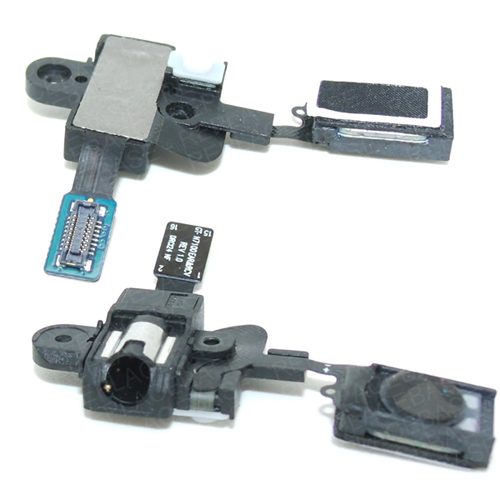
– Let’s get started – carefully disconnect the front-facing camera cable connector to begin the process.
– Next up, gently release the headphone jack cable connector to move forward with the repair.
– Now, go ahead and disconnect the digitizer cable connector – you’re making great progress! If you need help, you can always schedule a repair
Step 17

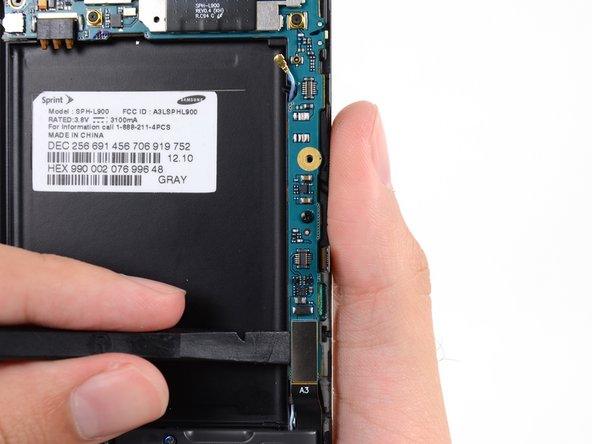
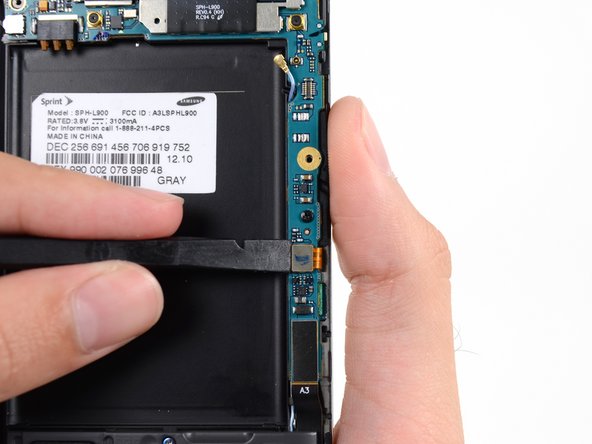
– Let’s get this antenna cable connector unplugged from the motherboard using your spudger. You got this!
– Time to give that soft button cable connector the boot! Disconnect it.
– Okay, one more connector to go! Unplug the USB board cable connector. You’re almost there!
Tools Used
Step 18

– Let’s get started by removing the 3 mm Phillips #00 screw that holds the motherboard in place within the display assembly. If you need help, you can always schedule a repair
Step 19


Alright, time to get this motherboard out! Hold it gently by the edges, like it’s a delicate butterfly. We don’t want any static electricity messing things up. Be careful not to snag it on any wires as you pull it out of the display assembly. If you need help, you can always schedule a repair.
– Now, let’s give that motherboard a little TLC. Gently lift it out, okay?

Step 21

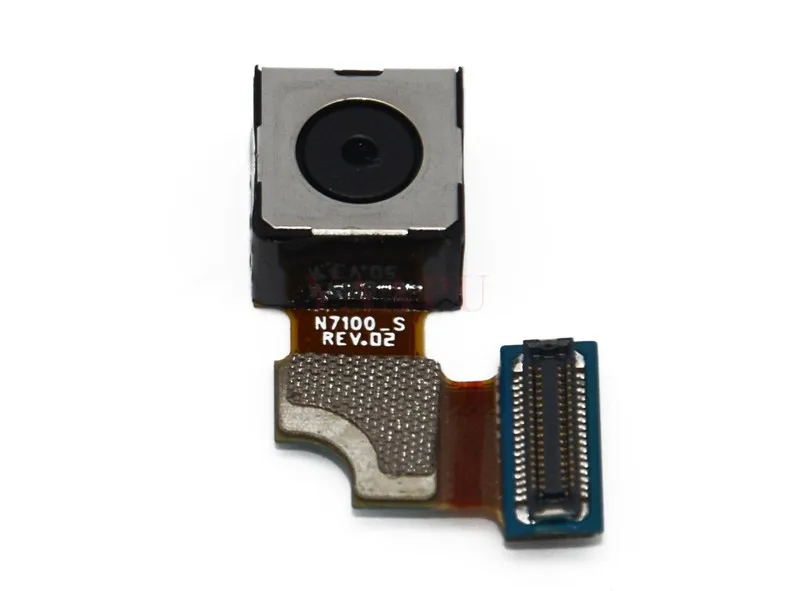
– Time to get a little hands-on – use tweezers or your fingers to carefully remove the rear-facing camera assembly. If you need help, you can always schedule a repair
Tools Used