Replace Samsung Galaxy Note Midframe
Duration: 45 minutes
Steps: 12 Steps
Follow this guide to swap out or remove your Galaxy Note’s midframe like a pro.
Step 1


– Gently pop open the case using a plastic opening tool or your trusty fingernail, right in the little notch next to the rear-facing camera, close to the volume rocker.
Step 2


– Alright, let’s get this party started! Time to give that back cover a little lift and say ‘see ya later’!
Step 3


– Slide your finger into the notch on the battery compartment. It’s like giving the battery a little high five!
– Now, give the battery a gentle nudge towards the rear camera while pulling outward. It’s like a little dance move to get it out!
Step 4


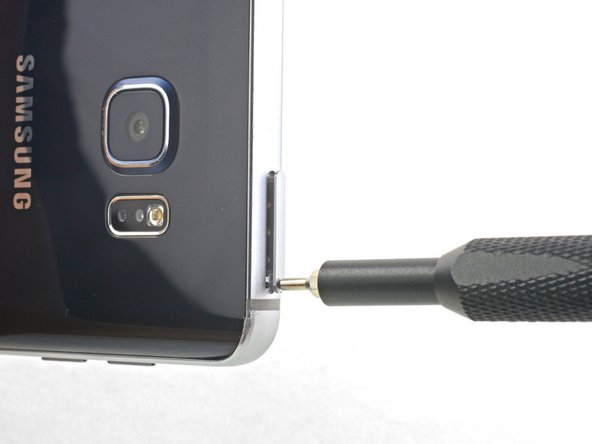
– Grab your trusty spudger or even your fingernail, and give that microSD card a gentle nudge deeper into its cozy slot until you hear a satisfying click!
– Once you hear the click, let go of the card and watch it spring back out like it’s ready for a little adventure.
– When it’s time to put things back together, just slide that microSD card back into its slot until you hear it click snugly into place.
Tools Used

Step 5

– Gently pop that microSD card out of its cozy little home in the midframe.
Step 6


– Grab a plastic opening tool or just your trusty fingernail, and gently nudge that SIM card out of its cozy little home.
Step 7


– With your thumb, slide that SIM card the rest of the way out and pop it out of the device. If you need help, you can always schedule a repair
Step 8

– Pop out those nine 3.4 mm Phillips #00 screws to liberate the midframe from the display assembly. If you need help, you can always schedule a repair.
Step 9

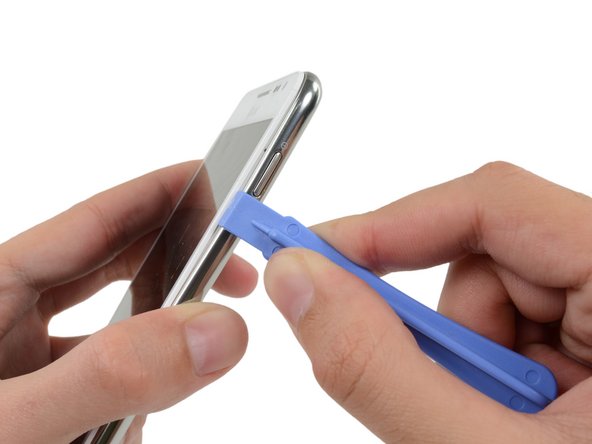
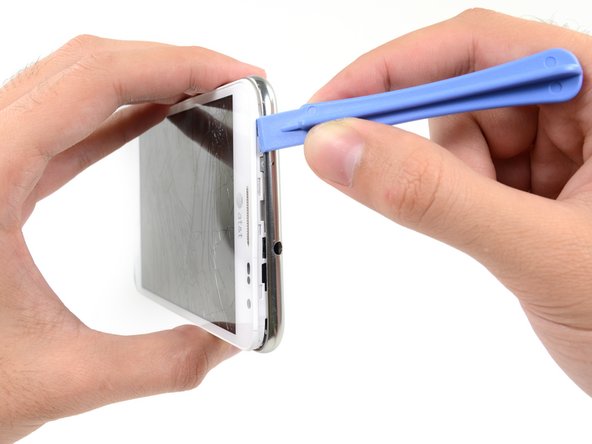
– Slide your trusty plastic opening tool to the left of the power button, gently wedging it between the midframe and the front panel assembly, and give it a little pry. You’ve got this!


Step 11
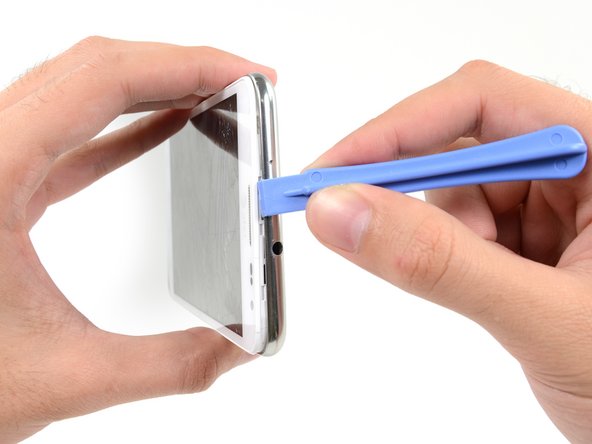

– Gently slide your plastic opening tool into the space to the left of the headphone jack, right between the midframe and the display assembly.
– Now, let’s glide that opening tool along the top edge of your phone like it’s on a fun little adventure.
– Keep going and run that plastic tool all around the perimeter of the phone until you hear that satisfying separation of the midframe!
Step 12
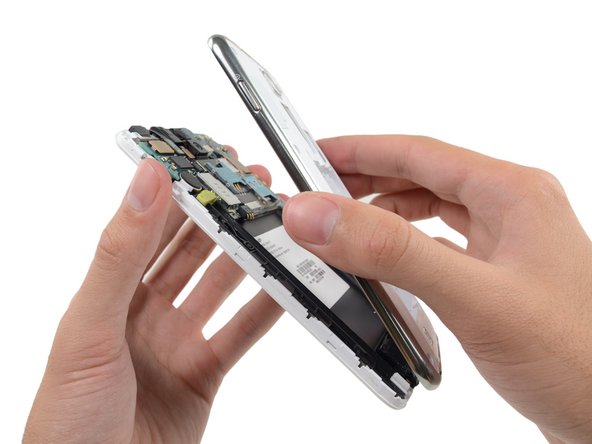

– Let’s get started by carefully removing the midframe from the display assembly. If you need help, you can always schedule a repair