Replace Samsung Galaxy Note20 Front Camera
Duration: 45 minutes
Steps: 15 Steps
For your own safety, make sure to run that battery down to below 25% before you tackle disassembling your phone. You’ve got this!
Hey there, tech wiz! Ready to give your Samsung Galaxy Note20’s front-facing camera a fresh look? This guide is your ticket to getting that done. But before you start tearing things apart, let’s play it safe: make sure your battery is chillin’ at 25% or below. This keeps things cool and avoids any unexpected battery meltdowns (we’ve all been there). If your battery looks a little puffy, take extra care – you know the drill! And if you need a helping hand, you can always schedule a repair.
Step 1

Before diving into the disassembly adventure, make sure your phone is completely powered off. It’s like giving it a cozy nap!
Feel free to use a hair dryer, heat gun, or hot plate if you need a little extra warmth, but remember to keep it cool—those screens, internal batteries, and plastic rear covers aren’t fans of too much heat. Let’s keep them safe and sound!
– Time to heat things up! Grab your iOpener and give the left side of the rear cover a nice warm hug for about a minute.
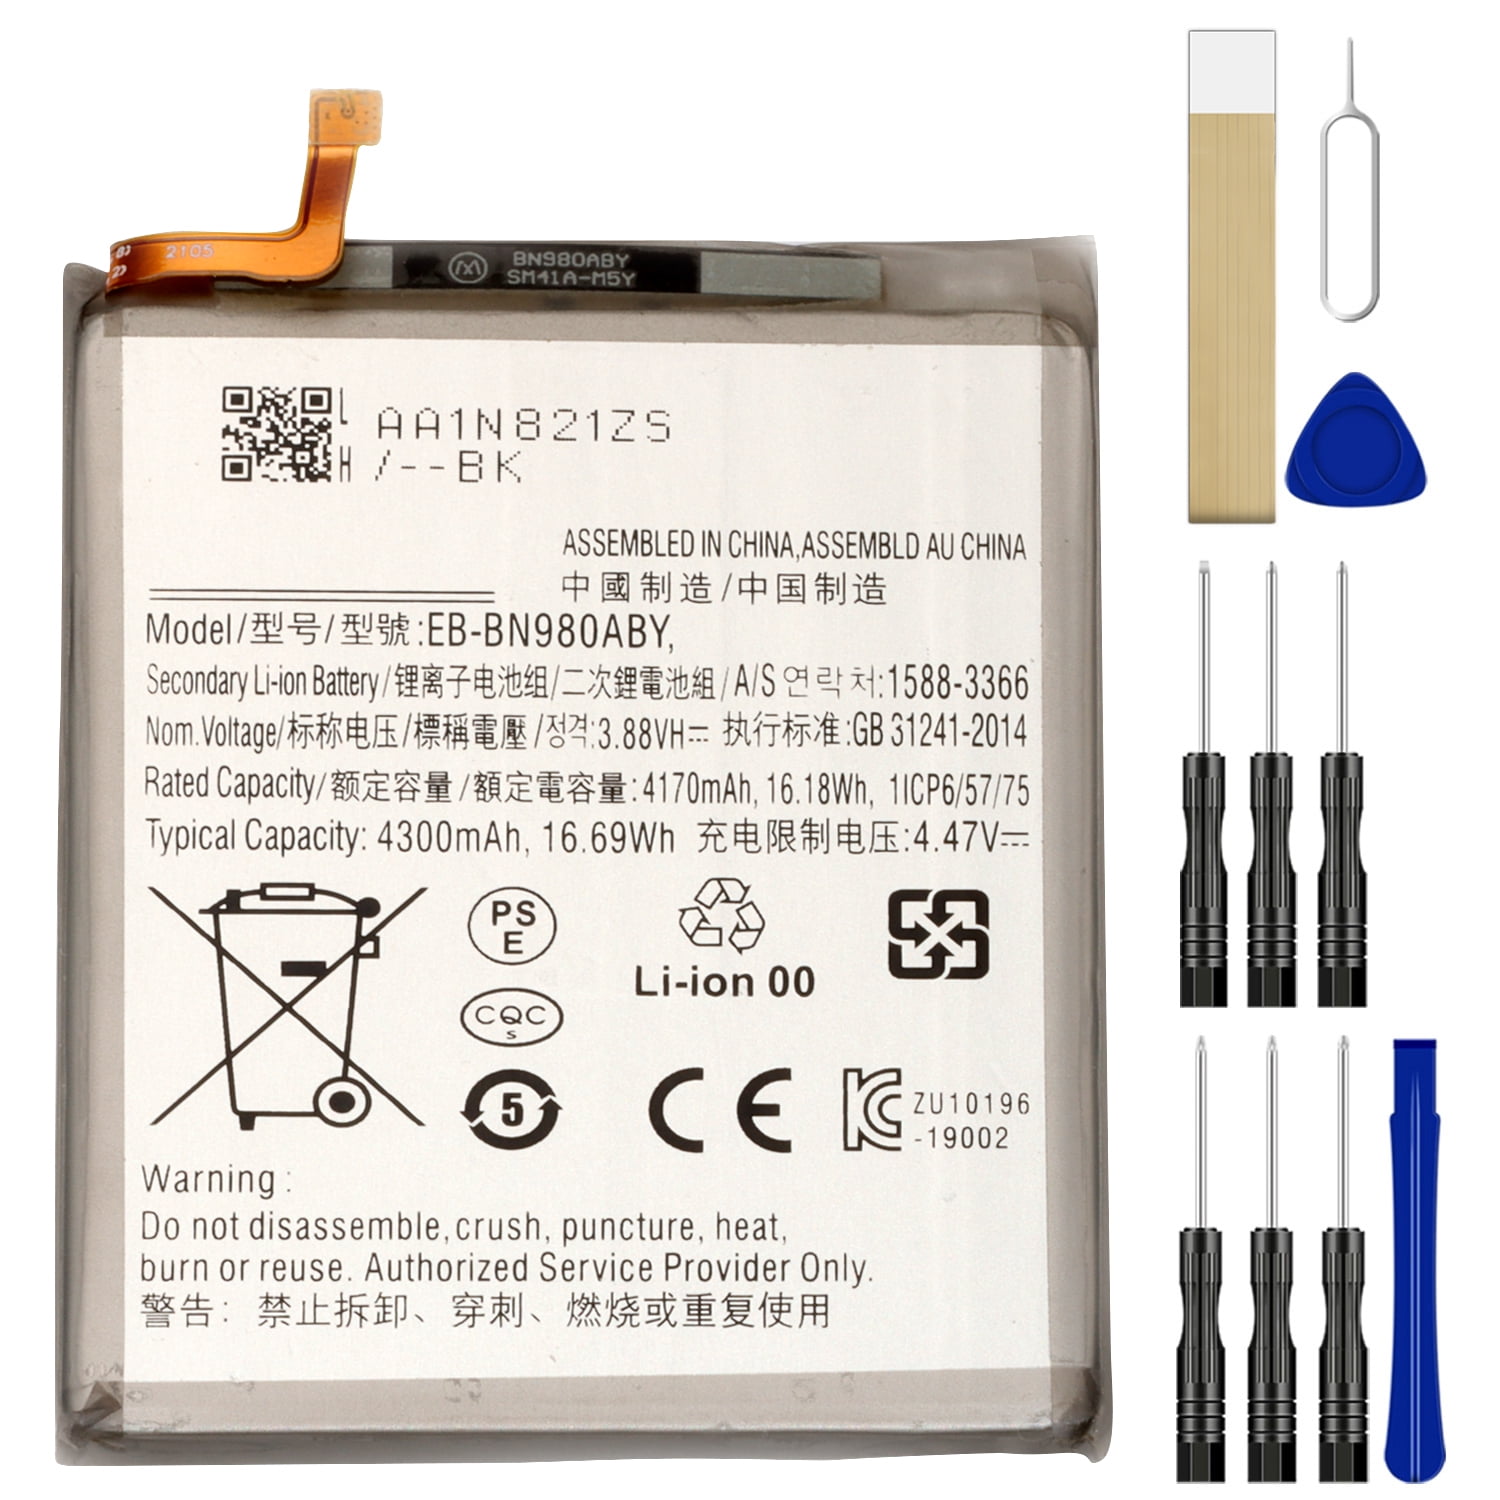
Tools Used

Step 2


Keep that opening pick to a maximum of 5 mm into the phone—going deeper could lead to an unexpected rendezvous with the internal components!
Depending on the age of your phone, this might be a little tricky. If you’re having trouble, don’t give up! Just add a little more heat to the edge and try again. If you need help, you can always schedule a repair.
– Grab a suction cup and stick it to the warm edge of the rear cover, getting as close to the edge as you can.
– Give that suction cup a solid, steady pull to open up a little gap between the rear cover and the frame.
– Slide an opening pick into that gap and get ready to keep going!
Step 3


Okay, time to carefully slice through that sticky stuff holding the phone together. Don’t go too deep with your tool – just 5 millimeters or less. We don’t want to hurt any of the phone’s delicate insides! If you need help, you can always schedule a repair.
– Let’s slide that opening pick along the left edge, heading towards the bottom left corner to cut through that sticky adhesive.
– Keep that pick in place in the bottom left corner so the adhesive doesn’t sneakily seal itself back up.
Step 4


– Let’s keep going! Repeat the process of heating and cutting the adhesive along the three remaining sides of the rear cover.
– Don’t let that adhesive sneak back in! As you go, pop an opening pick in each corner to keep it at bay.
If the rear cover is still stuck to the frame after cutting through all four sides, go ahead and slice through the adhesive again with an opening pick. No worries if you’re having trouble finding the right spot; just slide in each new opening pick where the gaps are from the ones you placed in each corner earlier!schedule a repair if you need help!
Step 5


– Time to get started – carefully lift the rear cover straight up to remove it. If you need help, you can always schedule a repair
Step 6

Okay, so these screws might be a little stubborn. They’ve got some sticky stuff on them, you know, threadlocker. It’s like a tiny glue that keeps them from coming loose. Don’t worry, it’s totally normal.
Alright, now let’s play a little memory game! Make sure you remember where each screw came from. It’s super important to put them back where they belong, just like putting your socks in the right drawer. You wouldn’t want to mix them up, right?
– Let’s get started by removing the six 4.0 mm screws that hold the motherboard shield in place – just grab your trusty Phillips screwdriver and you’re all set. If you need help, you can always schedule a repair
Step 7


Whoa there, watch those motherboard shield edges—sharp stuff, right? Take it easy and be gentle!
– Grab your trusty tweezers and give that motherboard shield a little lift and flip. It’s like giving it a high five, but with more precision!
Tools Used

Step 8


Hey, be careful! Gently pry only under the edge of the connector. You don’t want to mess up the socket or any other parts nearby. If you’re feeling nervous, you can always schedule a repair.
– Alright, let’s get this motherboard shield out of the way! Use your trusty tweezers to hold it up while you carefully pry up the battery press connector with the pointed end of a spudger.
– Time to put that connector back where it belongs! Line it up carefully and gently press down on one side until you hear a satisfying click. Repeat on the other side, but remember, no pressure on the middle! If you’re not sure, you can always schedule a repair

Step 9


– Grab your trusty tweezers and hold the motherboard shield out of the way. Now, using the pointed end of your spudger, gently pry up that wireless charging coil press connector. You got this!
Step 10


The wireless charging coil is stuck to the device with a bit of adhesive, but don’t worry, it’s easy to remove. If you need help, you can always schedule a repair
– Let’s give that motherboard shield a gentle squeeze! Woo-hoo, we’re almost there! Up and away with that wireless charging coil, my friend. One last move — remove it and pat yourself on the back for a job well done!
Step 11

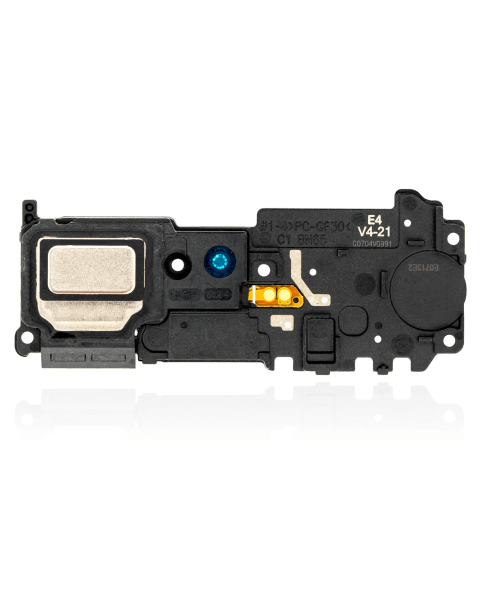
– Let’s loosen those screws! Use a Phillips screwdriver to take out the five 4.0 mm screws holding the earpiece speaker to the frame. Don’t worry, it’s easier than it sounds! If you need help, you can always schedule a repair.
Step 12


That earpiece speaker is attached to the frame like a little party guest clinging to the top edge. Get ready to give it a little wiggle to get it loose.
– Time to get started – carefully insert the flat end of a spudger under the bottom edge of the earpiece speaker to get things moving.
– Gently pry up the earpiece speaker to loosen it from the frame. If you need help, you can always schedule a repair
Tools Used
Step 13


– Time to give that earpiece speaker a little air! Gently lift it up and out of its cozy little home.
Step 14


Since the front-facing camera is just hanging out with the motherboard via a press connector, it might just pop out when you gently pry up the connector. Keep an eye on it!
– Alright, let’s give that front-facing camera connector a little nudge! Gently pry it up with the pointed end of your trusty spudger. It’s like giving it a friendly “hello” before you move on to the next step.
Tools Used