Replace Samsung Galaxy S24 Ultra Earpiece Speaker
Duration: 45 minutes
Steps: 25 Steps
Get ready to breathe new life into your Samsung Galaxy S24 Ultra by replacing the earpiece speaker with this easy-to-follow guide from Salvation Repair. If you need help, you can always schedule a repair.
Step 1


Before you start, make sure your phone’s battery is below 25% charged. A fully charged lithium-ion battery can be a safety hazard, so it’s better to be safe than sorry. If your battery is swollen, take the necessary precautions to avoid any accidents. If you need help, you can always schedule a repair
– First, let’s get started by unplugging any cables from your phone – we want to make sure it’s safe to work on.
– Next, hold down the side key and the volume down button, then select ‘Power off’ to shut down your phone. If you need help, you can always schedule a repair
Step 2

Feel free to use a hair dryer, heat gun, or hot plate, but keep an eye on the heat! Your phone’s display and internal battery can be a bit sensitive to high temperatures, so let’s avoid any heat-related drama.
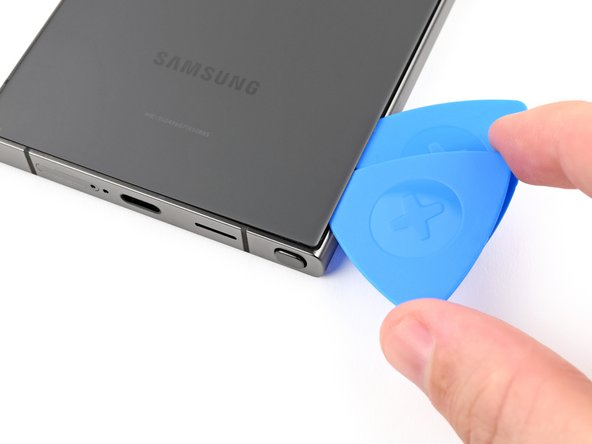
– Let’s get this party started! Warm up that iOpener and give the right edge of the back cover a nice two-minute hug.
Tools Used


Step 3

If you’re struggling to create a gap, don’t fret! Just crank up the heat a little more to loosen up that glue. Make sure you follow the iOpener instructions to avoid any overheating mishaps. If you need help, you can always schedule a repair.
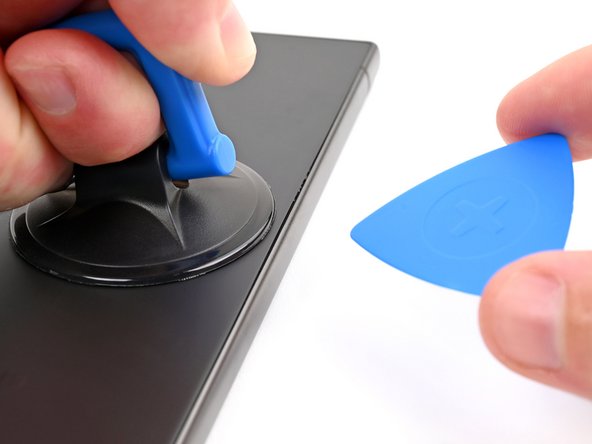
– Grab a suction handle and stick it onto the back cover, aiming for a spot near the center of the right edge. You’ve got this!
– Give that suction handle a strong, steady pull to create a gap between the cover and the frame. Feel the magic happen!
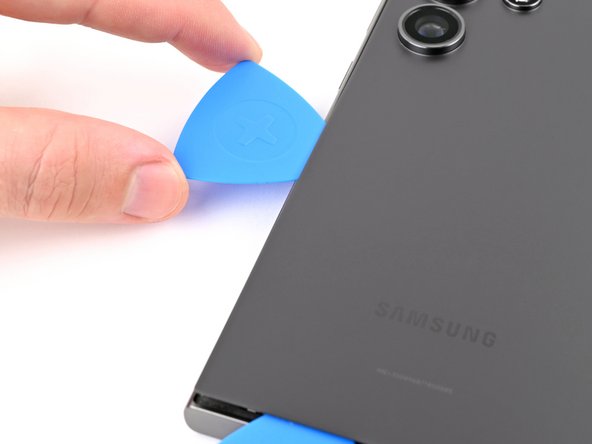
– Slide an opening pick into that gap like a pro.
Tools Used

Step 4


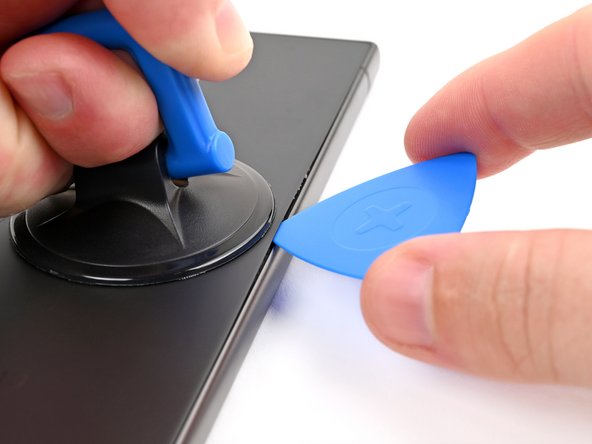
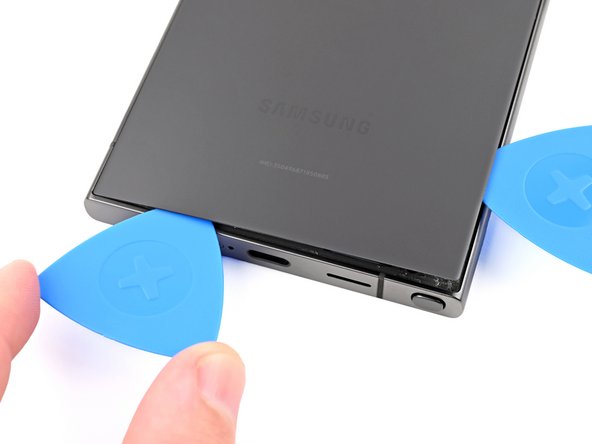
– Let’s get this party started! Slide the pick back and forth along the right edge to break that adhesive’s hold.
– Now, keep that pick in place near the bottom right corner. We don’t want that sticky stuff sealing back up!
Step 5

– Let’s get this party started! Warm up the back cover with a heated iOpener for two minutes. This will help loosen up the adhesive holding it in place.
Tools Used
Step 6

– Slide a second opening pick in next to the first one, near the bottom of the right edge.
– Gently wiggle the opening pick around the bottom right corner to loosen that sticky stuff holding the case together.
Step 7

– Let’s get this phone open! Slide your opening pick along the bottom edge to loosen that sticky stuff holding it together.
– Keep that pick hanging out near the bottom left corner. That’ll keep the glue from sealing itself back up. You got this!
Step 8

– Warm up that iOpener and stick it on the left side of the back cover for two minutes. You’ll be one step closer to a smooth repair!
Tools Used
Step 9
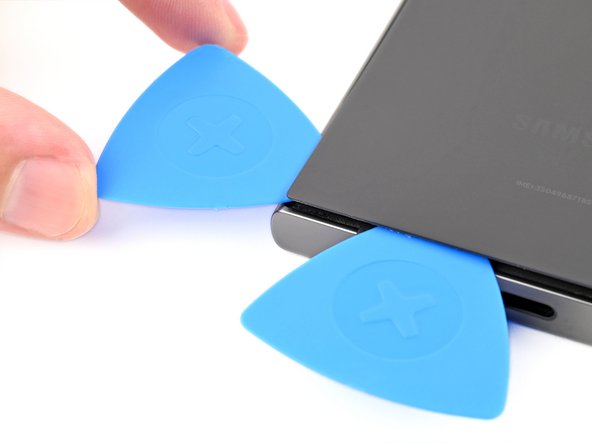

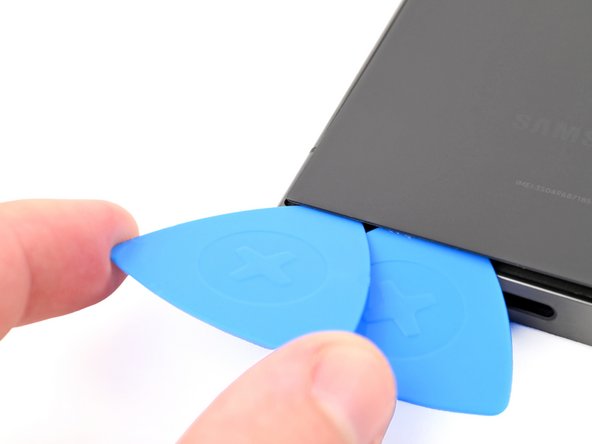
– Now it’s time to bring in some extra help – insert a third opening pick next to the second one, near the left side of the bottom edge. This will give you some extra leverage to get the job done.
– Gently rotate the opening pick around the bottom left corner to loosen the adhesive. You’re making great progress, and if you need any help along the way, you can always schedule a repair
Step 10

Keep that pick to a maximum of 4 mm in depth to steer clear of any antenna cable mishaps!
– Gently slide your opening pick along the left edge to loosen the adhesive – just be careful not to go too far and reach the power button.
– Leave that pick right where it is, near the power button, so the adhesive doesn’t start to stick back together. If you need help, you can always schedule a repair
Step 11

– Time to get this repair started. Apply a heated iOpener to the top edge of the back cover for about two minutes. If you need help, you can always schedule a repair
Tools Used
Step 12
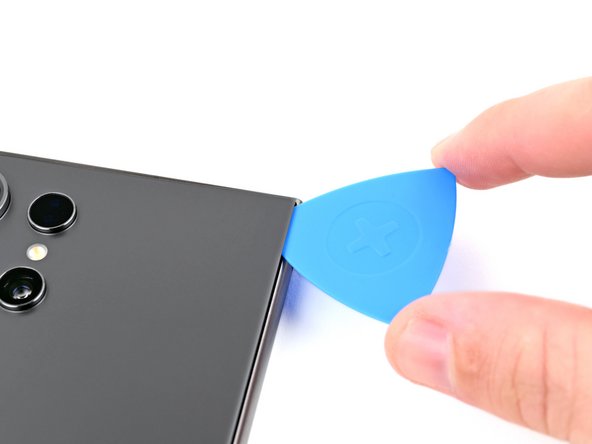


– Slide an opening pick into the gap at the top of the right edge. It’s like giving your device a little high five!
– Now, gently twist the opening pick around the top right corner. Think of it as a little dance move for your device.
Step 13

Hey, be careful with that pick! Keep it at 4mm or less to avoid any accidental bumps to the sensor or camera up top. You’ve got this! If you need help, you can always schedule a repair
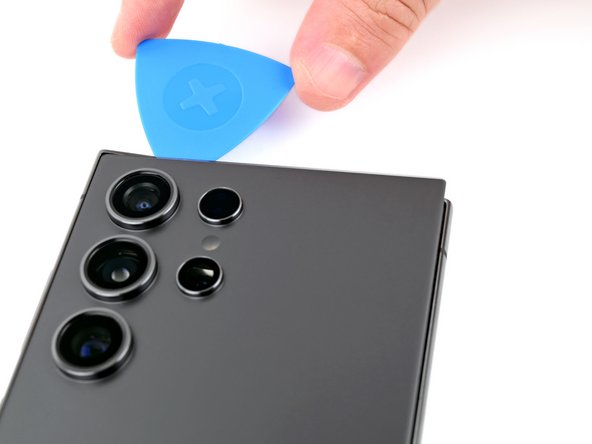
– Let’s loosen that adhesive! Slide the pick along the top edge to separate it. It’s like giving your device a little massage, but with tools. 😉
Step 14
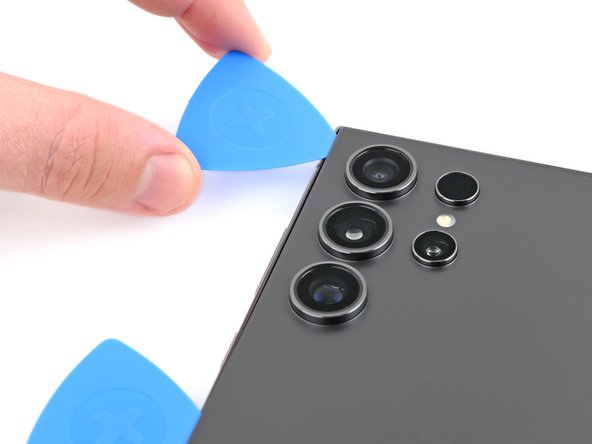

Keep that pick under control! Don’t go deeper than 4 mm to ensure the cameras stay safe and sound. You got this!
– Gently glide the pick around the top left corner and down the left edge to let that stubborn adhesive know it’s time to part ways.
Step 15


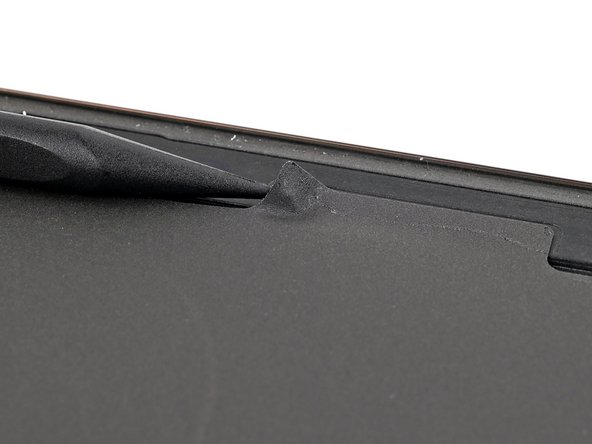
Still stuck? No worries, just grab an opening pick and gently slide it around the edges to break free any adhesive that might have reattached itself.
Now’s a great time to power up your phone and make sure everything is working smoothly. Just remember to shut it down completely before moving on to the next steps. If you need help, you can always schedule a repair
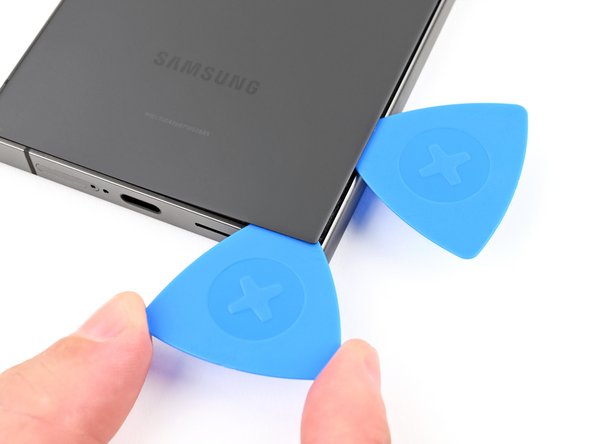
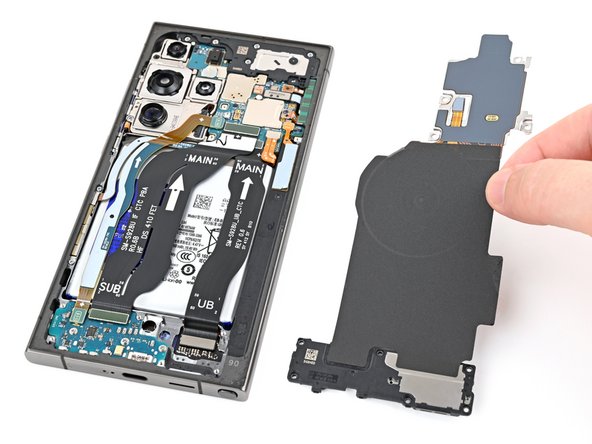
– First things first, pop off that back cover and let’s get to work!
– Now, as you put everything back together:
– If you encounter any stubborn adhesive bits, grab some tweezers or use your fingers to gently pry them away. A little heat can work wonders if things are being tricky.
– Trying out some custom-cut adhesives? Be sure to check out this guide.
– Using double-sided tape instead? You’ll want to follow this guide.
Tools Used

Step 16

When working with press connectors, take a peek at the board – you’ll notice an arrow near each one, showing you the best spot to pry. Stick to these recommended locations to avoid accidentally dislodging any surface-mounted components. If you need help, you can always schedule a repair
– Time to give that wireless charging coil a little wiggle room! Carefully use a spudger to gently pry up and disconnect the connector from the motherboard.
– Now, let’s reconnect that connector! Align the connector carefully over its socket and give it a gentle press with your fingertip—one side at a time—until it clicks into place. Don’t force it—if you’re having trouble, just reposition it and try again. If you need help, you can always schedule a repair.
Tools Used

Step 17
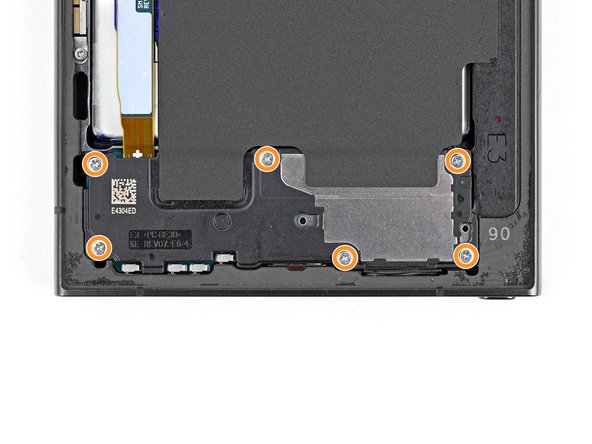

– Grab your trusty Phillips screwdriver and remove the ten 3.5mm-long screws that hold the wireless charging coil and loudspeaker in place:
– You’ll find four screws securing the wireless charging coil
– And six more screws that keep the loudspeaker firmly in its spot. If you need help, you can always schedule a repair
Step 18

– Grab a spudger and gently nudge a corner of the tab on the wireless charging coil, which is all snuggly attached to the right edge of the frame. You’ve got this!
Tools Used
Step 19


– Grab your trusty opening pick (or a guitar pick if you’re feeling funky) and gently pry that tab away from the frame. It’s like a little dance, just be smooth and careful.
Step 20

Check out the loudspeaker – you’ll notice an arrow engraved on it, which is like a secret hint showing you the best spot to pry it open. If you need help, you can always schedule a repair
– Let’s get this party started! Slide the tip of your spudger into the gap between the right edge of the loudspeaker and the frame.
– Now, carefully pry up to release the loudspeaker from the frame. You’re doing great!
Tools Used
Step 21

– Time to give those wireless charging coils and loudspeakers a little freedom! Carefully remove them from the frame.
– Alright, let’s put it all back together! When you’re putting the loudspeaker back in, gently press around the edges to make sure it’s snug before putting the screws back in. You’ve got this!
Step 22


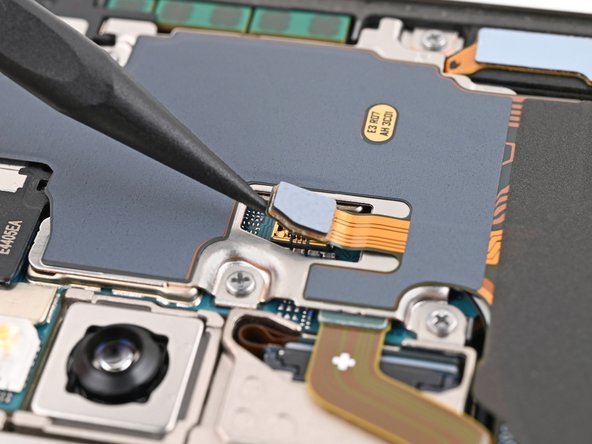
– Time to get started! Use a spudger to carefully pry up and disconnect the battery press connector. If you need help, you can always schedule a repair
Tools Used
Step 23

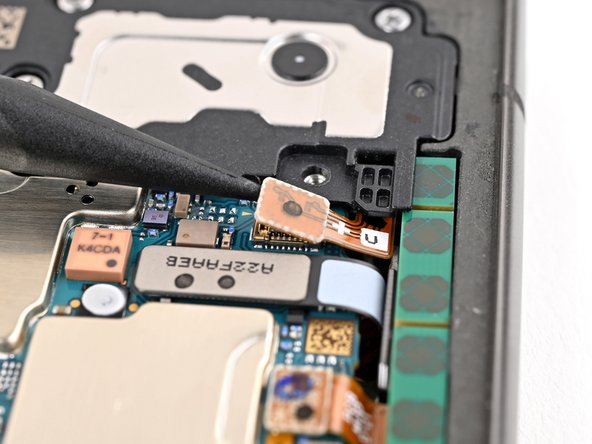
– Grab your trusty spudger and gently pry up to disconnect that earpiece speaker press connector. You’ve got this!
Tools Used
Step 24

– Let’s get started by removing the five 3.5mm-long screws that hold the earpiece speaker in place – just grab your trusty Phillips screwdriver and you’re all set. If you need help, you can always schedule a repair
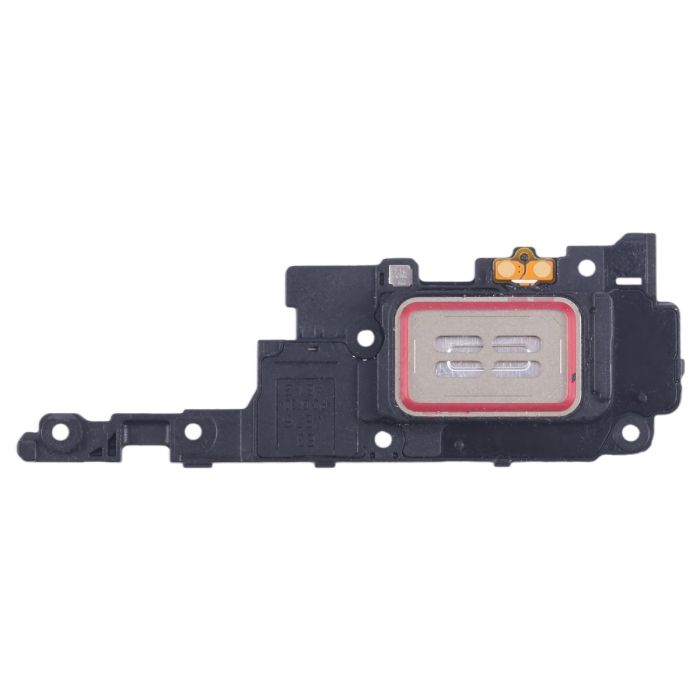
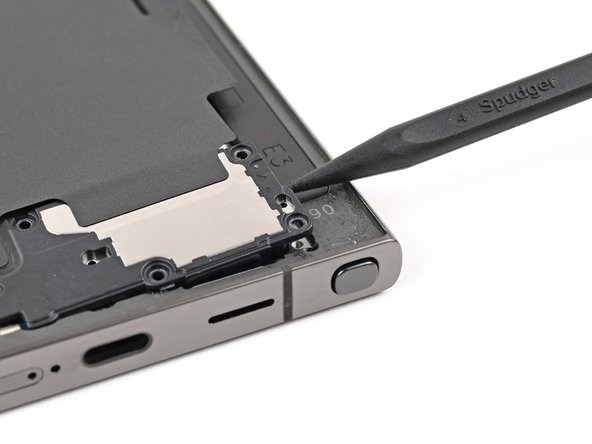
Step 25


– Alright, let’s get that earpiece speaker out. Use the pointy end of your spudger to slide under the bottom edge of the speaker, right underneath the little arrow.
– Now, gently pry up with the spudger to unclip the speaker. It’s like giving it a little high five to say goodbye.
– When you’re putting it back in, make sure you start by lining up the top edge of the speaker with the frame. Then, press down to clip it back into place. Piece of cake, right?
Tools Used