Replace Samsung Galaxy S8 Plus Rear Camera Bezel: Step-by-Step Guide
Duration: 45 minutes
Steps: 18 Steps
Hey there! If you’re feeling stuck, remember that Salvation Repair is just a click away. You can always schedule a repair with us for quick assistance. Don’t hesitate to reach out for help!
Follow this guide to give your Samsung Galaxy S8 Plus a fresh new rear camera bezel, complete with a shiny glass camera lens cover. If your new part doesn’t come with adhesive already on it, don’t fret! Just grab some adhesive for the rear camera bezel. You can go for pre-cut adhesive or thin high-bond tape—your choice! And remember, if you need help, you can always schedule a repair.
Step 1
Opening your phone may put those trusty waterproof seals at risk. So, if you’re planning to dive in, make sure you have some replacement adhesive on hand! If you decide to reassemble without it, just be extra cautious to keep it away from any liquids.
– Grab your trusty iOpener and give the left edge of your phone a warm hug for about two minutes. This little heat session will work wonders, making the adhesive that holds the back cover snugly in place a bit more forgiving.
Tools Used
Step 2
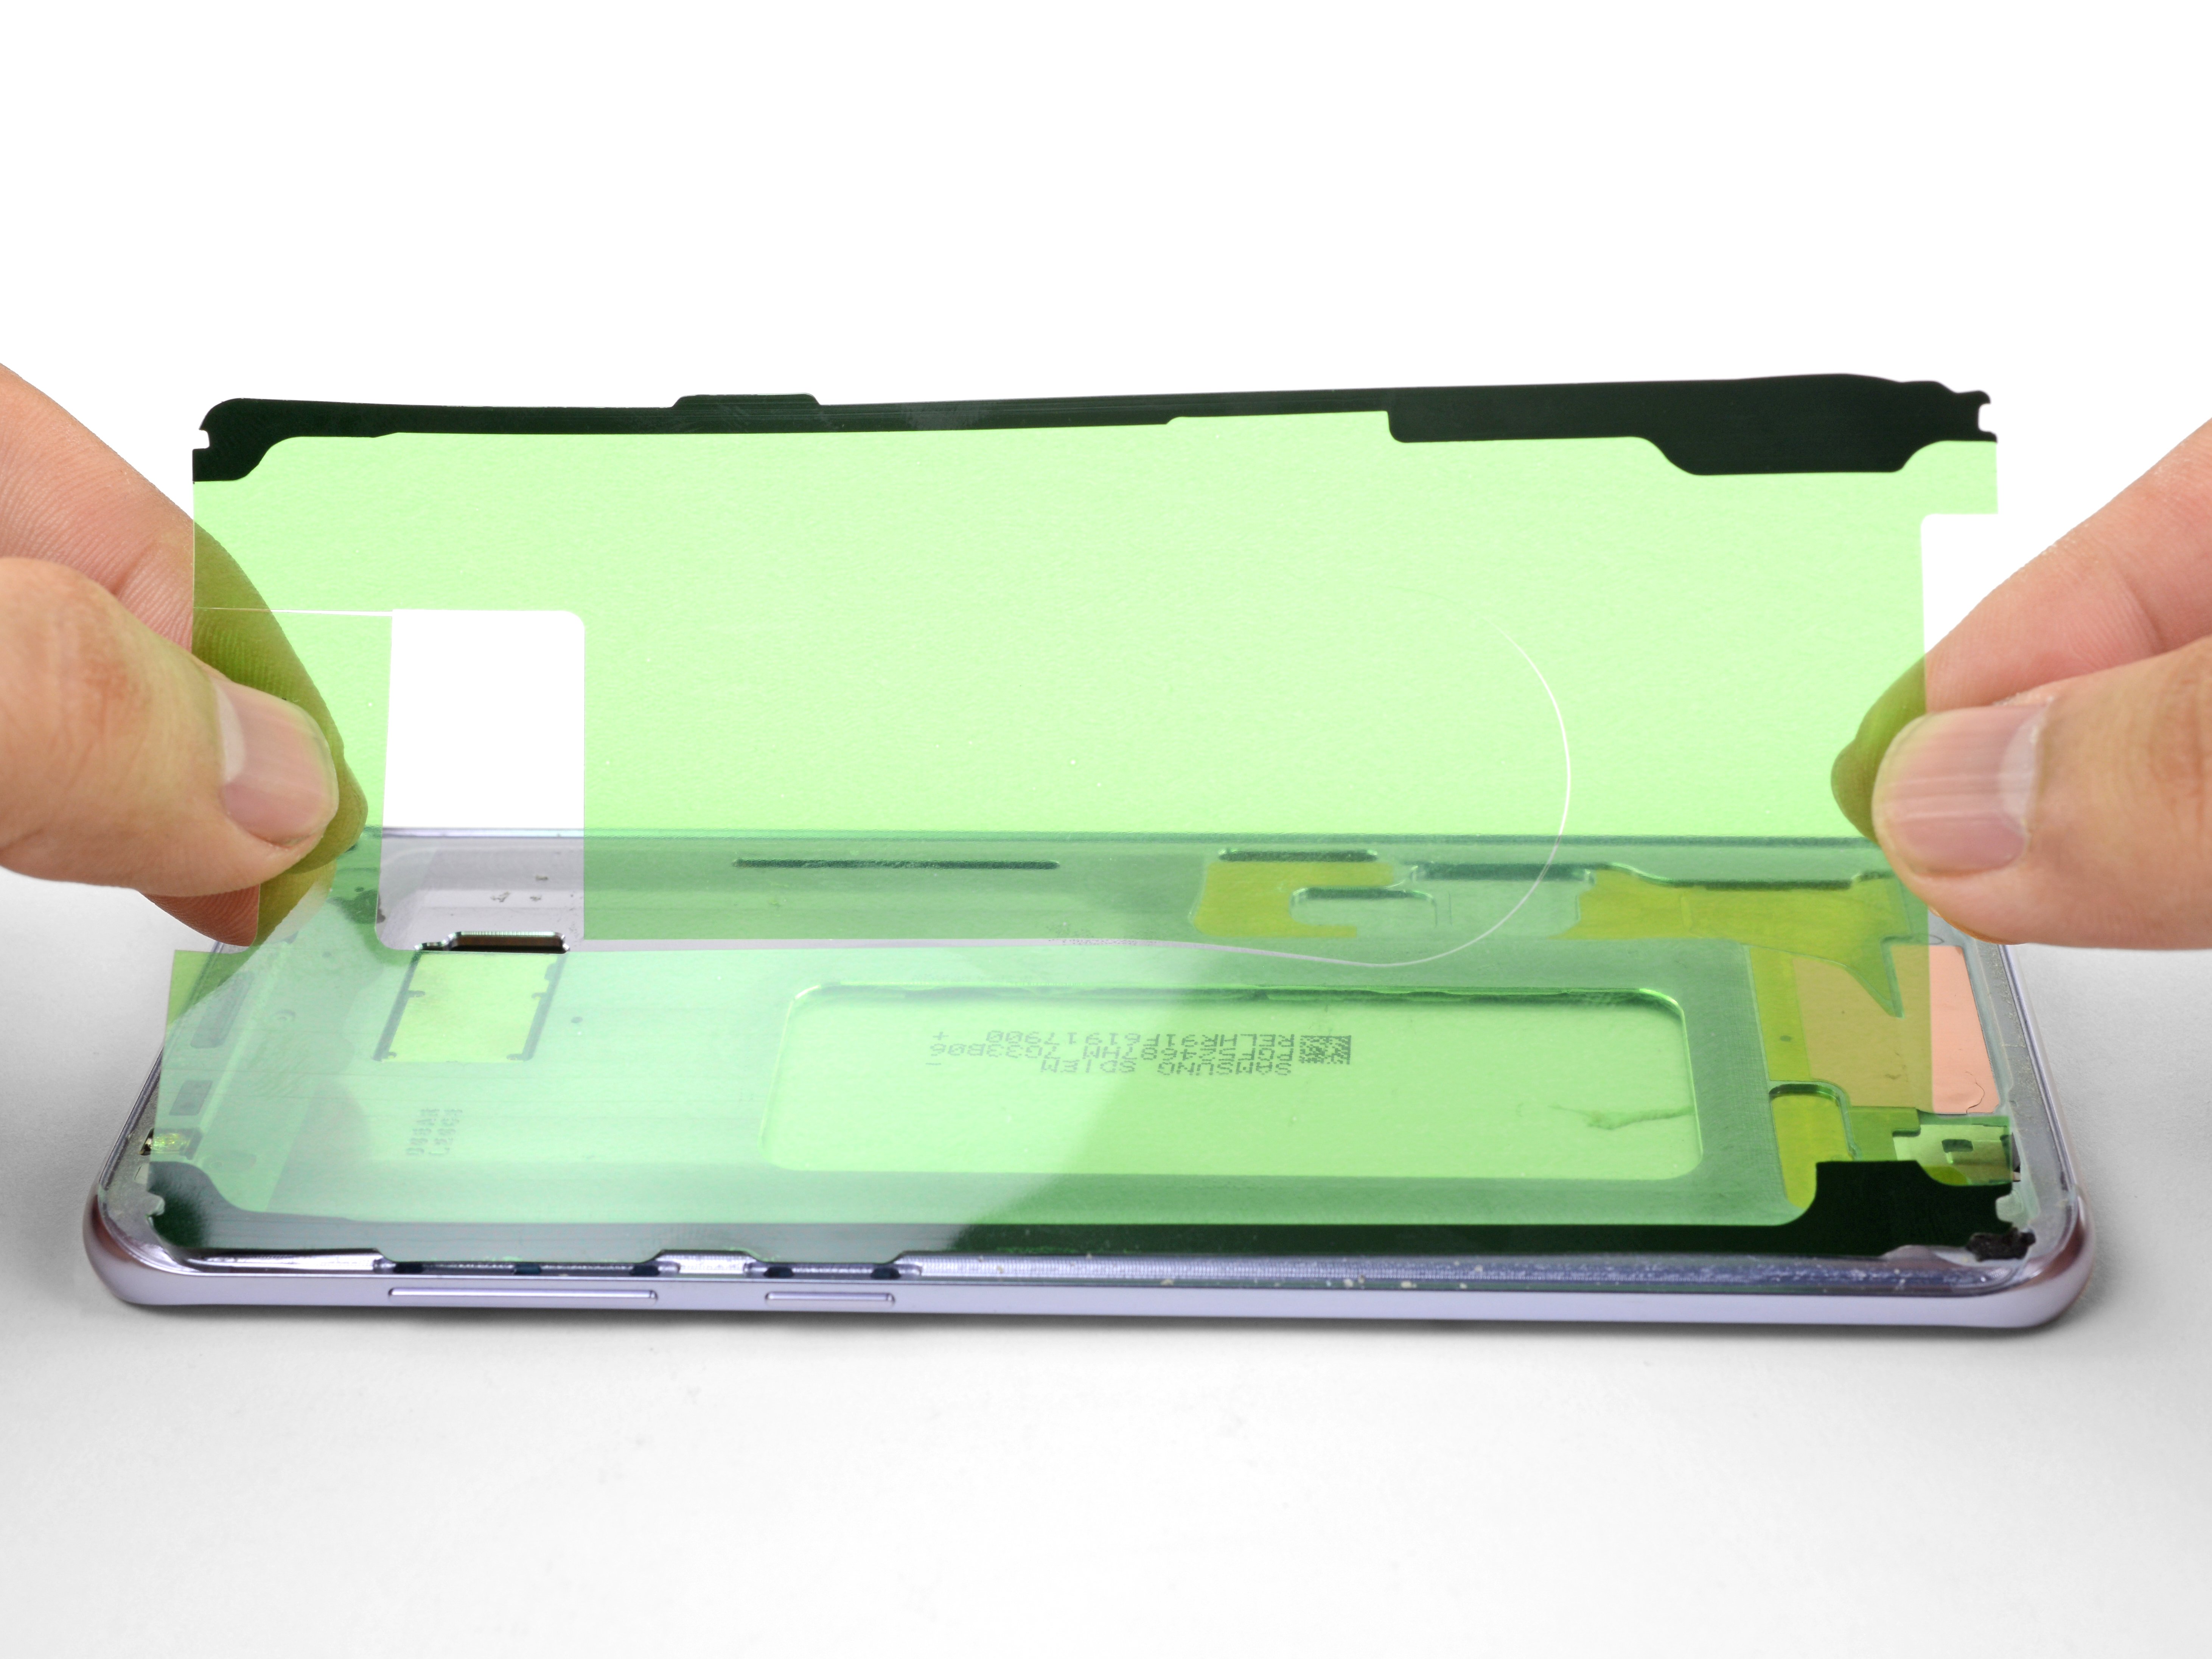
Check out the first image to see the adhesive layout after removing the cover. It’s all laid out perfectly.
– Get ready to tackle that back cover! In the upcoming steps, we’ll be cutting through the adhesive that’s holding it snugly in place.
– From your vantage point outside the phone, you’ll be slicing through the adhesive in the areas highlighted below:
Step 3
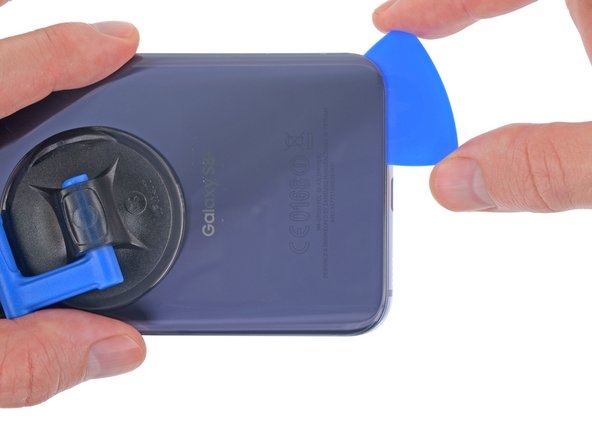
– Get your suction cup ready and secure it to the back cover near the warm edge.
– With your trusty suction cup, gently lift the left side of the back cover to create a small gap between the cover and the frame.
Step 4
Watch out! Rear glass can crack if you get too forceful or use metal tools. If you need help, you can always schedule a repair.
If you’re feeling adventurous, after you slide in that pick, consider drizzling a few drops of isopropyl alcohol into the gap. It can help loosen up the adhesive for the next steps, making your repair journey a little smoother!
– Slide an opening pick into the gap.
Step 5
Don’t forget, keeping the pick in place and having a backup pick on hand for the next step is like a buddy system for your repair mission. By keeping the pick in place, you’re basically telling that glue, ‘Not today, my friend!’. So, stay cool, keep the pick in place, and let’s move on to the next step with confidence!
– Gently glide your opening pick along the left edge of your phone to cut through the adhesive holding the back cover in place. If you need help, you can always schedule a repair.
Step 6
– Let’s keep up the good work by continuing to carefully slice through the adhesive along the bottom edge of your device.
– Remember, teamwork makes the dream work! Consider leaving the opening pick in place and grabbing another one for the next step.
Step 7
Be careful not to poke too far with your pick or you might mess up the fingerprint sensor’s flex cable. Step lightly and refer to the diagram in step 2 for some guidance. If you need help, you can always schedule a repair.
– Gently glide your tool along the top edge and right side to cut through the leftover adhesive. You’re doing great!
Step 8
Hold your horses! We’re not ready to pop off the back cover just yet.
– Gently pry open the back cover from its left edge and give it a little nudge to swing it open.
Step 9
– Grab your trusty spudger and gently nudge up that fingerprint sensor flex cable to disconnect it. You’ve got this!
Tools Used
Step 10
Take your time and give it a little love—patience is key! There’s no need to rush or try to jam that connector in. You’ll get it just right with a little practice!
– When you’re putting things back together, to reconnect the fingerprint sensor cable, first get the back cover angled just right until the cable connector aligns perfectly over its socket.
– Next, grab your spudger and gently press the connector straight down until it snaps into place. Need more help? schedule a repair
Tools Used
Step 11
Feel free to pop the back cover back on without worrying about replacing the adhesive. Just make sure to get rid of any big adhesive chunks that might get in the way of it sitting snugly. Once it’s back on, warm it up a bit and press down firmly to keep it in place. While it may not be entirely waterproof, the adhesive is typically strong enough to keep everything secure.
– Take off that back cover like a pro!
– To slap on a fresh back cover:
– If you’re looking to throw that back cover back on or get a new one with no adhesive, just check out this handy guide.
– You might also have to move the camera bezel to your new part. If that’s the case, mosey on over to our camera bezel replacement guide.
Step 12
– Get your iOpener ready and gently place it on the top of the rear glass, right by the rear camera bezel. Let it do its thing for a solid two minutes.
Tools Used
Step 13
– Alrighty, it’s time to get your hands a little dirty! First, insert a cool picking tool at the top edge of that rear camera bezel. Then, using some finesse, slide that tool around the edges, helping to separate the adhesive that’s keeping the camera and rear glass together. Pretty neat, huh? But nope, you’ve got this! Don’t forget, if you need a hand or if you find yourself in a pickle, you can always schedule a repair with us!
Step 14
– Get ready to rock and roll by using an opening pick to gently separate the camera bezel from the rear glass.
– If things get sticky, just slide in an opening pick to breeze through any remaining adhesive.
– Give the camera bezel a break and take it off for a little vacation.
Step 15
– Grab those tweezers and get ready to delicately peel off that sticky residue left hanging around by the rear camera bezel.
– Time to break out the spudger and gently remove any leftover stickiness where the camera bezel sticks to the rear glass.
– Give that adhesion spot a good clean using some high-concentration isopropyl alcohol (make sure it’s at least 90%) and a soft, lint-free cloth. Remember, swipe in one direction only – no back and forth shenanigans. This will prep the surface nicely for the fresh adhesive.
Step 16
– Snip some tape into pieces that fit snugly along the edges of the camera bezel. If you’re unsure, go with a narrower size tape.
– Grab your tweezers and carefully stick the tape to the metal surface of the bezel, on the side where the camera lens cover sticks out.
– Aim to cover most of the metal surface of the bezel with tape. Steer clear of overlapping tape onto any plastic or glass parts.
Tools Used
Step 17
– Grab those tweezers and gently peel away the adhesive from the back of the rear camera bezel. You’re doing great!
Tools Used
Step 18
– Gently align the rear camera bezel with the cutouts on the rear glass. With the adhesive side of the bezel facing the glass, carefully place it down so that the camera lens cover fits snugly into its designated spot.
– Use your fingers to press evenly on the bezel for about 30 seconds to ensure the adhesive sticks just right.
– Before sealing everything up with the rear glass, don’t forget to peel off the blue backing that’s protecting the camera glass.


