Replace Xbox One S Optical Drive Guide
Duration: 45 minutes
Steps: 11 Steps
Alright, let’s get this Xbox One S disc drive out of there! We’re going to gently remove it from the motherboard, but remember to be careful and treat those connectors like they’re your best friend. Don’t pull too hard – just a little coaxing will do the trick. If things get tricky, you can always schedule a repair.
Step 1

– Turn the Xbox One S upside down so that the underside of the case is up in the air.
Step 2

Be careful when lifting the bottom off the case; those clips can be a bit stubborn and might break on you.
As you start prying the case open, you might hear some delightful clicking sounds – it’s just the clips letting go! The bottom can be a bit stubborn, so don’t be surprised if it puts up a little fight.
Kick things off at the back where the warranty sticker is hanging out. Gently pry along the rear edge until all those clips are free. Once you’ve got three sides loose, head over to the front end, opposite the sync button, and take it slow. Patience is key, and with a little care, everything should separate beautifully without a scratch!
– Let’s get this party started! We’ll be working on the back of your case, where the warranty sticker is hanging out. Take your trusty plastic opening tool and slide it in between the bottom of the case and the grated top side. You’ll find some clips holding the case together. Use your tool to pop these clips out. The best way to do this is to gently pry the black case away from the bottom.
– Keep using your opening tool to pop those clips out. Remember, it’s all about gently prying the black case away from the bottom. No need to get rough! We’re all about keeping things smooth.
Step 3

– After you’ve popped all those clips open, it’s time to gently lift off the bottom part of the case. You’ve got this!
Step 4


– Let’s get started by removing the six green 50 mm long screws from the metal case labeled F1 through F6 – grab your trusty T10 Torx screwdriver and get to work!
Step 5


– Carefully wiggle the inner case away from the bright white outer case using the right technique.
– Gently push the white plastic edges outward at the back to free them from the plastic I/O shield.

Step 7

– To get inside, simply pop and lift the top panel of the casing – it should come off easily.
Step 8


Now you’ll be able to carefully release the plastic casing around the hard drive from the rest of the console – it’s like freeing a trapped component!
Some models might need a little extra attention, so check if you need to tackle C4 and C5 as well.
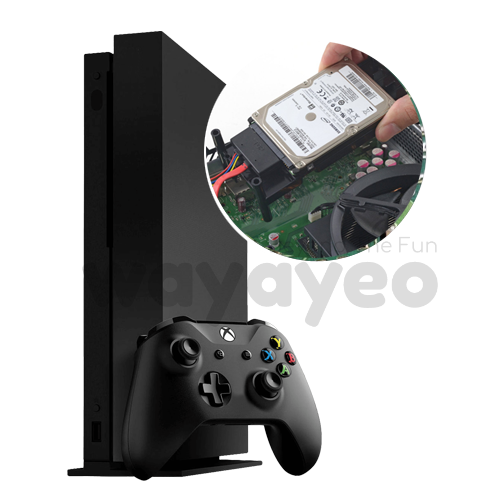
– Alright, let’s swap out that hard drive! Start by flipping your console over gently. Next up, grab your trusty T-10 Torx screwdriver and remove those two 10 mm screws, C3 and C5, located on the back of the Xbox One S. You’ve got this!
Step 9


– Carefully unhook the hard drive from the motherboard by releasing the two plastic connector clips. You’ve got this!
Step 10

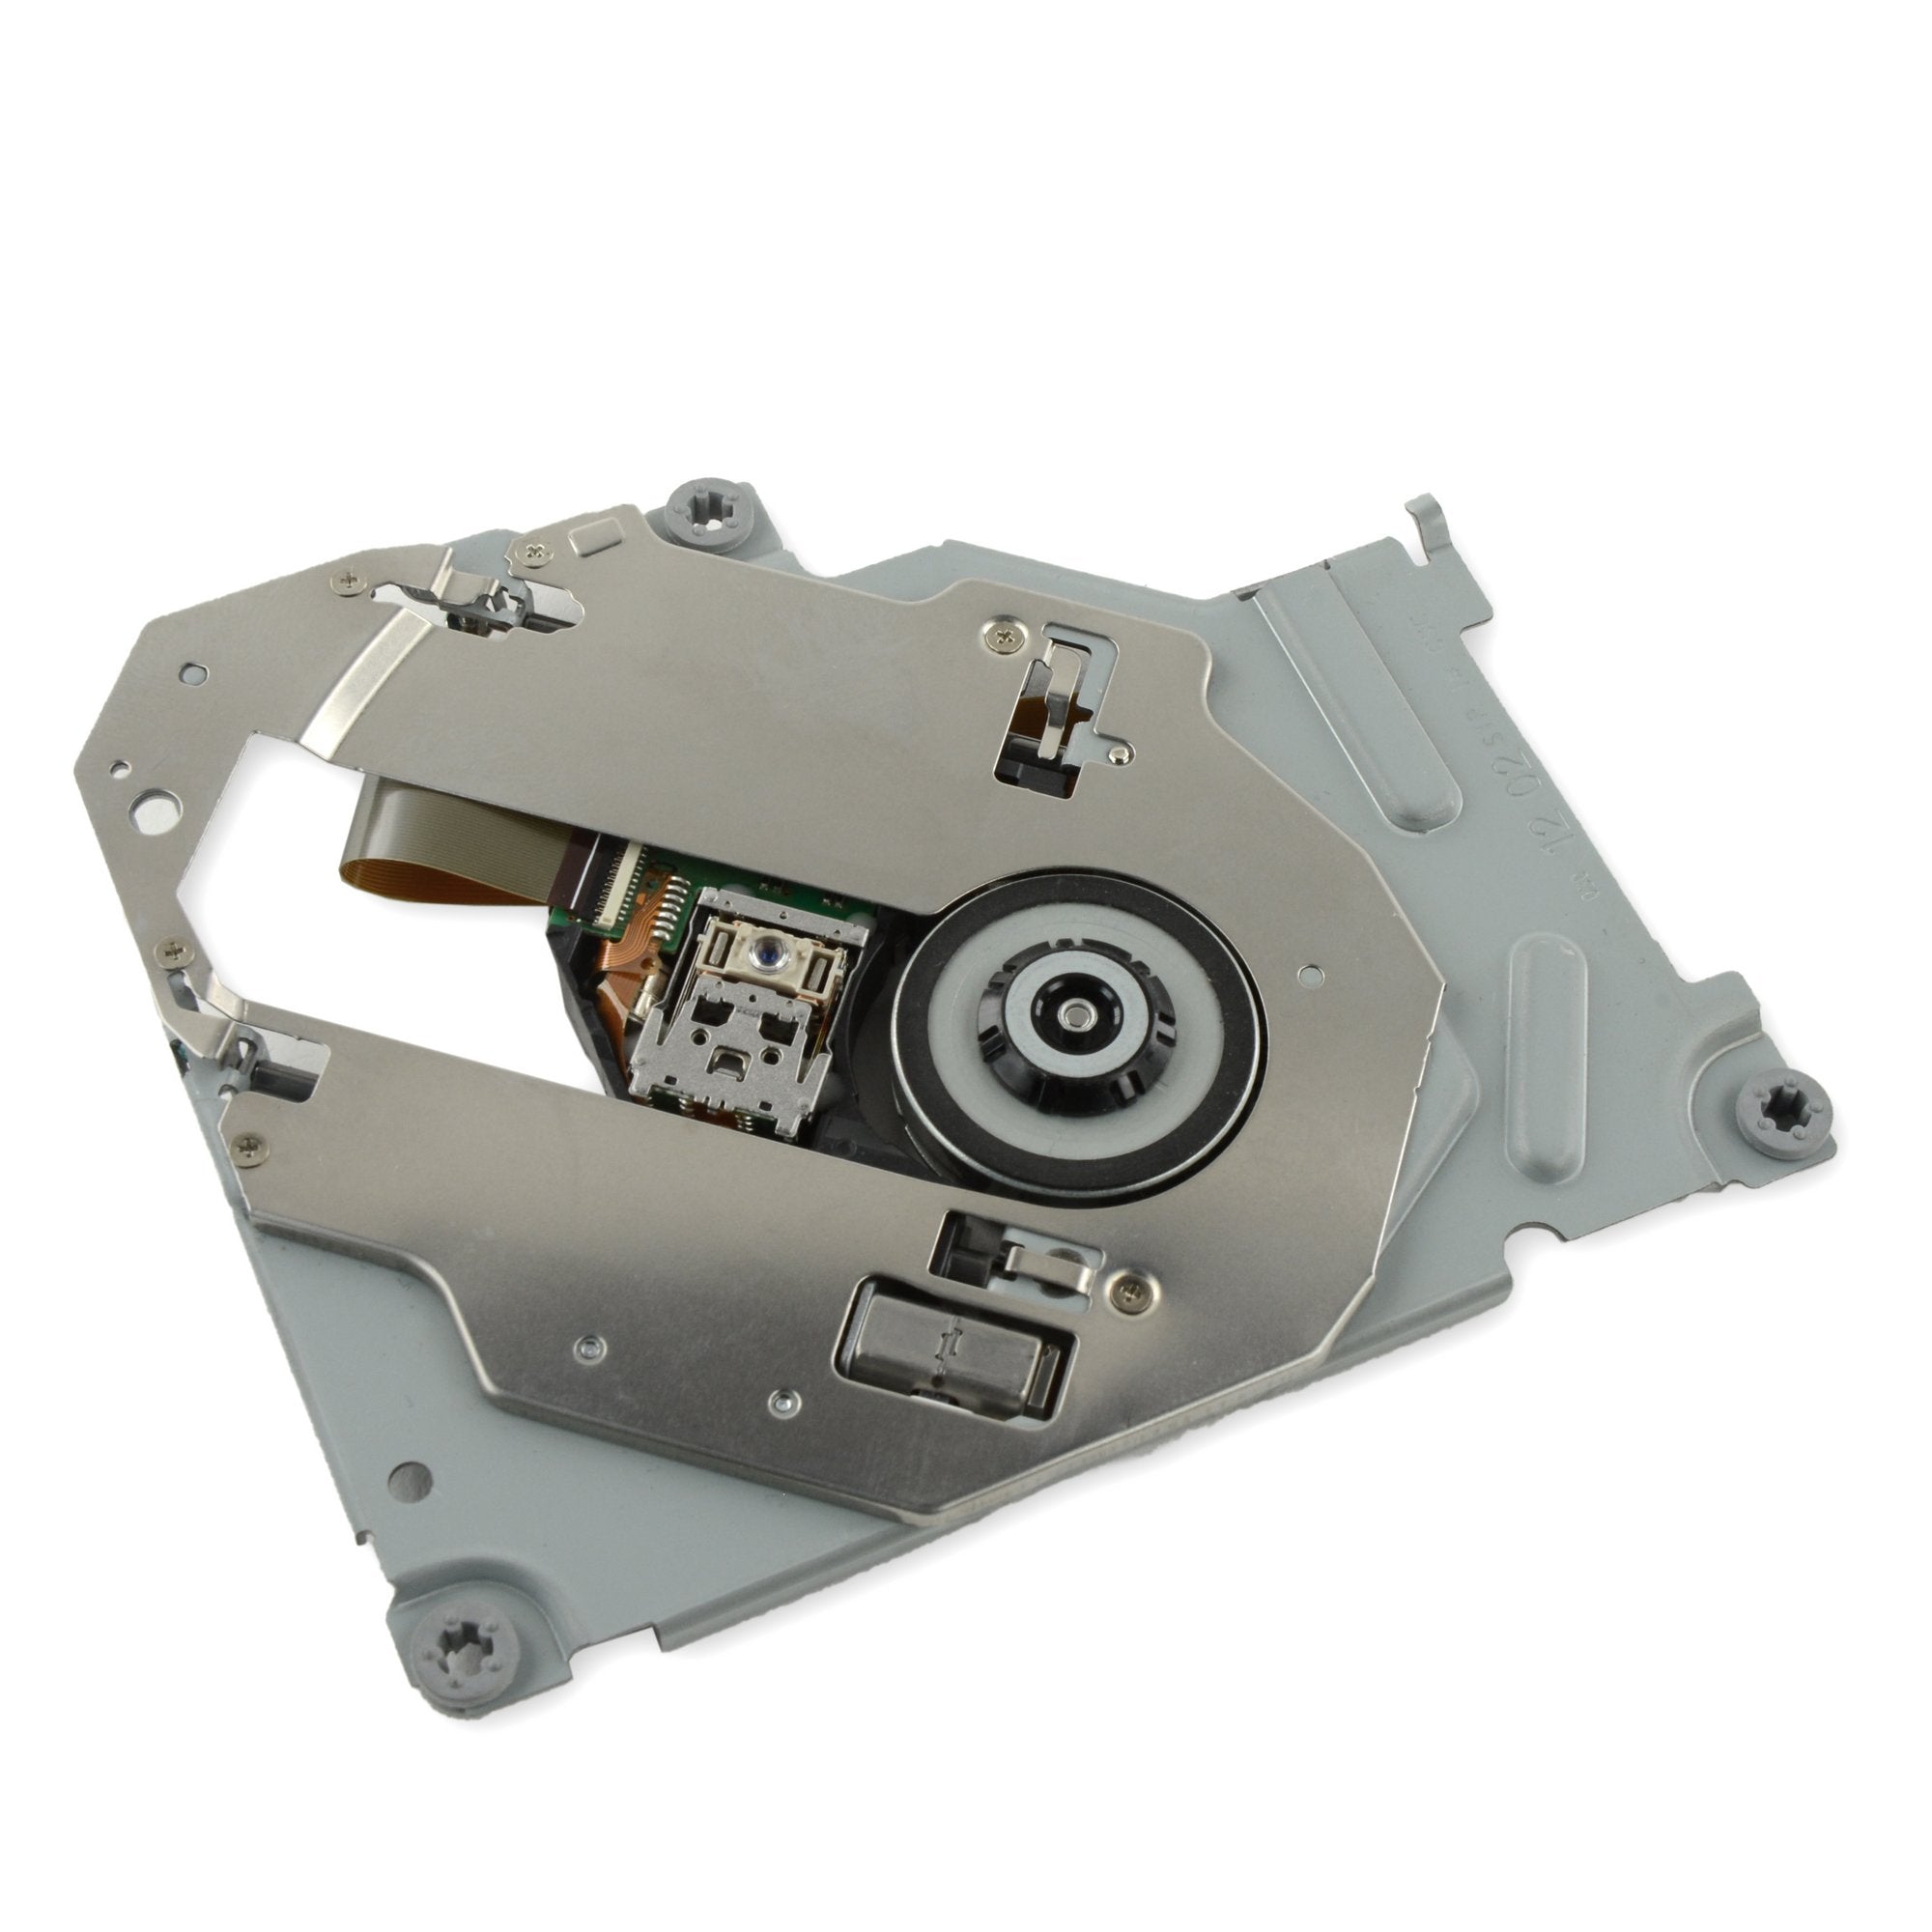
– First things first, let’s get that optical disc drive outta there! Grab your silver 10 mm T-10 Torx screwdriver and unscrew the little bugger from the screw labeled ‘C4.’ You’ve got this!
Step 11

– Gently lift the disc drive away from the motherboard and unplug those little plastic connectors for a clean getaway!
Success!