RIM Blackberry 7290 Teardown
Duration: 45 minutes
Steps: 18 Steps
Let’s get started with disassembling the Blackberry – be sure to follow these steps carefully to help avoid any damage. First, we need to take apart the Blackberry to access its internal components. This guide will walk you through the process, and if you need help, you can always schedule a repair.
Step 1


– Press down on the lock button on the back of your device to unlock it.
– Slide the battery cover downward towards the bottom of the device to expose the battery compartment.
Step 2


– Find the little groove on the right side of the battery compartment—it’s your best friend right now!
– Gently pry the battery out by slipping between the battery and that groove. You’ve got this!
Step 3

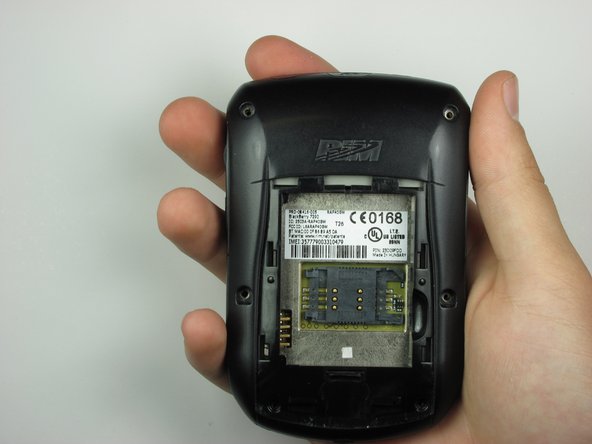
– Gently slide that SIM card holder to the left and unlock your SIM card like a pro!
Step 4


– Pop the SIM card holder up like you’re opening a tiny treasure chest.
– Slide the SIM card out along the rails—no force needed, just a smooth exit.
Step 5

Heads up—the top four screws are each 0.413 inches long. Keep track of them so reassembly is a breeze!
– Find the four screws hanging out around the edge of the back case.
– Grab your T-6 torx screwdriver and take out those top four screws.
Step 6

Check out the bottom two screws—they’re each just 0.2 inches long.
In the second photo, the device is ready for action with all six screws out.
– First things first, let’s find those two sneaky screws hiding at the lower edge of the inner compartment.
– Now, grab your trusty T-6 torx screwdriver and carefully remove those bottom screws. You’ve got this!
Step 7

– Grab your trusty plastic opening tool and gently press down on the two clips at the bottom of the phone. A little pressure here will do the trick, so don’t worry about it too much.
Step 8

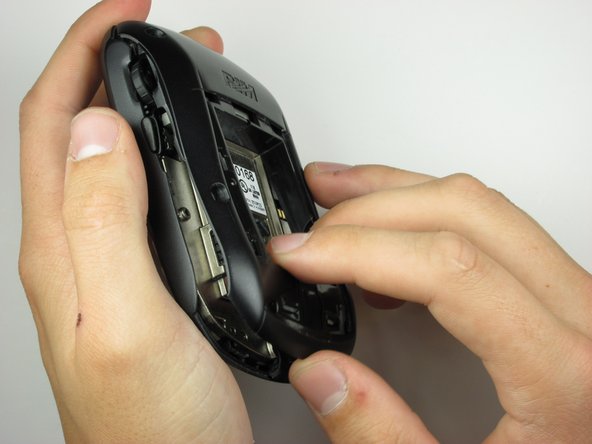
Ensure all the little clips that keep the case snug are unhooked. We want to avoid any mishaps that could hurt the case, right?
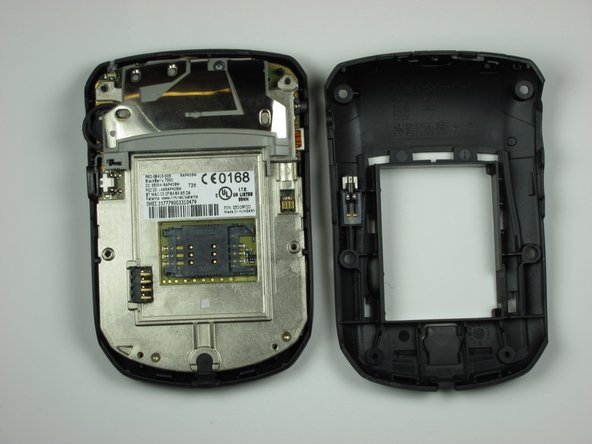
– Gently lift the back cover of the phone at the unhooked section, then slide it upward towards the top of the device to remove it. If you need help, you can always schedule a repair.
Step 9

– Flip the phone over and find that screw near the top on the back side.
– Grab your T-6 screwdriver and unscrew it—easy does it.
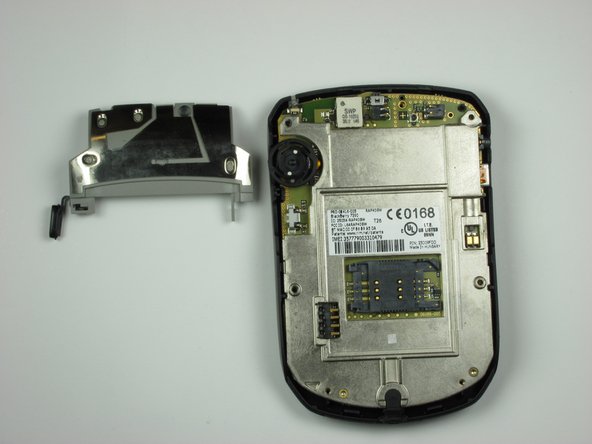
– Once the screw is out, gently lift up the side button brace to expose the side button. If you need help, you can always schedule a repair.
Step 10

– Start by gently prying up one side to loosen the phone’s internals, and keep going from there!
Step 11

– Once one side is loosened, gently lift the phone internals away from the front casing. Take your time and be careful—no need to rush, just a smooth separation.
Step 12

– Flip over the internals to show off the LCD display.
Step 13
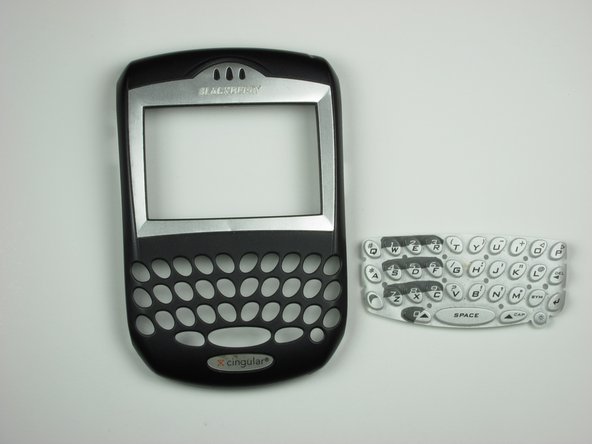

– Gently peel off the rubber keypad buttons from the face plate. If you need help, you can always schedule a repair.
Step 14

– Find the hook on the right side just below the volume wheel inside the device. Grab a plastic opening tool and gently work it into the hook to carefully pry free, separating the LCD display from the logic board mounting plate. Take your time and be gentle—if you need assistance, you can always schedule a repair.
Step 15

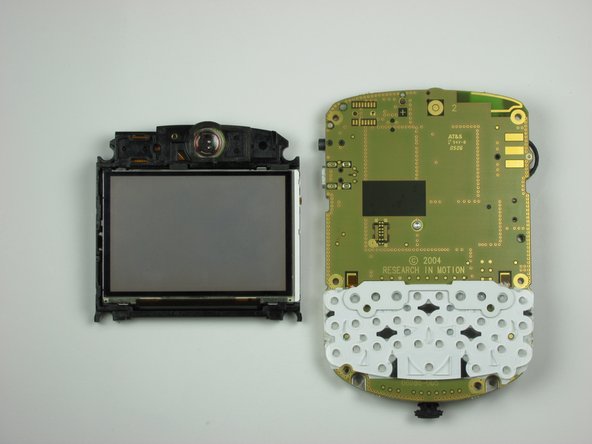
– With the clip released, gently pull to separate the display from the phone’s internals. Keep it smooth and steady—no rush. If you need help, you can always schedule a repair.
Step 16

The screw measures about 0.2 inches long—perfect size for the job! If you need help, you can always schedule a repair.
– On the front side of the internals, spot the three screws marked in red. They’re the ones you want to target first.
– Gently unscrew these screws using a T6 torx screwdriver—no need to go all Hulk on it, just a careful twist will do.
Tools Used

Step 17
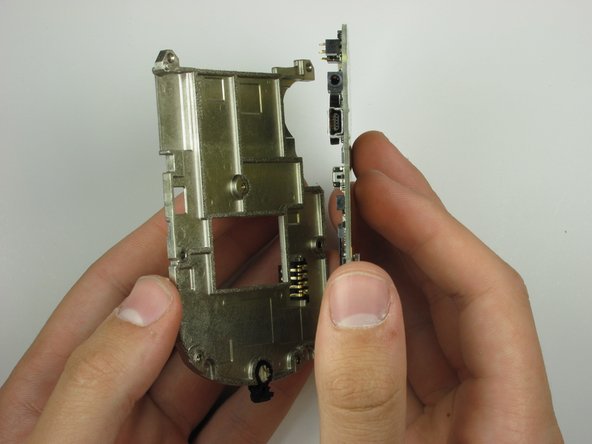
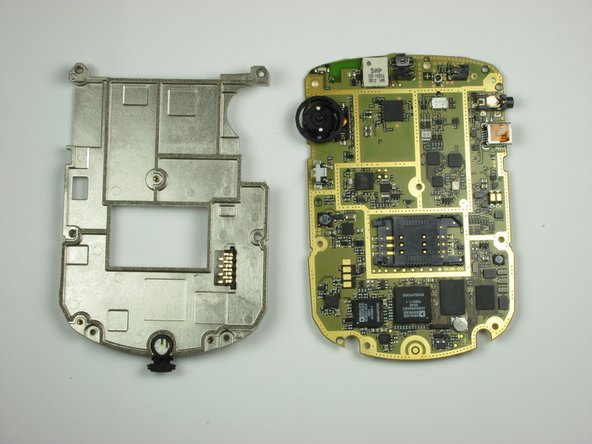
– Gently lift the logic board mounting plate away from the logic board. A little bit of finesse goes a long way here!
Step 18
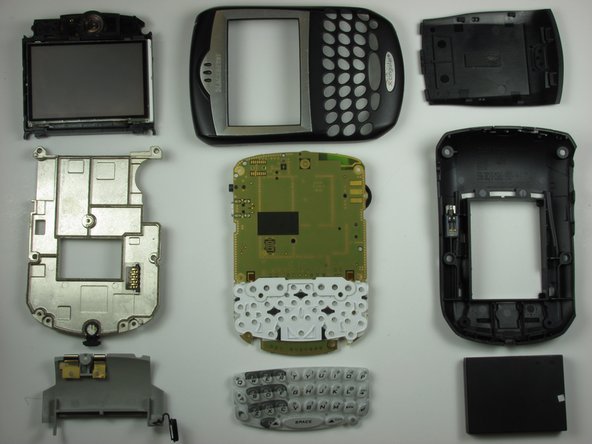

Here’s a fun peek at all the parts that make up your phone!
Success!