Samsung Galaxy A10 Charging Port Replacement Guide: Step-by-Step DIY
Duration: 45 minutes
Steps: 7 Steps
Samsung A10, A10s Micro USB Charging Connector Replacement
Step 1


– Let’s kick things off by popping out that SIM Tray!
– Grab your trusty plastic tools and gently pry apart the back cover like a pro!
Step 2


– Let’s get those silver Phillips screws out of the way so we can easily open up the motherboard shields. You’re doing great, keep it up!
Step 3


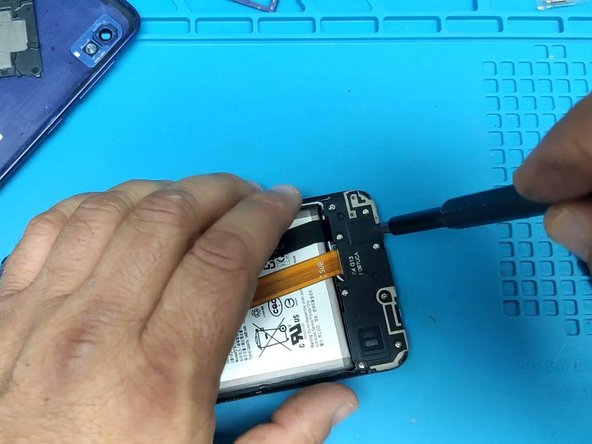
– First things first, let’s get that battery disconnected! Safety first, right?
– Now, grab your trusty screwdriver and carefully take out the screws holding the charging board shield in place. You’re doing great!
Step 4


– Unplug the Main flex cable and the coaxial antenna cables, then gently lift out the charging board. You’re doing great!
Step 5


– Plug that mic hole to keep it safe and sound.
– Bring on the heat to pop out the Micro USB connector.
Step 6


– Give that tin a good cleaning and pop in the shiny new charging connector. You’re almost there!
Step 7


– Give the board a good clean and then test your device to see if it’s all systems go!

