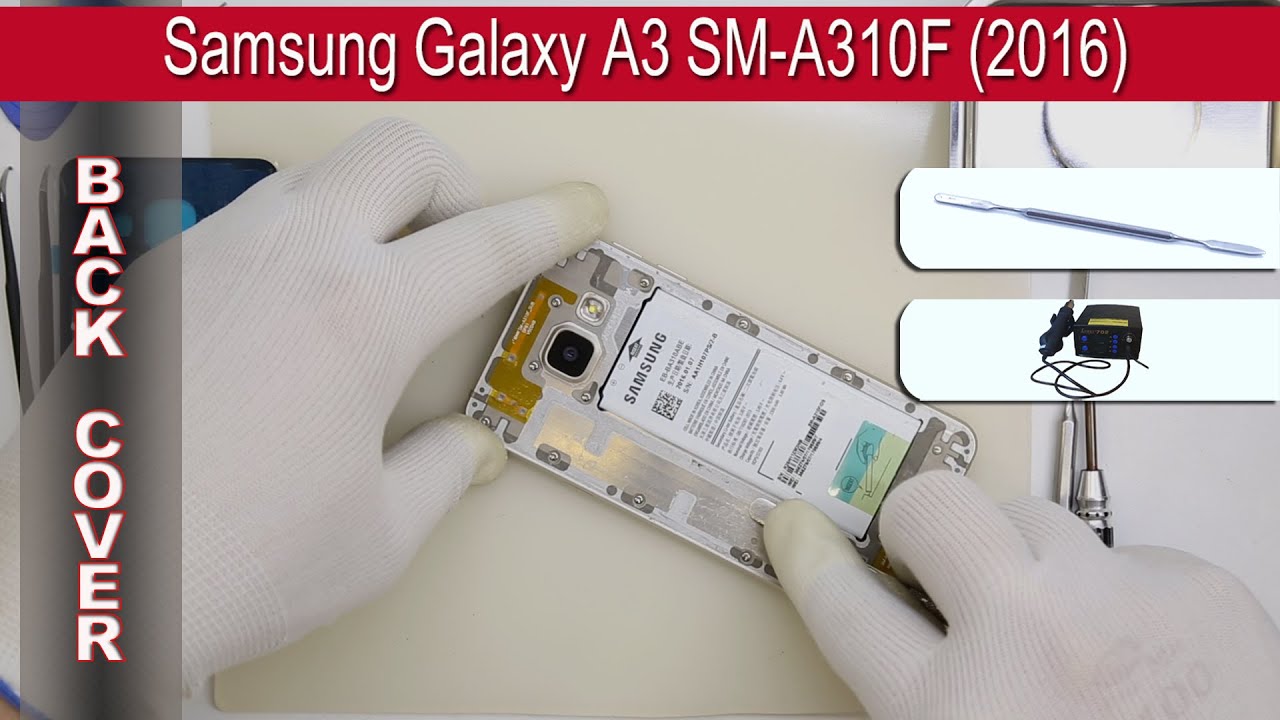
Samsung Galaxy A3 2016 Display Replacement Guide
Duration: 45 minutes
Steps: 15 Steps
Follow this guide to swap out that shattered screen or cracked glass on your Samsung Galaxy A3 (2016). You got this! And remember, if you need help, you can always schedule a repair.
Step 1


– First things first, turn off your phone so it can take a little nap.
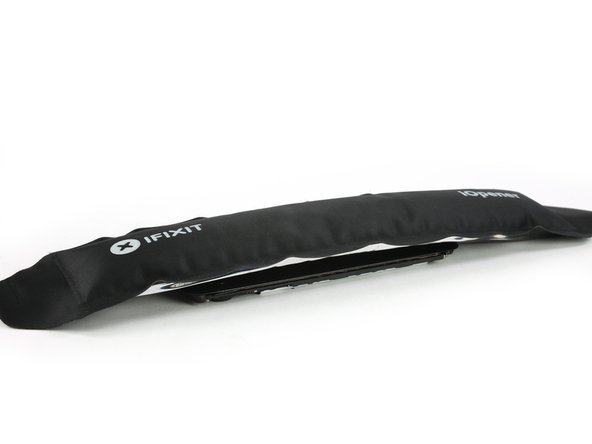
– Grab your trusty iOpener and give it a warm-up session to loosen that stubborn glue hiding behind the back cover.
– Now, gently lift the lower part of your back cover using a suction handle and slide in an opening pick to get things moving.
Tools Used


Step 2


– Gently slide the opening pick up to the rear camera area to pop the back cover off the frame. Easy peasy!
Step 3


– Grab your second opening pick and gently slide it around to the other corner at the bottom of the back cover. You’re doing great!
Step 4


– Slide that second pick along the left edge of the back cover to help free the adhesive. You’ve got this!
– Now, gently navigate around the upper left corner and give the adhesive above the rear camera a little nudge to loosen it up.
– Once you’ve tackled all the edges and sides of the back cover, grab an iOpener to loosen the adhesive right in the center. Easy peasy!
Tools Used
Step 5


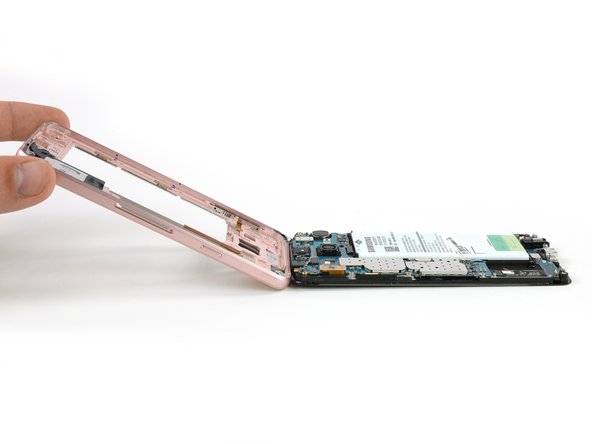
– Grab a trusty plastic card and slide it in at the bottom to sneak it underneath that back cover.
– Gently work your way through the glue until you find the rear camera – it’s like a little treasure hunt!
– Now, take your time and carefully lift that back cover off for the grand reveal. You’ve got this!
Step 6


– Let’s kick things off by popping out that SIM card tray. You’ve got this!
– Next up, it’s time to tackle those 16 Phillips #00 screws on the midframe. Just think of it as a little puzzle waiting to be solved!


Step 10


Keep an eye on that display cable!
– Grab your trusty Jimmy and slide it between the frame and the front panel like a pro!
– Gently lift the display unit just enough to sneak an opening pick behind it.
– Now, glide that pick down the side to break the glue seal. At the bottom, push it in a little further to keep that adhesive from sticking back!
Step 11


Just a heads up! The display cable likes to hang out along the top.
– Go ahead and mirror that same technique on the opposite side!
– Feel free to slide the opening pick in about half an inch to loosen up the glue behind the battery.
– Now, glide down to where the display wraps up.
Step 12


Watch out! There are two touch buttons on each side just behind the front panel. When you’re in the middle, be careful not to go deeper than where the home button starts.
– Gently glide your way along the bottom to lift off that pesky glue.

Step 14

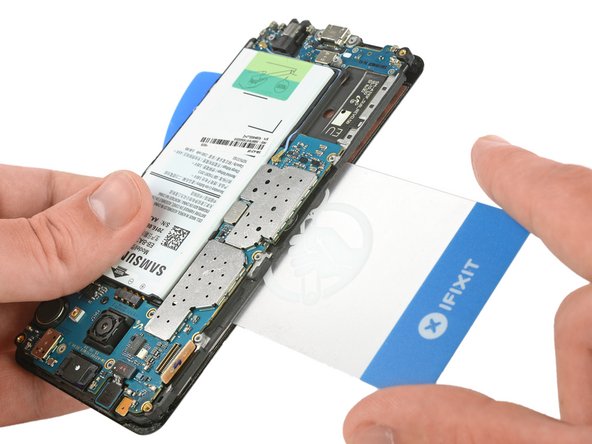
– On the left side where the motherboard hangs out, swap that opening pick for a plastic card to sneak past the glue that’s sticking the battery down.
– Keep peeling away the adhesive until you find the display cable waiting for you.
Step 15


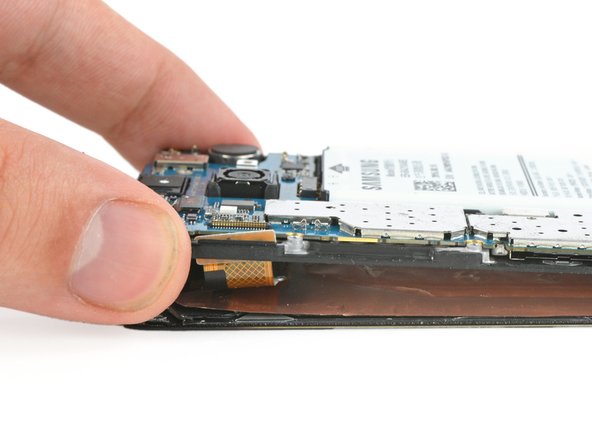
– Gently peel the display away from its frame and use an opening pick to slice through any stubborn glue at the top.
– With care, ease the display cable out of its cozy spot in the display frame.
– Before you snap everything back together, connect the new display to the motherboard and give it a quick power-up test. Check if the display lights up and the touch responds like it should!