Samsung Galaxy A3 Battery Replacement Guide: Step-by-Step DIY
Duration: 45 minutes
Steps: 9 Steps
Is your Galaxy A3 feeling a bit drained? Fear not! This guide will help you swap out that tired battery for a fresh one. If your battery looks like it’s been working out too hard and is swollen, make sure to handle it with care. We’ll walk you through the steps to remove the rear glass cover and mid frame, and don’t forget, you’ll need some replacement adhesive to stick that back cover on snugly. Before diving in, make sure your battery is below 25% charge. A charged battery can be a bit unpredictable, and while it’s rare, we want to keep things safe and sound. If you need help, you can always schedule a repair.
Step 1


– First things first, power down your phone. Safety first, right?
– Next, grab an iOpener to warm things up a bit and loosen that stubborn glue holding your back cover.
– Now, use a suction handle to gently lift the bottom part of the back cover, and slide in an opening pick to help you along.
Tools Used


Step 2


– Gently glide the opening pick toward the rear camera to pop the back cover off the frame. You’re doing great!
Step 3


– Grab another opening pick and slide it around to the opposite corner at the bottom edge of the back cover. You’ve got this!
Step 4


– Gently glide that second pick along the left edge of the back cover to get the adhesive nice and loose.
– Scoot around the upper left corner and free up the adhesive right above the rear camera.
– Once you’ve loosened all those edges and sides, grab your iOpener and work on loosening the adhesive right in the center under the back cover.
Tools Used
Step 5


– Grab a trusty plastic card and gently slide it under the back cover from the bottom.
– Carefully peel apart the glue until you find the rear camera.
– Now, take your time and lift the back cover away, and voilà, it’s off!
Step 6


– Let’s pop out that SIM card tray, shall we?
– Now, carefully unscrew those 16 Phillips #00 screws on the midframe. You’ve got this!


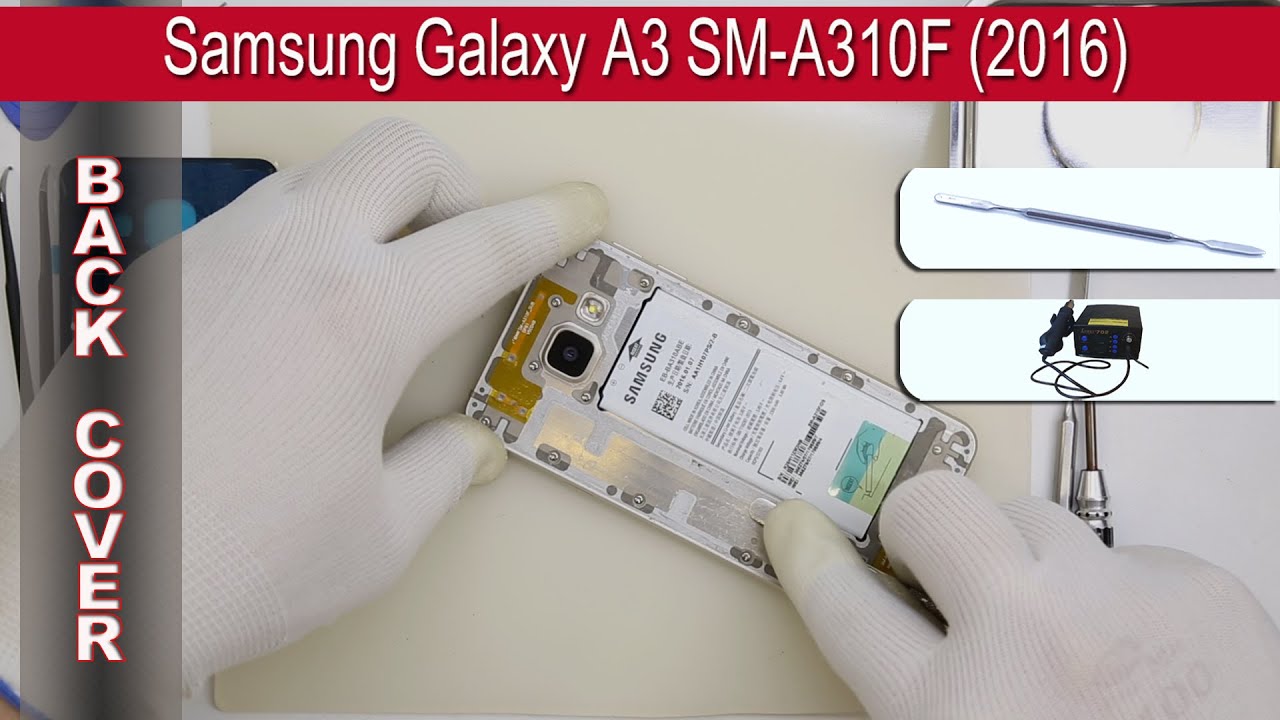
Step 9


Be gentle with that opening pick! We want to keep the display safe and sound, so avoid digging too deep.
– Start by sliding an opening pick between the battery and the frame. Just glide it along the battery to loosen that sticky adhesive.
– Next up, gently remove the battery.
– When you’re ready to pop in the new battery, keep in mind you might want to add some fresh adhesive to keep it snug and secure.