Samsung Galaxy A3 Battery Replacement Guide: Step-by-Step DIY
Duration: 45 minutes
Steps: 7 Steps
Before you dive into disassembling your phone, make sure to drain that battery below 25%. While it can be a bit dramatic and go up in flames or even explode if punctured, the odds of that happening drop significantly when it’s discharged. Stay safe, and if you need help, you can always schedule a repair.
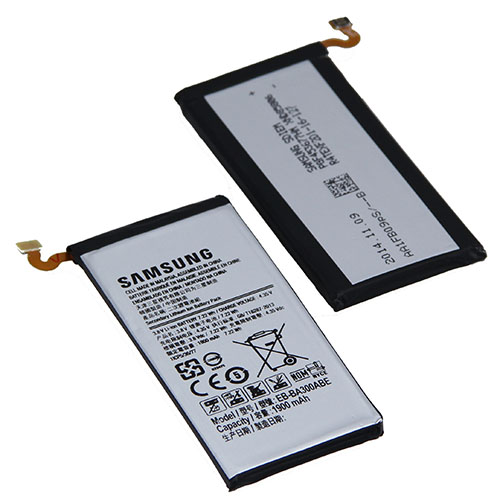
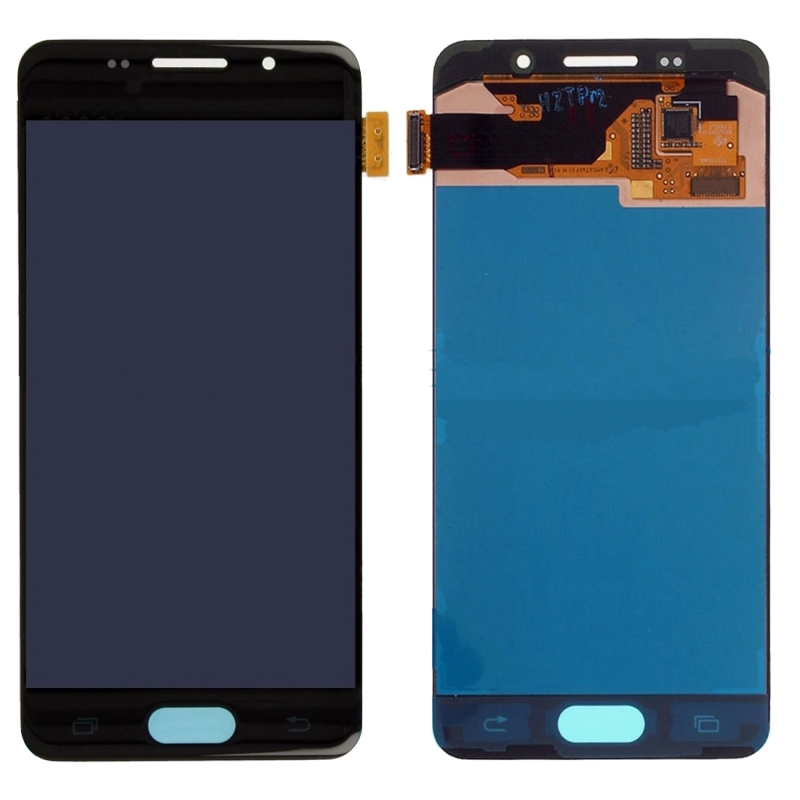
Is your Galaxy A3 struggling to keep a charge? No worries! This guide will help you swap out that tired battery. We’ll be diving into the world of displays and midframes, so get ready! Don’t forget to grab some replacement adhesive to stick that display back on later. Just a heads up: the LCD is glued to the frame, and it might just decide to break during the adventure of opening your phone. Before you get started, make sure to discharge that battery below 25%. Safety first, right? A punctured battery can be a bit of a fire hazard, but if it’s discharged, the risk drops significantly. And if you notice your battery is swollen, take the necessary precautions. If you need help, you can always schedule a repair.
Step 1
To kick things off, just insert the tip of the opening pick and glide it along the side to loosen the glue. Hold off on the top and bottom for now.
If your screen has taken a hit and is cracked, grab some tape and cover that front panel! Not only will it keep those pesky glass shards at bay, but it’ll also give you a better grip to lift it safely. Remember, if you need help, you can always schedule a repair.
– First things first, power down your phone. We want it to take a little nap before we dive in!
– Grab your trusty iOpener and gently warm up the glue around the edge of the display. Focus on those sides first, then show some love to the bottom too.
– Now, using an iSclack or a suction handle, carefully lift the display just enough to slide in an opening pick. You’ve got this!
Tools Used
Step 2
Keep an eye out for the two touch buttons at the bottom (check the next step for their orientation). Stay cool and take it slow.
– Once the glue is nice and loose on the side, gently lift the display a bit more to slide an opening pick underneath it.
– Grab a second opening pick and start working your way around the bottom edge.
– Now, just repeat that last step along with this one on the other side.
Step 3
If your display is still functioning, make sure to gently detach the front panel without tearing it off. Also, give the top part some space to avoid accidentally snipping any flex cables.
Keep in mind, don’t swing that display wide open! It’s still connected to the motherboard. Plus, that shiny gold foil behind it might just want to stick to the midframe. No worries, you can stick it back on later!
– Time to bring back the iOpener! Give the bottom and top a nice warm hug to help loosen that stubborn glue.
– Once you’re done, slide those picks down closer to the home button and gently lift the display up towards the top. You’ve got this!
Tools Used
Step 5
– Get ready to tackle those ten Phillips #00 screws and show them who’s boss!
– Gently lift the two touch sensors in the lower part of the frame using a spudger. If you’re feeling confident while taking off the mid frame from the back cover later, you can totally skip this step!
Tools Used
Step 6
Watch out! Don’t poke the battery underneath.
– Pop out the SD card and SIM card trays.
– Use a Jimmy to carefully lift the mid-frame on the left side where the battery is located.
– Gently detach the mid-frame with all its components from the back cover.
Tools Used
Step 7
The battery frame is delicate—handle with care! If the adhesive is being stubborn, grab an iOpener to soften it up. If you need help, you can always schedule a repair.
– Gently disconnect the battery connector using a spudger—it’s like giving it a little nudge!
– With that same spudger or an opening pick, slide it between the midframe and the battery to break free from the adhesive—think of it as a friendly tug-of-war!
– Now, carefully lift the battery out of the frame—you’re almost there!


