Samsung Galaxy A40 Charging Board Replacement
Duration: 45 minutes
Steps: 6 Steps
Step 1


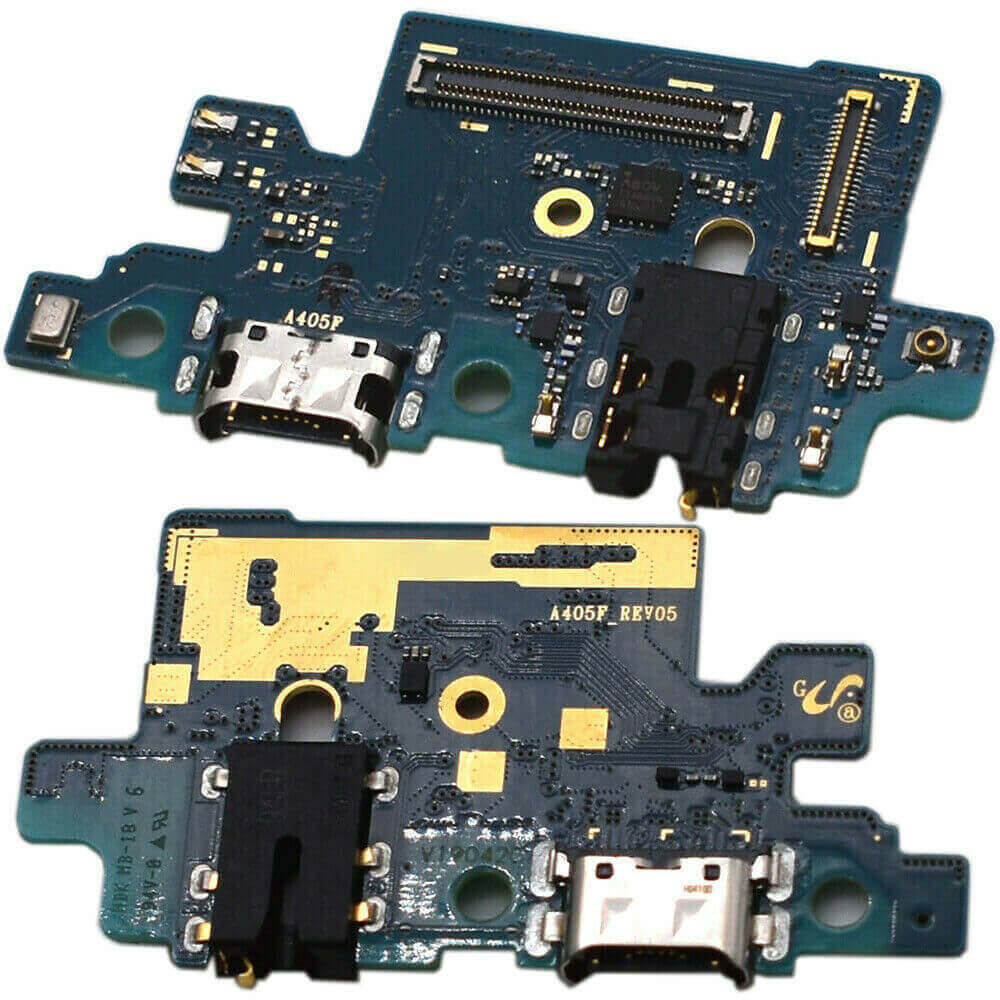
The spare part: Daughter board featuring the Charging port, Microphone, Main flex cable connector, display connector, and 3G/4G antennas. Perfect for getting your device back in action!
Step 2


– First things first, let’s power down your device! Just press and hold that little button on the right side. After a few seconds, hit the Power Off button and chill for a moment while your device takes a well-deserved break.
– Next up, we need to loosen that stubborn adhesive! Grab a heat gun or a heating pad and give your device a warm hug. A little heat goes a long way!
– Now, it’s time to get to work! Use a Spudger (or a trusty playing card), a Suction Cup, and some Isopropyl alcohol to gently pry off the back cover. You’ve got this!
Tools Used

Step 3


Hey there! Just a friendly reminder to handle those ribbons with care during this step. If they get damaged, it could leave parts of your device in a bit of a pickle!
– Let’s get that SIM tray out of the way, it’s time to get down to business!
– Now for a quick pop, remove the plastic cover protecting the Fingerprint flex connector – you got this!
– Time to gently disconnect that Fingerprint Sensor. We’re almost there!
Step 4


– Let’s get started – remove the 13 screws to begin the process
– Next, carefully take off the back cover to access the internal components. If you need help, you can always schedule a repair
Step 5


– Let’s get started – carefully disconnect the Main flex cable, Display flex cable, and the Coaxial antenna cable to begin the repair process.
– Next, remove the black screw that’s holding the charging board in place. If you need help, you can always schedule a repair
Step 6


Give that charging board a little TLC! A quick warm-up makes those parts a bit more flexible, making it easier to take things apart. Just a little heat, not a full-blown spa treatment, you know? If you need help with this, you can always schedule a repair
– Let’s get this charging board swapped out! Use your handy-dandy plastic tool to carefully separate the charging board from the frame.
– Now, pop in that shiny new board and give it a test drive. If everything’s looking good, you’re back in business! If you need help, you can always schedule a repair.