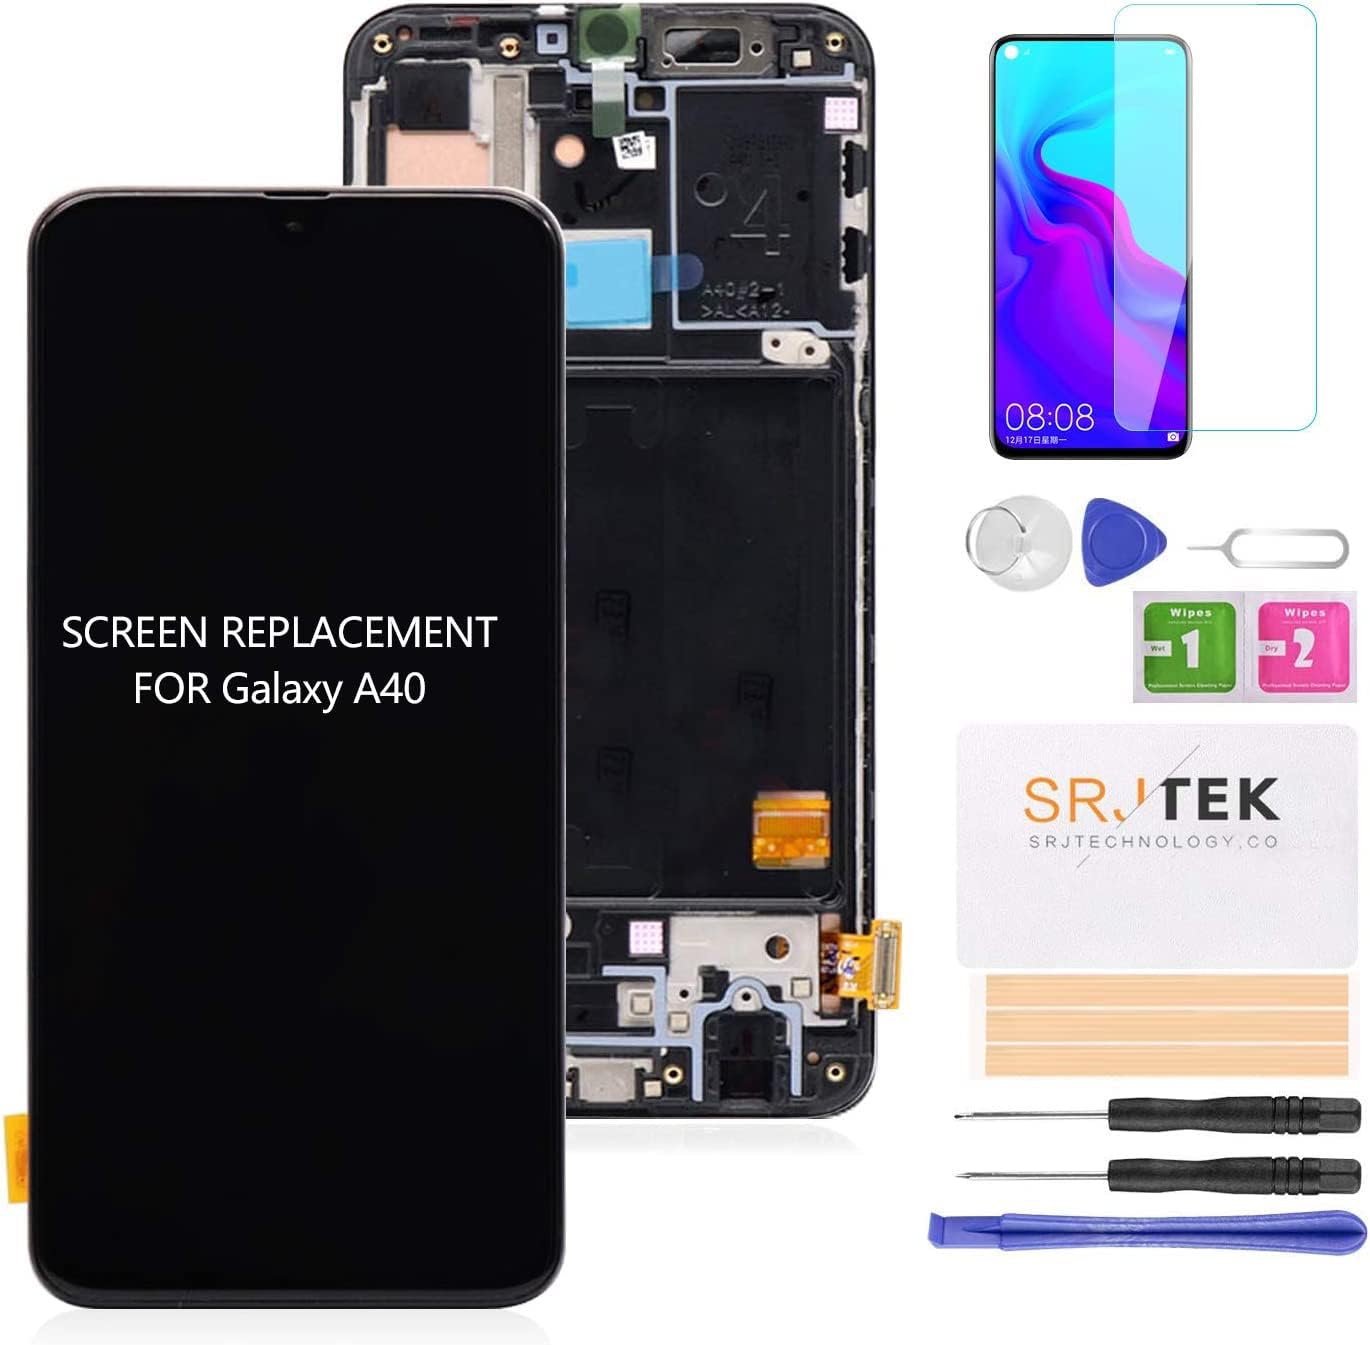
Samsung Galaxy A40 Display Replacement Guide: Step-by-Step
Duration: 45 minutes
Steps: 9 Steps
To give your device a brand new display, gather these essential items: Display assembly, Hot air dryer or iHeater, Opening Picks, Spudger, Screwdriver set, and Tweezers. If you need help, you can always schedule a repair
Step 1


Hey there! Gently slide your tool in at a super shallow angle – think less than 3mm deep. Going deeper might tickle the motherboard’s wires and that’s no fun!
– Pop out that SIM card with style!
– Get the edges of the back panel nice and toasty to the point where it’s just warm enough for your hands. A hairdryer, heat gun, or even an oven set to a cozy 80ºC (175ºF) for about 3 minutes will do the trick. The warmth is your friend here, loosening up that glue between the back and frame.
– Slide a flat, friendly plastic tool like a pick or spudger gently between the back and the frame. You got this!
– Carefully and slowly work your magic around the whole edge until the back is free to lift off. As you lift the back, go easy and make sure to press the fingerprint sensor against the frame to separate it without any fuss. If you need help, you can always schedule a repair.
Step 2


– Next, let’s tackle removing the fingerprint sensor. Use your tweezers or a small metal spatula to gently nudge underneath the plastic part and lift it out.
– Just a heads-up: don’t insert the tool too deeply into the device, or you might end up damaging the mainboard. Take your time!
Step 3


– Alright, let’s keep this party going! Unscrew those 13 Phillips screws. This frees up the frame so we can take it off in the next step.
Step 4


– Time to pop that frame off! Grab your trusty spudger like a sidekick and start at the SIM slot.
– Sneak it between the display and the frame, and glide it around the device like you’re tracing a groove.
– You’ll hear some satisfying clicks—it’s just the clips saying goodbye!
– Once those clips have said their farewell, the frame will just lift off. Easy peasy! If you need help, you can always schedule a repair.
Step 5


– To get started, unplug the battery – even when your device is turned off, there’s still voltage hanging around, so let’s play it safe.
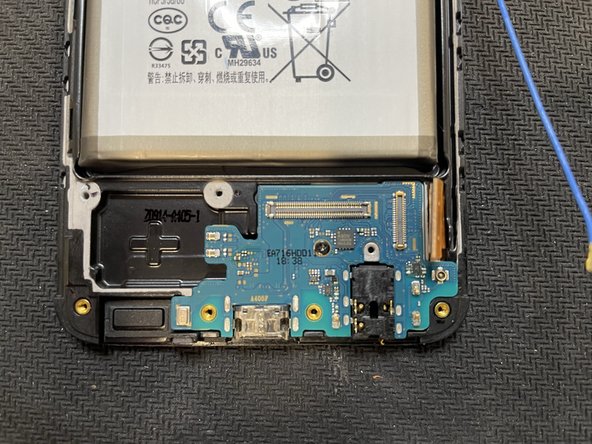
– Now it’s time to disconnect the connections between the logic boards, display, and other boards. Go ahead and release the large ‘main-sub’ cable, antenna, and display flex – it’s easier than you think!
– If you need help, you can always schedule a repair with Salvation Repair, but for now, let’s keep going step by step.
Step 6

– Alright, now it’s time to give that front camera the boot! Use a spudger to gently pry it loose. If you’re feeling a little intimidated, remember you can always schedule a repair.
Step 7

– Now that we’ve got this far, it’s time to free those boards from the device. Simply remove one more screw from each board and you’re good to go. If you need help, you can always schedule a repair
Step 8


– Next up, it’s time to say goodbye to the old battery, especially if you’re putting in a shiny new one.
– Gently coax it out with some heat and a splash of alcohol, and remember to proceed with care to keep everything smooth and breezy.
Step 9


– Alright, time to peel off the vibration motor and earpiece. A little heat might be your best friend here to loosen things up!