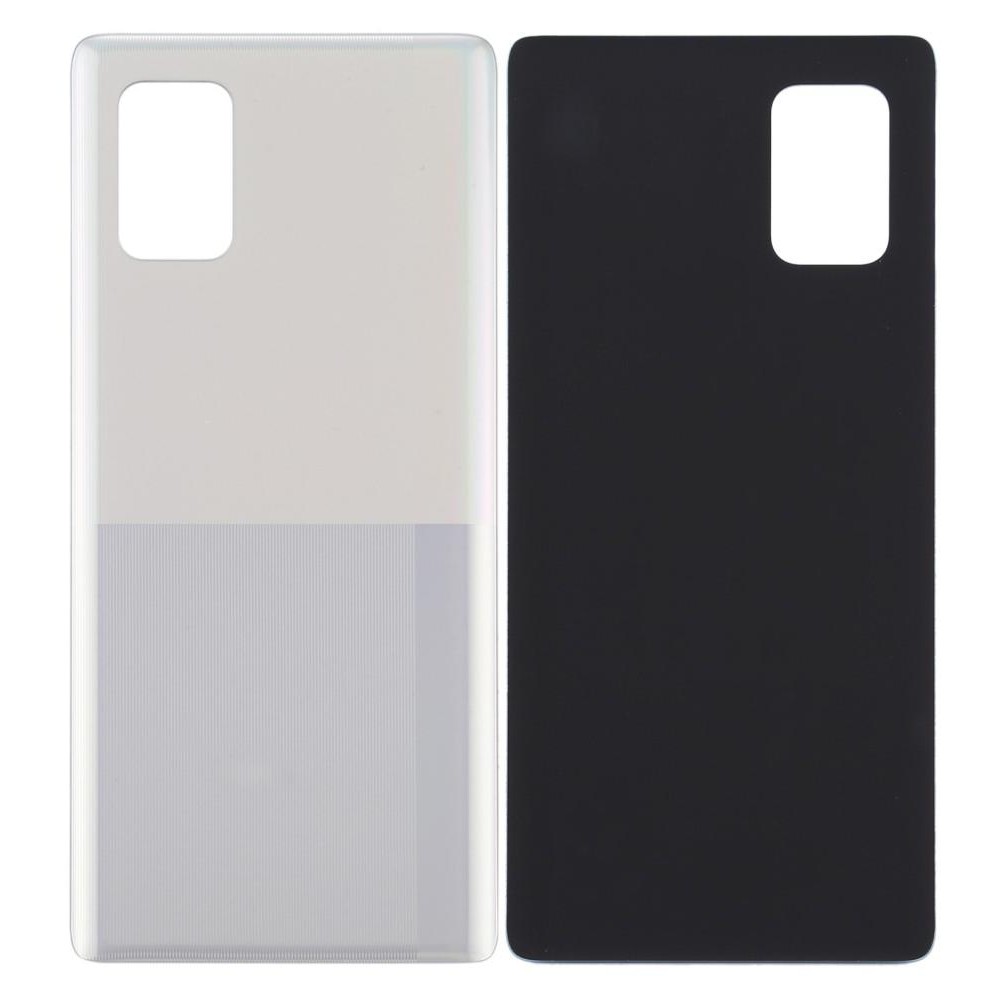
Samsung Galaxy A51 Back Cover Replacement Guide
Duration: 45 minutes
Steps: 7 Steps
Ready to take on the back cover of your Samsung Galaxy A51? You’ve got this! This guide will walk you through the process step by step. Just remember you’ll need some replacement adhesive to stick the back cover back on when you’re done. And hey, if you need a little help, you can always schedule a repair. We’re here to help!
Step 1

Don’t let your phone get too toasty—the AMOLED screen and battery aren’t fans of the heat. If you need help, you can always schedule a repair.
Alright, let’s get this repair party started! Before we dive in, make sure your phone is completely powered off. You know, just to be safe. 😎
– Grab your trusty iOpener and give it a warm hug on the back cover. That’ll melt the adhesive like butter on a sunny day!
Tools Used

Step 2


– Gently slide the tip of your opening pick between the frame and the back cover at the bottom of the phone, right near the USB-C port. You’ve got this!
– If the back cover isn’t budging with your opening pick, no worries! You can grab a suction handle or some strong tape to give it a little nudge and create a gap.
– Now, glide that opening pick down to the bottom right corner and keep it there. You’re doing great!
Tools Used

Step 3


– Grab a second opening pick and gently slide it from the bottom right corner to the bottom left corner to slice through that adhesive like a pro.
– Keep those opening picks in place to stop the adhesive from sealing back up. You’ve got this!
Step 4


If you’re having some trouble, don’t worry – just apply a bit more heat to loosen up that adhesive. Be sure to follow the iOpener instructions so you don’t overdo it. And if you need help, you can always schedule a repair
– Slide a third opening pick into the bottom left corner of the back cover—just like tucking in a cozy blanket!
– Gently glide the opening pick along the left edge of your phone, making sure to be as smooth as butter.
– Keep that opening pick in the top left corner—it’s your trusty sidekick to stop the adhesive from sealing up again!
Tools Used
Step 5


– Slide a fourth opening pick into the top left corner of the back cover, right by the camera. It’s like giving your phone a little nudge to get it started!
– Gently glide the tip of that opening pick along the top edge of your phone all the way to the right corner to break the adhesive seal. Think of it as a smooth dance move!
– Keep that opening pick snug in the top right corner to stop the adhesive from getting cozy again. You’ve got this!
Step 6


– Alright, grab those opening picks and wedge ’em into all four corners like a pro! Then, pop one more pick under that top right corner of the back cover – think of it as the final touch.
– Now, slide the pick along the right edge of the phone, gently slicing through the remaining adhesive. It’s like a smooth dance move, but for phone repairs.
Step 7

– Pop off that back cover like a pro!
– Once you’ve got the back cover on, give your phone a little love by applying firm, steady pressure for a few minutes. This helps the adhesive stick like it means it! A stack of heavy books can be your best buddy here.

