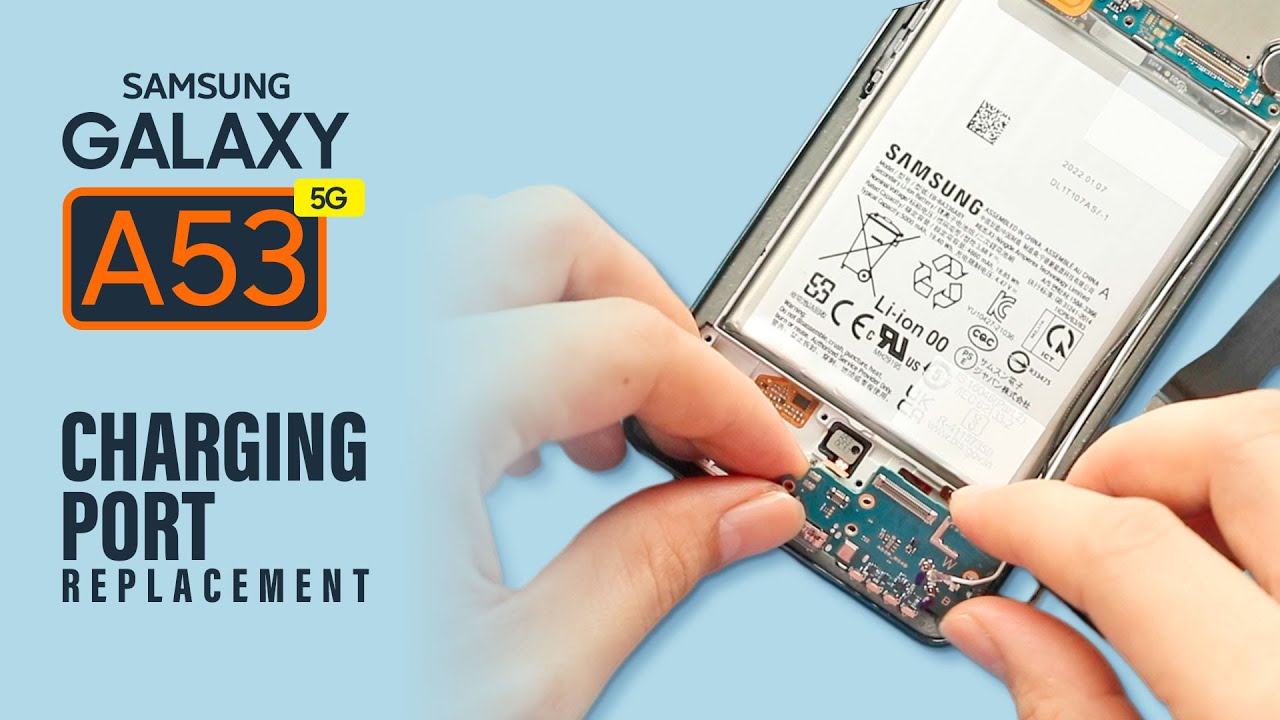
Samsung Galaxy A53 5G Daughterboard Replacement Guide
Duration: 45 minutes
Steps: 23 Steps
Before you start disassembling your phone, make sure to discharge the battery to below 25% for your safety. If you need help, you can always schedule a repair
Ready to tackle the daughterboard removal on your Samsung Galaxy A53 5G? Awesome! Just a quick heads-up: make sure your battery is below 25% before getting into the nitty-gritty. This little safety step helps prevent any fiery surprises if the battery gets a bit too adventurous during the repair. And if your battery looks like it’s been through a balloon party, take the right precautions! When you’re putting everything back together, remember that skipping the adhesive seals might let some water sneak in, so while your device will still work like a champ, it might lose a bit of that water resistance mojo. Don’t forget, you’ll need some fresh adhesive to keep everything snug when you reassemble. If you need help, you can always schedule a repair.
Step 1

You can give your phone some cozy warmth with a hair dryer, heat gun, or hot plate, but hang tight and keep it cool! Too much heat can be tricky for the display and internal battery—let’s keep them safe from any heat-related mishaps. If you need help, you can always schedule a repair.
– Get your trusty iOpener ready and give it a warm hug against the back cover for at least two minutes. This will help loosen that pesky adhesive lurking beneath!


Step 2


If you’re having trouble making that gap, don’t fret! Just give it a little more heat to soften up that adhesive. Follow the iOpener instructions to avoid overheating, and you’ll be good to go. If you need help, you can always schedule a repair.
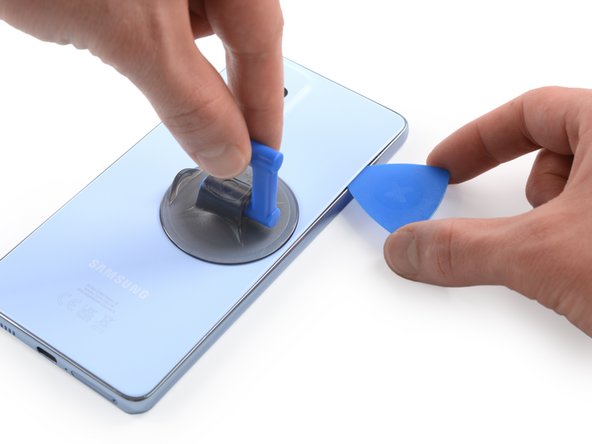
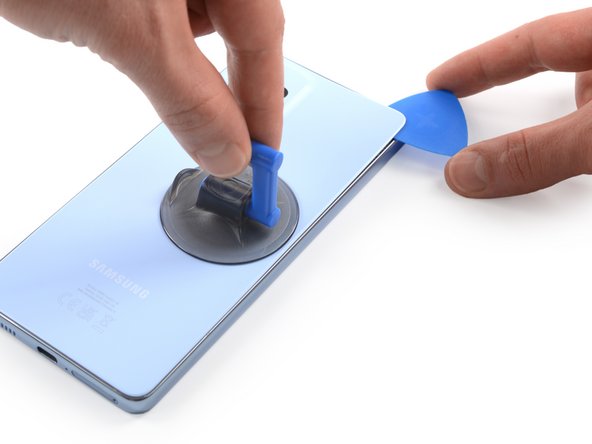
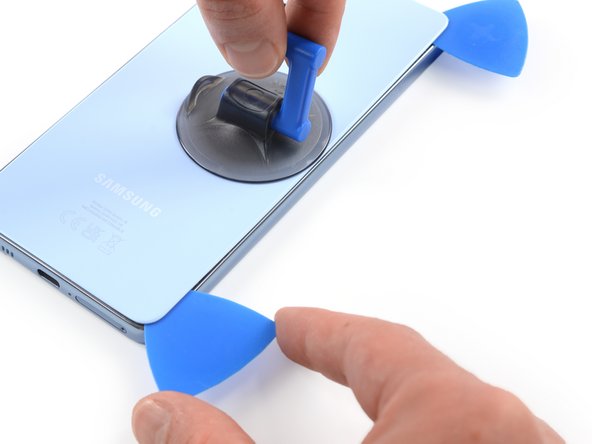
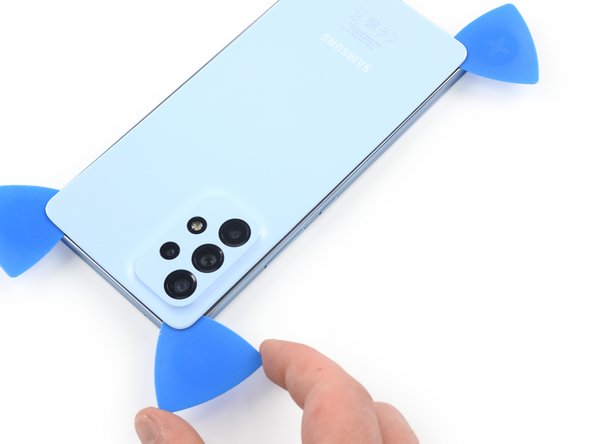
– Grab your trusty suction handle and stick it to the right side of the back cover – the closer to the edge, the better!
– Now, give that handle a gentle tug and lift the back cover just a bit. You’ll see a little gap pop up between the cover and the frame.
– Time to get that opening pick in there! Slide it into that gap you just made, and you’re ready for the next step.
Tools Used

Step 3

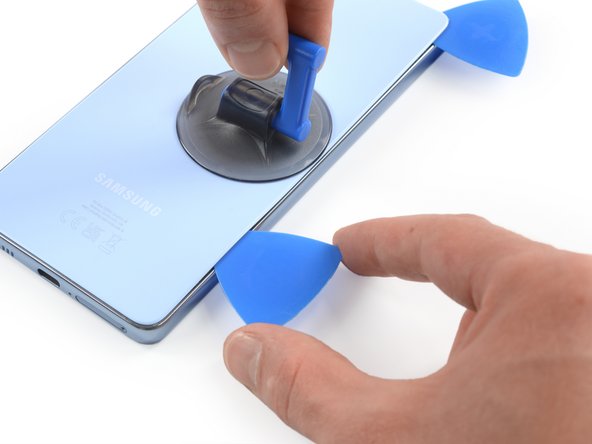
– Gently slide the opening pick up to the top right corner – you’re making great progress, and that adhesive doesn’t stand a chance.
– Now, leave the opening pick right where it is, so the adhesive doesn’t try to sneak back into place. If you need help, you can always schedule a repair
Step 4

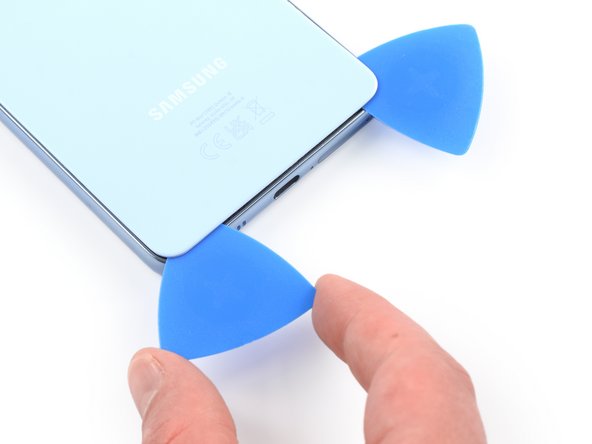
– Pop in a second opening pick at the top right edge of your phone like a pro.
– Gently slide that pick down to the bottom right corner to cut through the adhesive like a hot knife through butter.
– Keep those opening picks cozy in place to stop the adhesive from getting all clingy again.
Step 5

If the adhesive is giving you a hard time and seems tough to slice through, it’s probably had its day in the sun and cooled off. Grab your trusty iOpener and give it a warm hug for one to two minutes to bring it back to life.
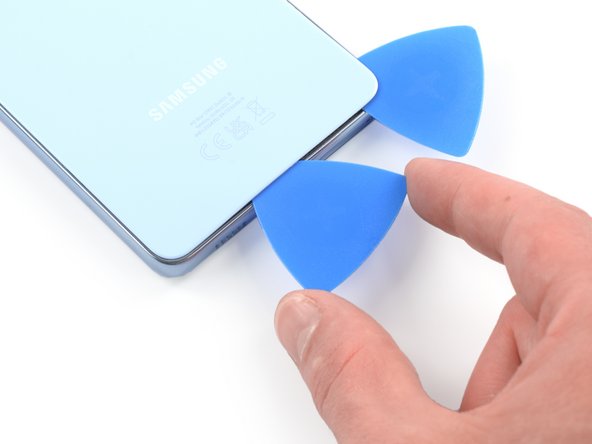
– Time to get started – insert a third opening pick at the bottom right corner of your phone, it’s going to help you get inside.
– Now, gently slide the opening pick along the bottom edge of your phone to slice through the adhesive, taking your time is key.
– Leave the opening pick in the bottom left corner, this will prevent the adhesive from resealing and make the rest of the process smoother. If you need help, you can always schedule a repair
Tools Used
Step 6


– Let’s get this party started! Insert your fourth opening pick at the bottom left corner of your phone.
– Slide the pick along the left edge to loosen up the adhesive. We’re getting close to freedom!
– Leave the pick in the top left corner to keep the adhesive from getting too cozy. We want this to be a smooth operation, right?
Step 7
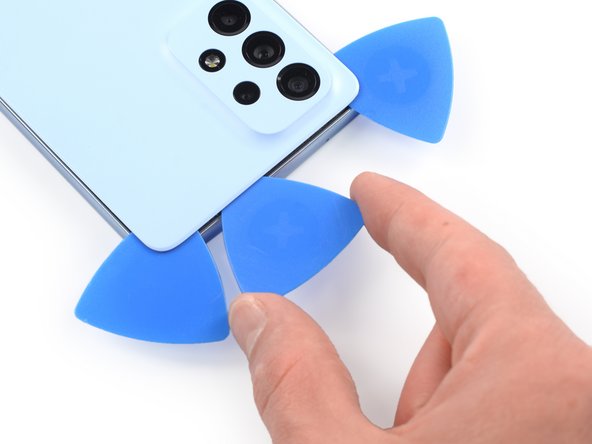

– Grab your trusty fifth opening pick and slide it into the top left corner with confidence!
– Now, gently glide that opening pick along the top edge of the back cover to neatly cut through the rest of the adhesive.
Step 8

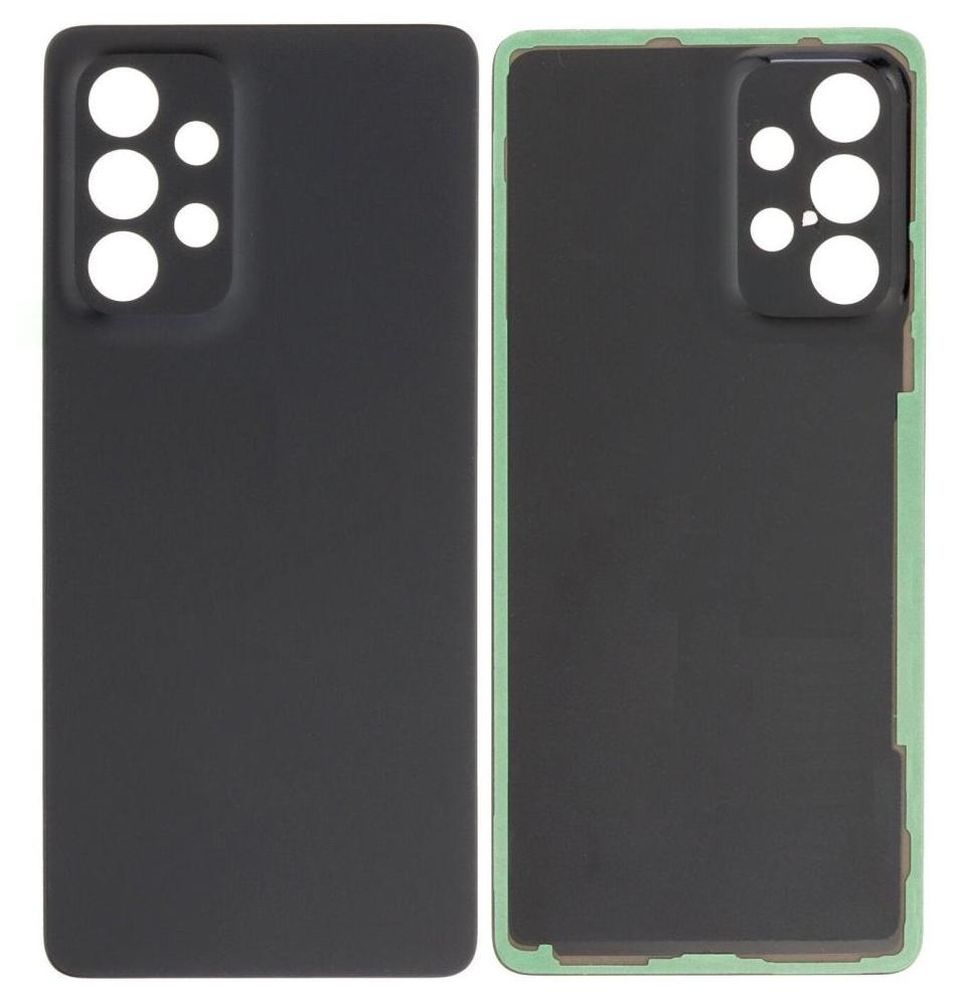
– First, let’s get started by removing the back cover – it’s time to get up close and personal with your device.
– Next, grab some isopropyl alcohol (make sure it’s over 90%) and clean the areas where you’ll be applying new adhesive. This will help everything stick together nicely.
– Now it’s time to secure the new back cover with some pre-cut adhesive or double-sided adhesive tape. Once it’s on, apply some strong, steady pressure for a few minutes to help the adhesive form a solid bond. You can even use a stack of heavy books to help out. If you need help, you can always schedule a repair
Step 9

– Let’s get started by removing the eight 3.9 mm-long screws that hold the motherboard cover in place – just grab a Phillips screwdriver and you’re all set. If you need help, you can always schedule a repair
Step 10

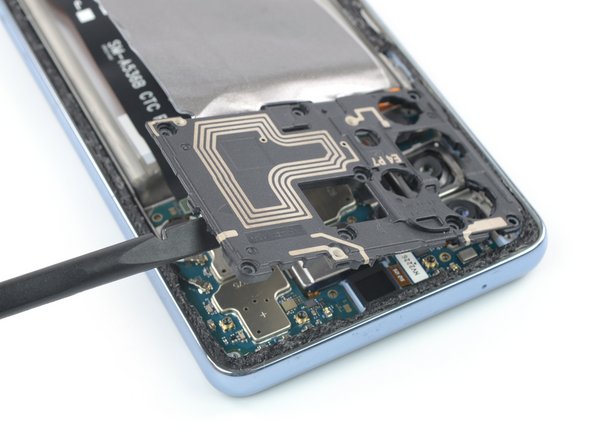

– Time to get started – insert the flat end of a spudger into the gap between the frame and the motherboard cover, located on the right edge. Take your time and be gentle.
– Now, use that trusty spudger to carefully pry up the motherboard cover. If you need help, you can always schedule a repair
Tools Used


Step 12

– Time to get started! Use a spudger to carefully disconnect the battery cable by gently prying the connector straight up from its socket. If you need help, you can always schedule a repair
Tools Used
Step 13

– Grab your trusty Phillips screwdriver and get ready to tackle those seven screws holding the loudspeaker assembly in place. Each one is about 3.9 mm long, so unscrew them with care and confidence!
Step 14

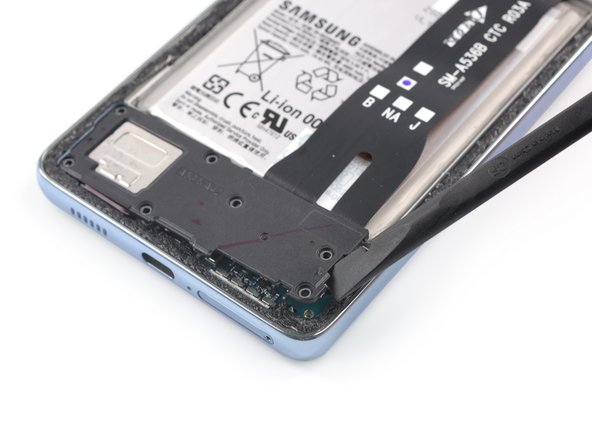

– Slide the flat end of your trusty spudger into the little gap between the right edge of the loudspeaker assembly and the midframe. It’s like unlocking a treasure chest!
– Gently use your spudger to lift up the loudspeaker assembly. Think of it as giving it a little nudge to say, ‘Hey, time to come out and play!’
– Carefully remove the loudspeaker assembly and set it aside. You did it!
Tools Used
Step 15

That fingerprint sensor on your Galaxy A53 5G is stuck on with some sticky stuff.
You can use a hair dryer, a heat gun, or even a hot plate to loosen it up, but don’t get too carried away with the heat. Your phone’s screen and battery are kinda sensitive to that stuff.
Step 16


– Grab the flat end of your trusty spudger and gently unplug the fingerprint sensor from the daughterboard. You’ve got this!
Tools Used
Step 17


– Now, grab that trusty flat end of your spudger and gently pry that fingerprint sensor right out of its little home.
– Time to give that sensor a high five! Use your fingers or a pair of tweezers to give it a proper send-off.
Tools Used
Step 18

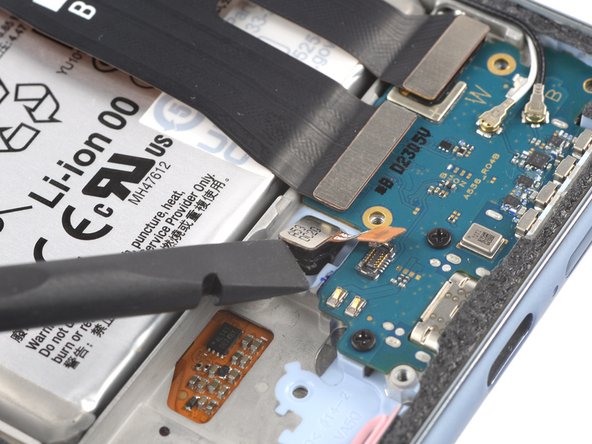
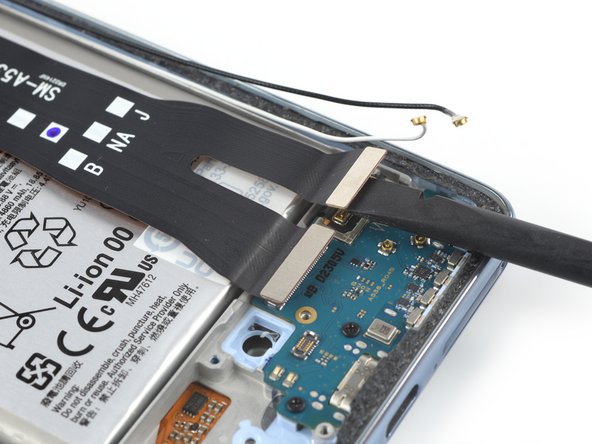
Be gentle with those cables – grab them by the metal ends, not the cables themselves, to keep them safe and sound. If you need help, you can always schedule a repair
– Grab your trusty tweezers and gently pull up those black and white antenna cables from the daughterboard. It’s like a little dance, right?
During reassembly, these connectors can be a bit finicky. Don’t worry, we’ve got you covered. One at a time, hold each connector over its socket and give it a little press with the flat end of your spudger. It should click right into place. Piece of cake!
Tools Used
Step 19

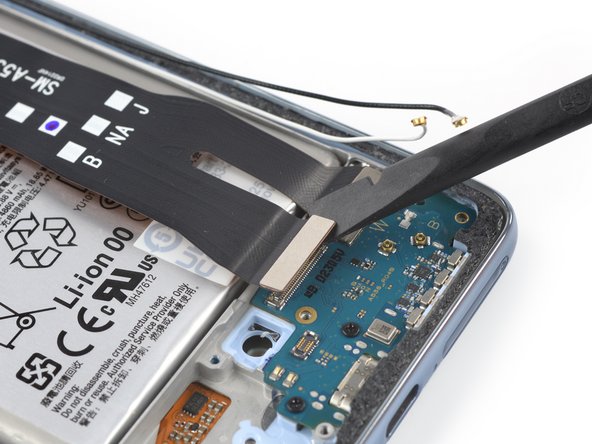
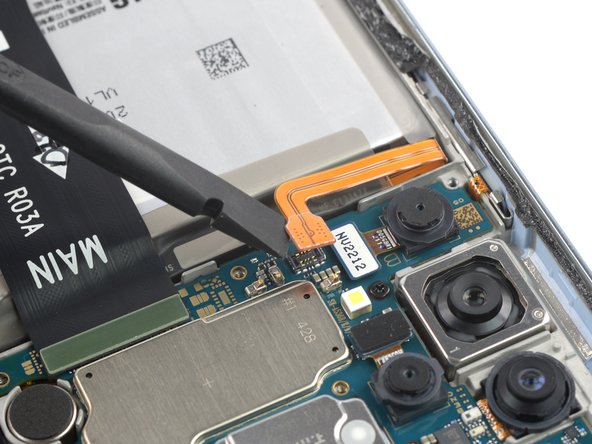
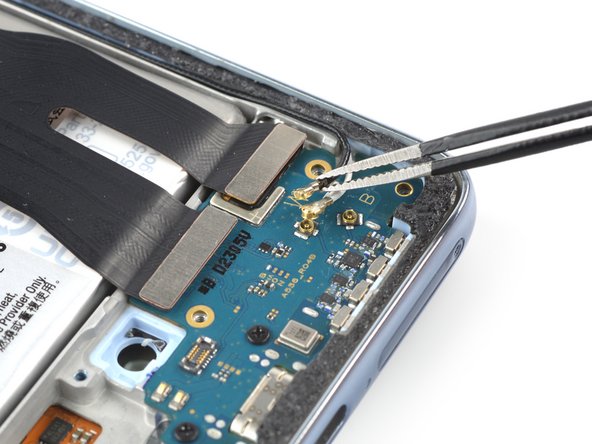
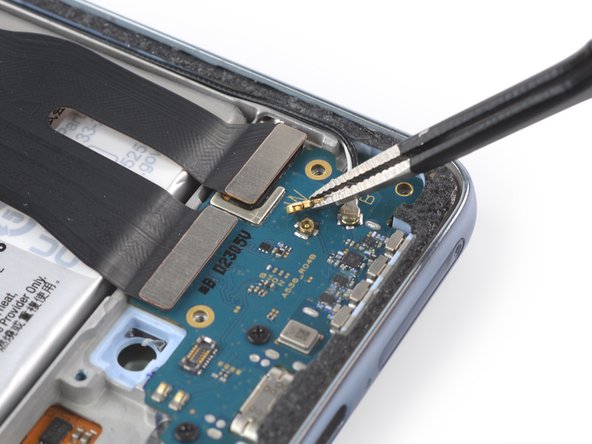
– Gently use the flat end of a spudger to lift those two interconnect cable connectors straight up from their cozy spots on the daughterboard. You’ve got this!
Tools Used
Step 20


– Time to get started. Insert a SIM card eject tool or a trusty paperclip into the small hole in the SIM card tray, usually found on the bottom right corner of your phone.
– Give it a firm press to eject the tray – it’s like a little surprise inside.
– Now, carefully remove the SIM card tray from your phone. If you need help, you can always schedule a repair
Tools Used

Step 21

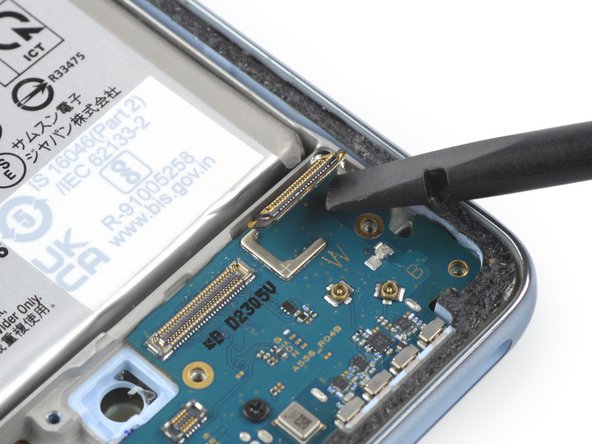
The connector is secured with a light adhesive, keeping it snug as a bug in a rug!
– Now, grab the flat end of your spudger and carefully lift the display connector away from the daughterboard. Think of it like gently coaxing a sleepy butterfly awake! If you’re not sure about this step, you can always schedule a repair with us.
Tools Used
Step 22

– Grab your trusty Phillips screwdriver and give those two 2.9 mm long screws holding down the daughterboard a gentle nudge. They’ll come right off!
Step 23
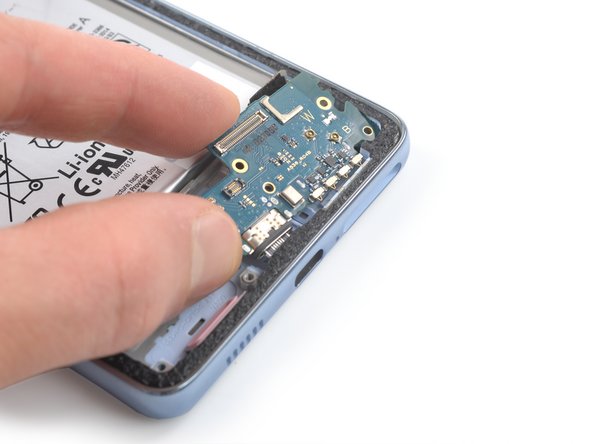


– Now it’s time to gently pry the daughterboard loose with your fingers. Take your time and be careful not to damage any surrounding components. If you need help, you can always schedule a repair