Samsung Galaxy A53 5G Fingerprint Sensor Replacement Guide
Duration: 45 minutes
Steps: 17 Steps
Before you start disassembling your phone, make sure to discharge the battery to below 25% for your safety. If you need help, you can always schedule a repair
Ready to give your Samsung Galaxy A53 5G a fingerprint sensor upgrade? Let’s do this! Before we get started, it’s super important to make sure your phone’s battery is charged below 25%. This keeps things safe and sound during the repair. And if your battery looks a little puffy, take extra care. Don’t worry, if you miss putting those adhesive seals back when you’re putting everything back together, your phone will still work like a charm, but it won’t be waterproof anymore. Just a heads-up! You’ll need some fresh adhesive to secure all the components when you’re done, so keep that in mind. If you need a little extra help, you can always schedule a repair.
Step 1

You can also use a hairdryer, heat gun, or hot plate to warm up the phone. Just make sure you don’t overheat it – the display and battery don’t like too much heat! If you’re not sure, it’s always best to err on the side of caution. If you need help, you can always schedule a repair.
– Get ready to unlock your device’s back cover – start by applying an iOpener for at least two minutes to loosen the adhesive underneath, making the removal process a whole lot easier. If you need help, you can always schedule a repair


Step 2


If you’re having trouble getting things started, don’t worry – just apply a bit more heat to loosen up that adhesive. Be sure to follow the iOpener instructions so you don’t overdo it. And remember, if you need help, you can always schedule a repair
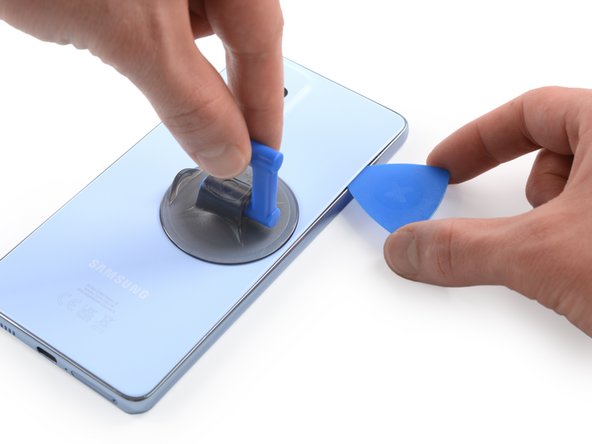
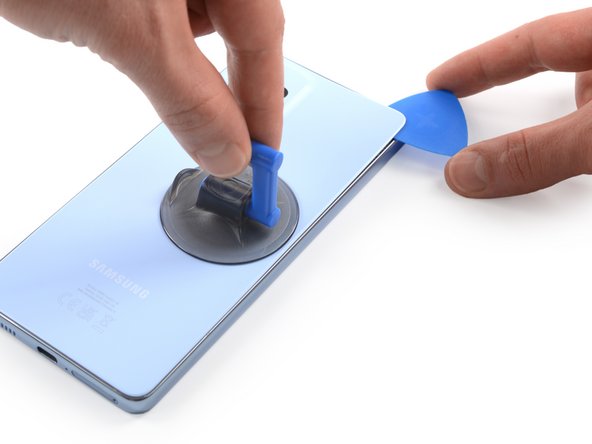
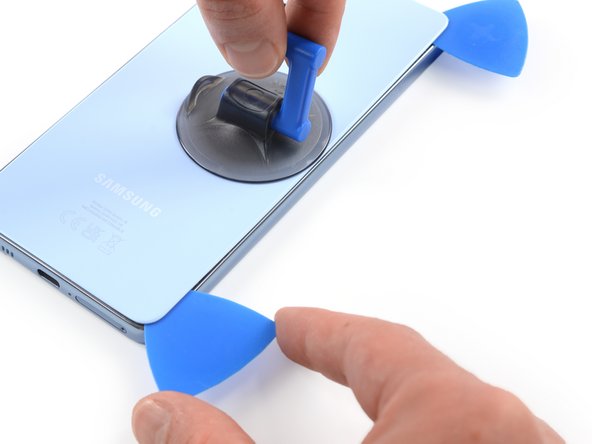
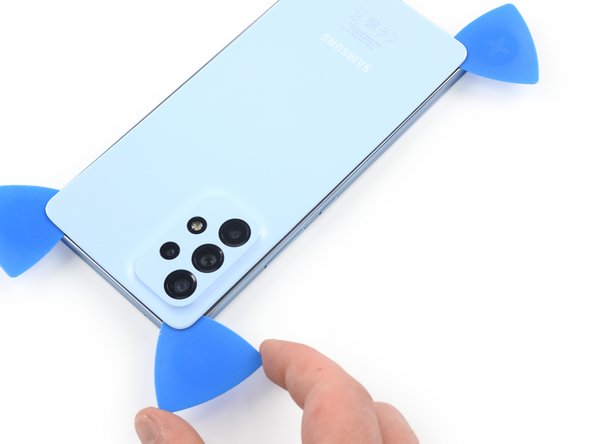
– Get ready to rock this repair! First, grab your suction handle and stick it onto the right side of the back cover – the closer to the edge, the better!
– Now, give that suction handle a little lift to create a teeny tiny gap between the back cover and the frame. You’re almost there!
– Slide an opening pick into the gap you just created – it’s like a little dance!
Tools Used

Step 3

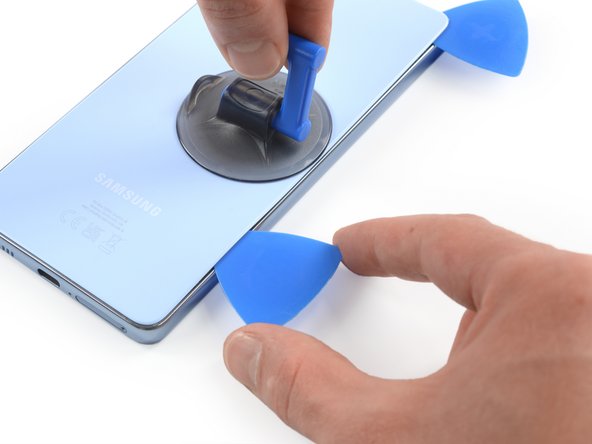
– Gently slide the opening pick to the top right corner to cut through that pesky adhesive.
– Keep the opening pick in place to stop the adhesive from sticking back together.
Step 4

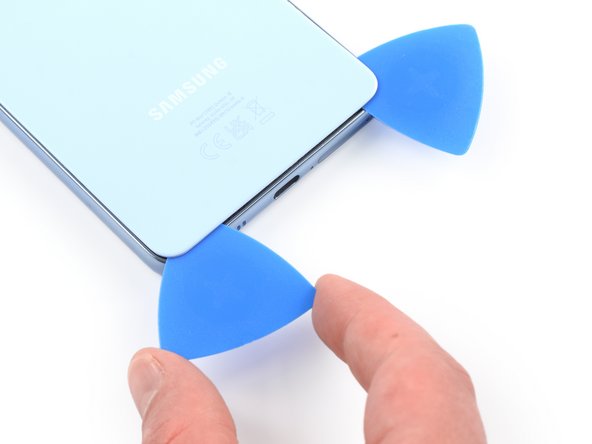
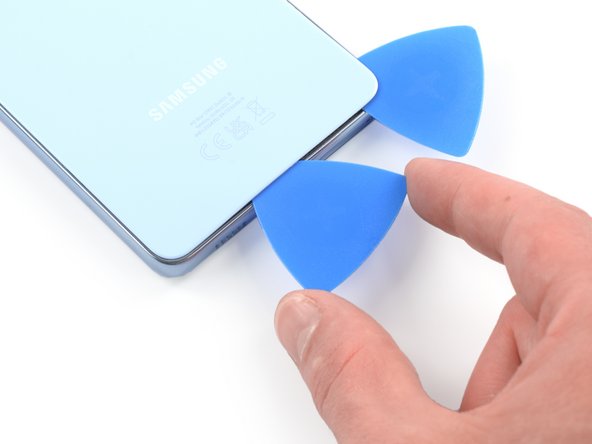
– Pop a second opening pick at the top right corner of your phone, just like you’re opening a gift!
– Gently glide that opening pick down to the bottom right corner to cut through the adhesive like butter.
– Keep those opening picks in place to make sure the adhesive doesn’t decide to play hide and seek again.
Step 5

If the adhesive is giving you a hard time and feels tough to slice through, it’s probably cooled off a bit. Give your iOpener a quick one to two-minute warm-up to get things back on track.
– Grab a third opening pick and gently slide it into the bottom right corner of your phone.
– Now, glide that pick along the bottom edge to cut through the adhesive like a pro!
– Keep the opening pick snugly in the bottom left corner so the adhesive doesn’t try to play tricks on you by resealing.
Tools Used
Step 6


– Let’s get this party started! Slide a fourth opening pick into the bottom left corner of your phone. It’s like a little dance for your phone’s adhesive!
– Now, glide that pick along the left edge to slice through the adhesive. It’s like a smooth operator, cutting through the sticky stuff.
– Keep that pick in the top left corner to keep things from sealing back up. You’re the boss!
Step 7
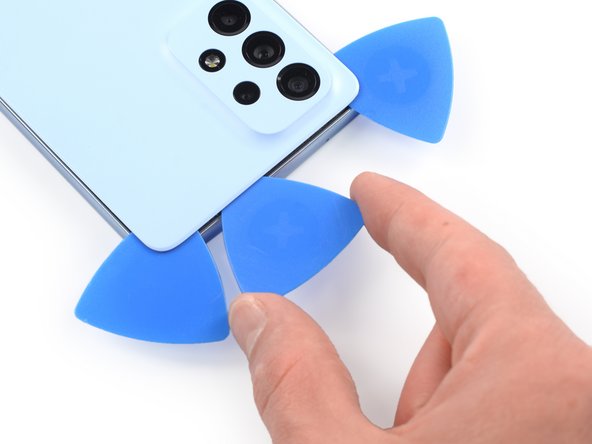

– Pop in a fifth opening pick right at the top left corner—you’re doing great!
– Gently glide that opening pick along the top edge of the back cover to cut through the leftover adhesive. Keep it smooth and steady!
Step 8

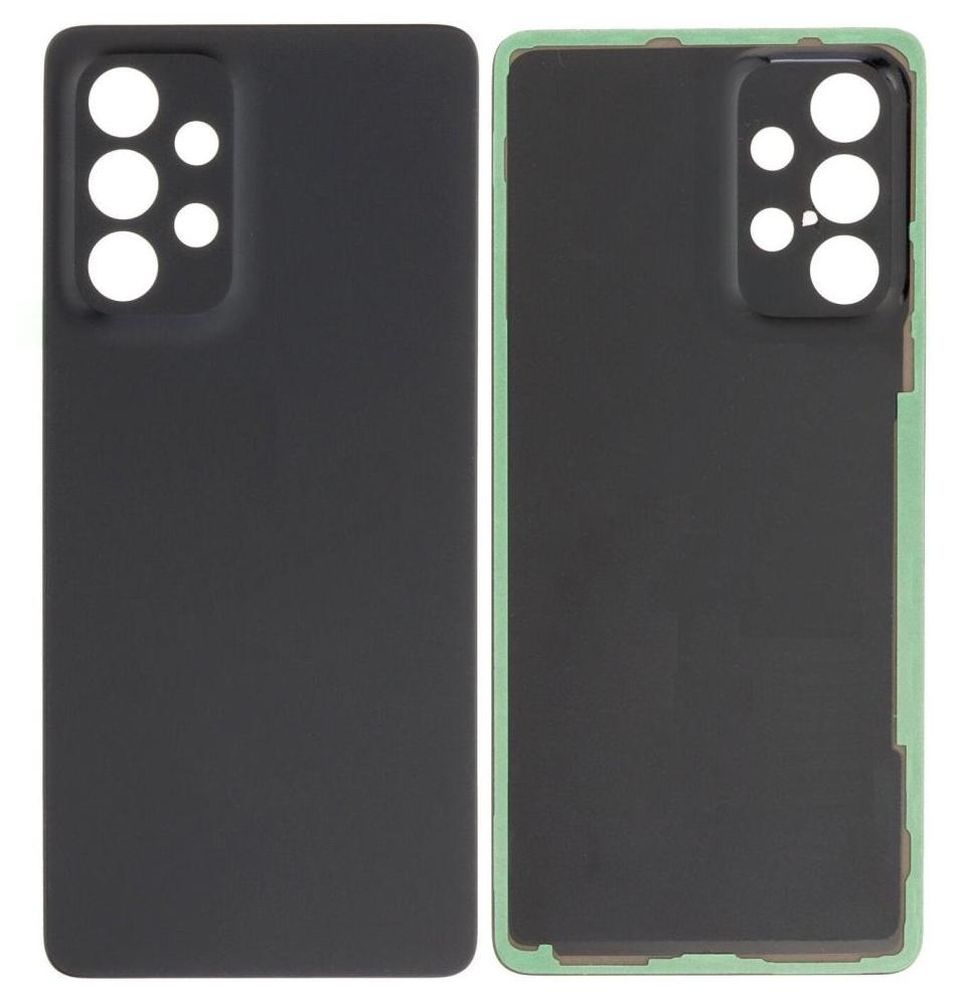
– Let’s get this party started! Remove the back cover. You got this!
– Now, give those areas a good cleaning with some isopropyl alcohol (>90%) and slap on some fresh adhesive if needed.
– Time to rock that new back cover! Secure it with some pre-cut adhesive or double-sided tape. Once you’ve got it in place, give it a nice firm hug for a few minutes to make sure that adhesive gets nice and cozy. A stack of books will do the trick if you need some extra pressure.
Step 9

– Grab your trusty Phillips screwdriver and go to town! Carefully unscrew those eight screws, each a neat 3.9 mm long, that are keeping the motherboard cover locked up tight.
Step 10

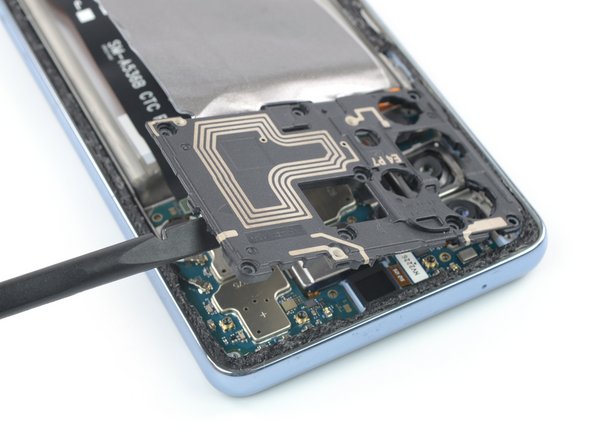

– Gently slide the flat end of your trusty spudger into the little gap between the frame and the motherboard cover on the right edge. It’s like giving your device a little nudge!
– Now, use that spudger to carefully lift up the motherboard cover. You’re doing great—keep it up!
Tools Used


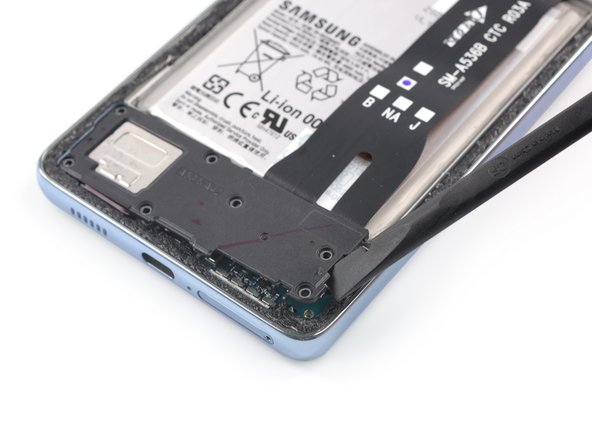
Step 13

– Grab your trusty Phillips screwdriver and get ready to tackle those seven 3.9 mm-long screws holding the loudspeaker assembly in place. You’ve got this!
Step 14


– Time to get started – insert the flat end of a spudger into the gap between the right edge of the loudspeaker assembly and the midframe, it’s the perfect spot to begin.
– Now, use your trusty spudger to gently pry up the loudspeaker assembly, it’s easier than you think.
– The final step – remove the loudspeaker assembly, and you’re one step closer to fixing your device. If you need help, you can always schedule a repair
Tools Used
Step 15

The fingerprint sensor on the Galaxy A53 5G is securely attached with adhesive, just like a good friend sticking around.
Feel free to use a hair dryer, heat gun, or hot plate to warm things up a bit. Just remember to keep it cool—both the display and the internal battery are like sunbathers that can get a little too hot to handle!
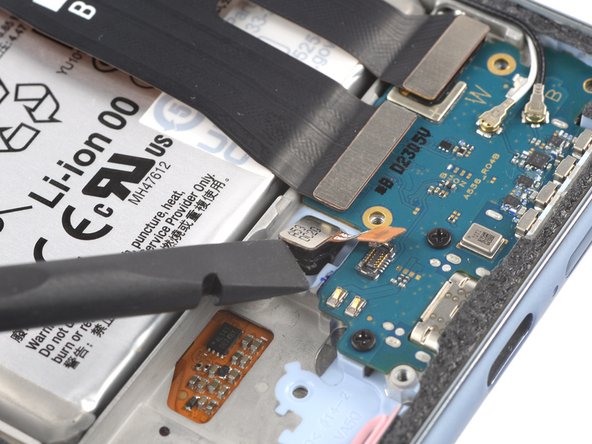
Step 16


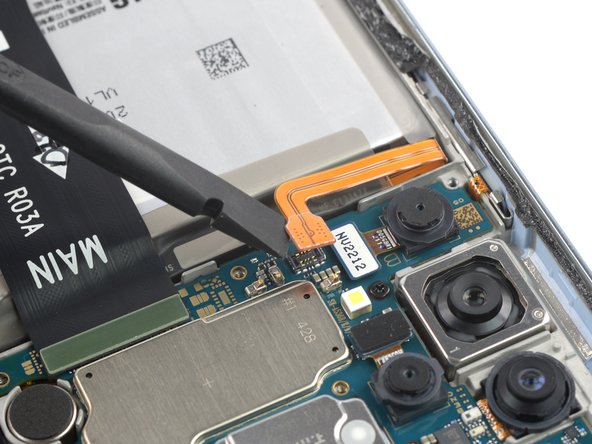
– Grab your trusty spudger and gently pry the fingerprint sensor away from the daughterboard. You’ve got this!
Tools Used
Step 17


– Grab your trusty spudger and gently nudge the fingerprint sensor right out of its cozy little home. It’s time for it to see the world!
– Now, with a steady hand, use tweezers or your fingers to lift the fingerprint sensor out. You’ve got this!
Tools Used